Let’s Make Brioche
Let’s Make Brioche
When I was coming up in baking, I was told that brioche and French bread (flour, water, yeast and salt) are the two pillars of French baking. I love French flavors and techniques so I bought into that philosophy and I believe it to this day. If you can make those two breads, you can make any other bread on the planet. Sure, you’ll run across other techniques to get butter incorporated into your dough but I believe the brioche method is the best. The key to making great brioche or any high fat dough is to emulsify the butter with the dough. The brioche method also means that you will have a strong dough developed before you incorporate the butter. That’s right, the butter goes in last after the dough has been mixed. I have developed a timing technique that I have used over the past 25 years and it seems to work for a lot of students.
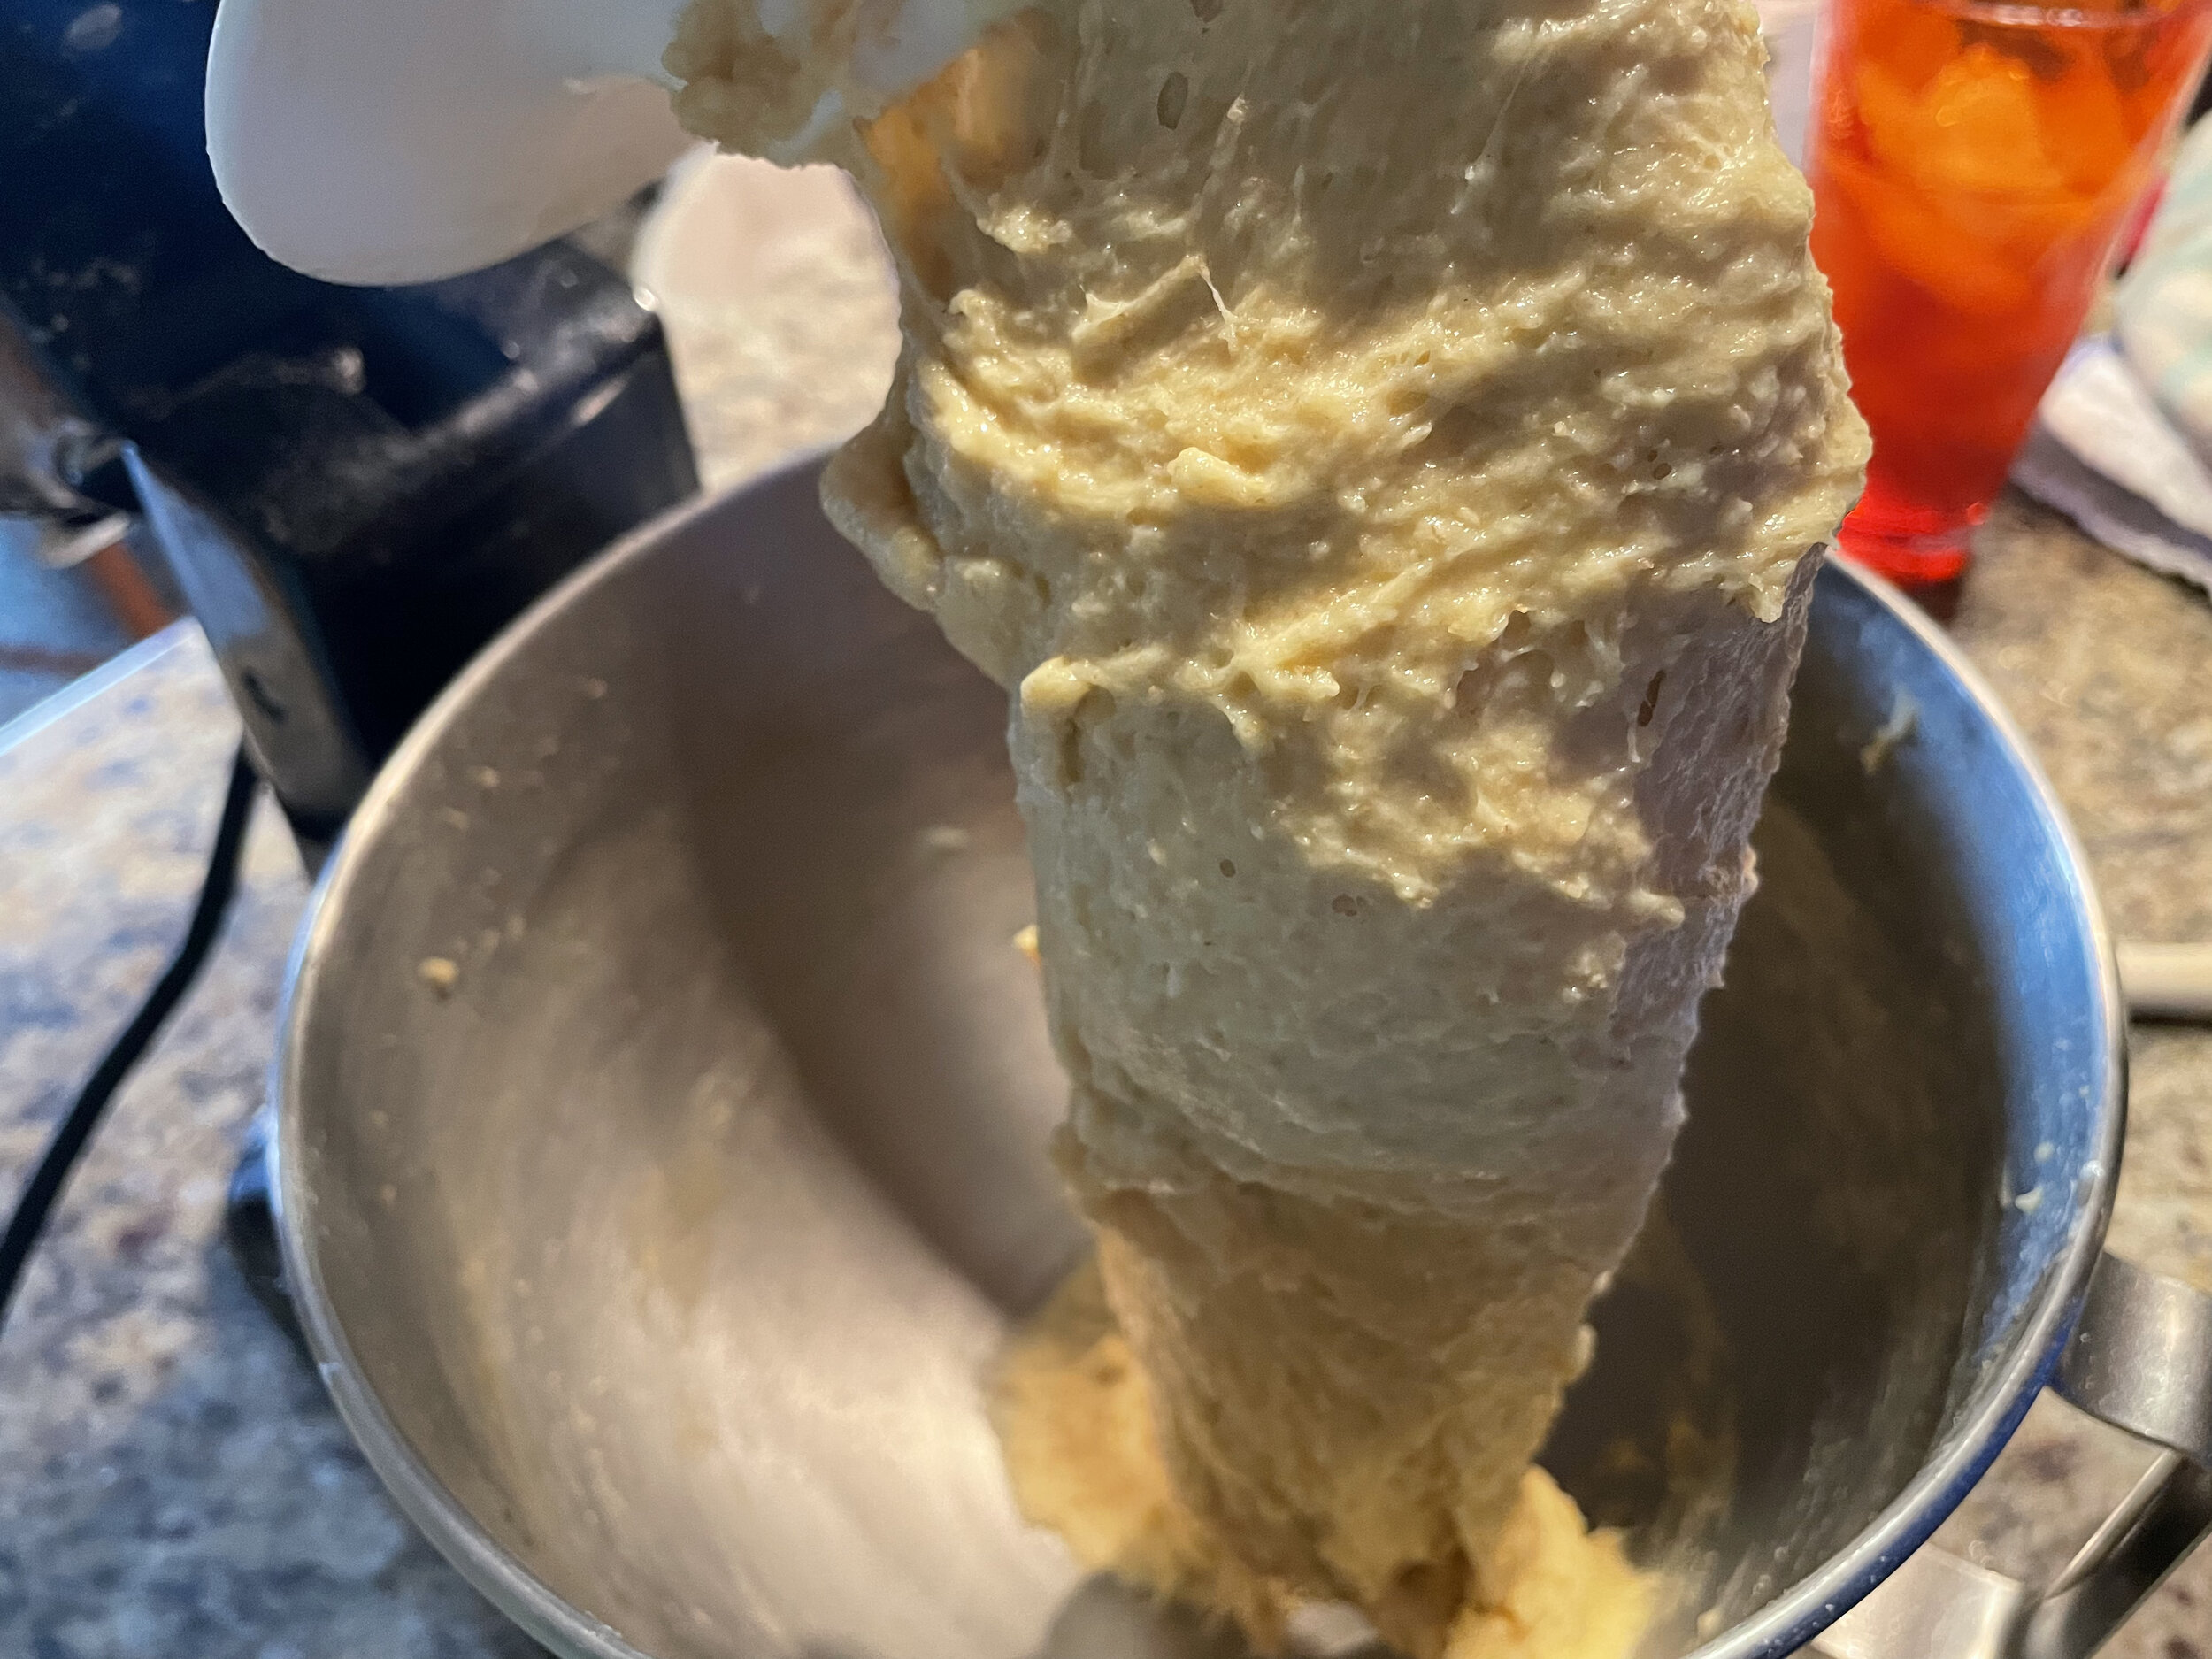
Mix the flour, water or milk, instant yeast and eggs for 4 minutes on slow speed.
Add the sugar and salt in and mix on fast speed for another 4 minutes.
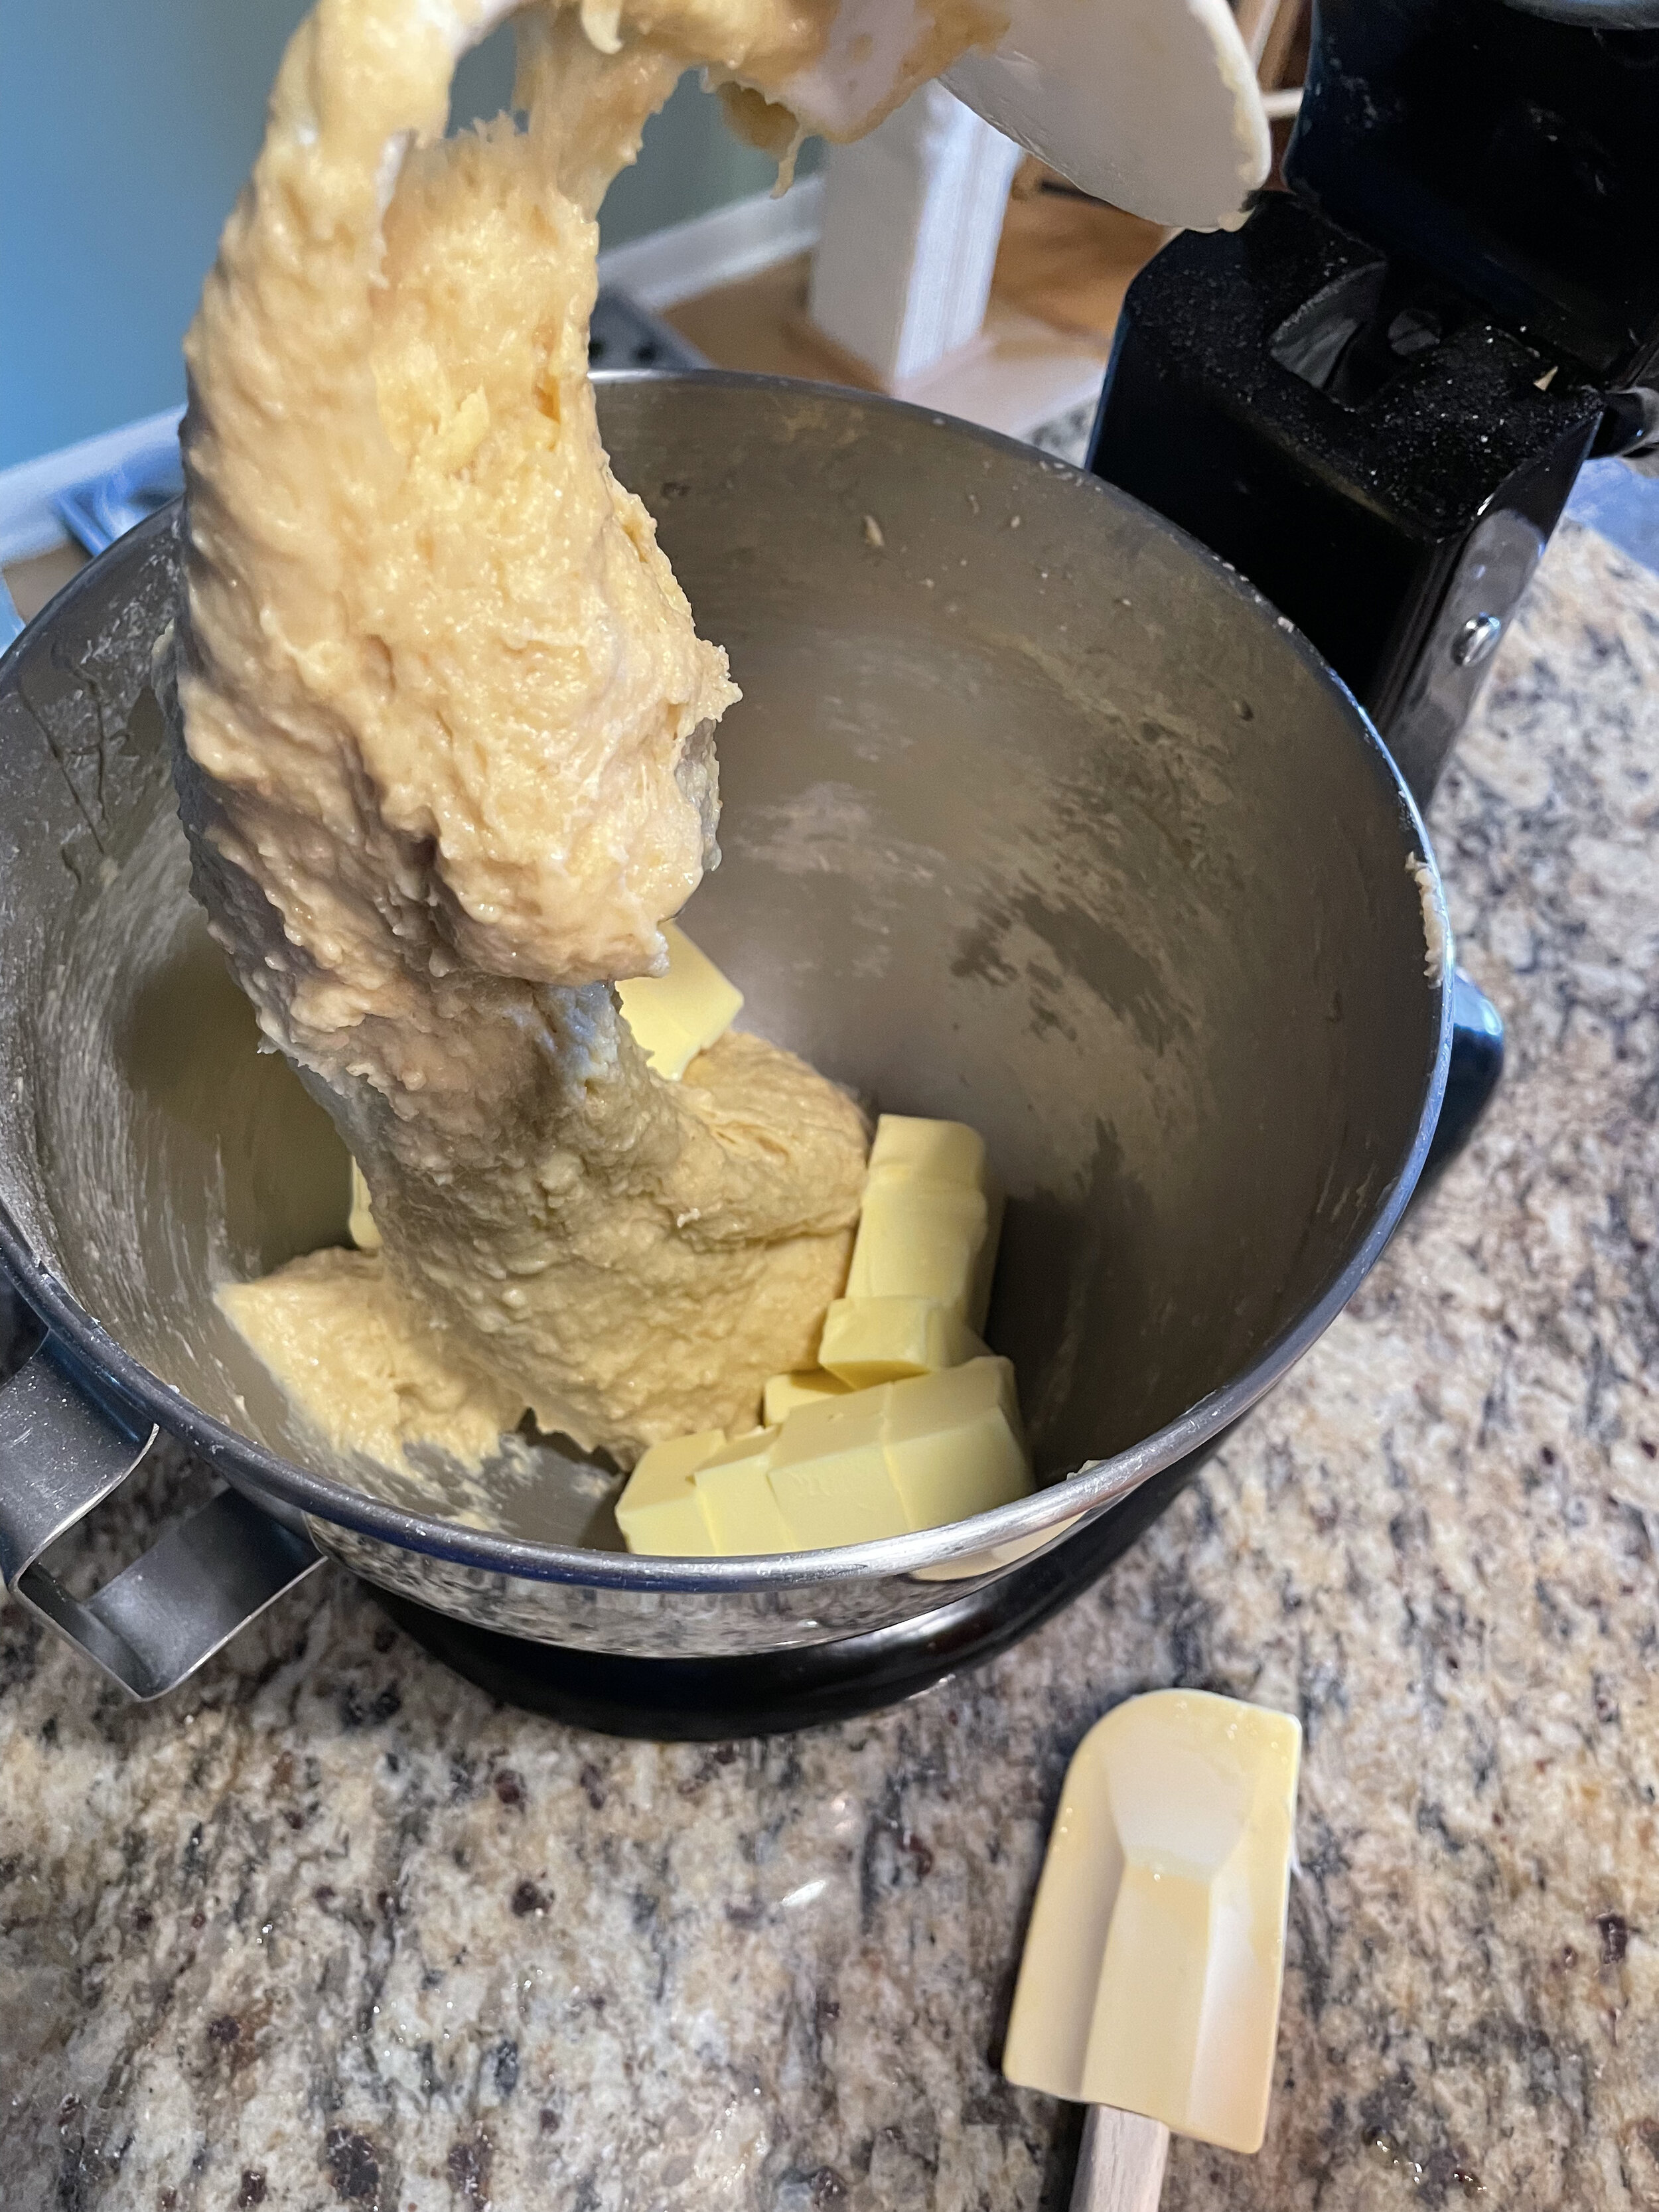
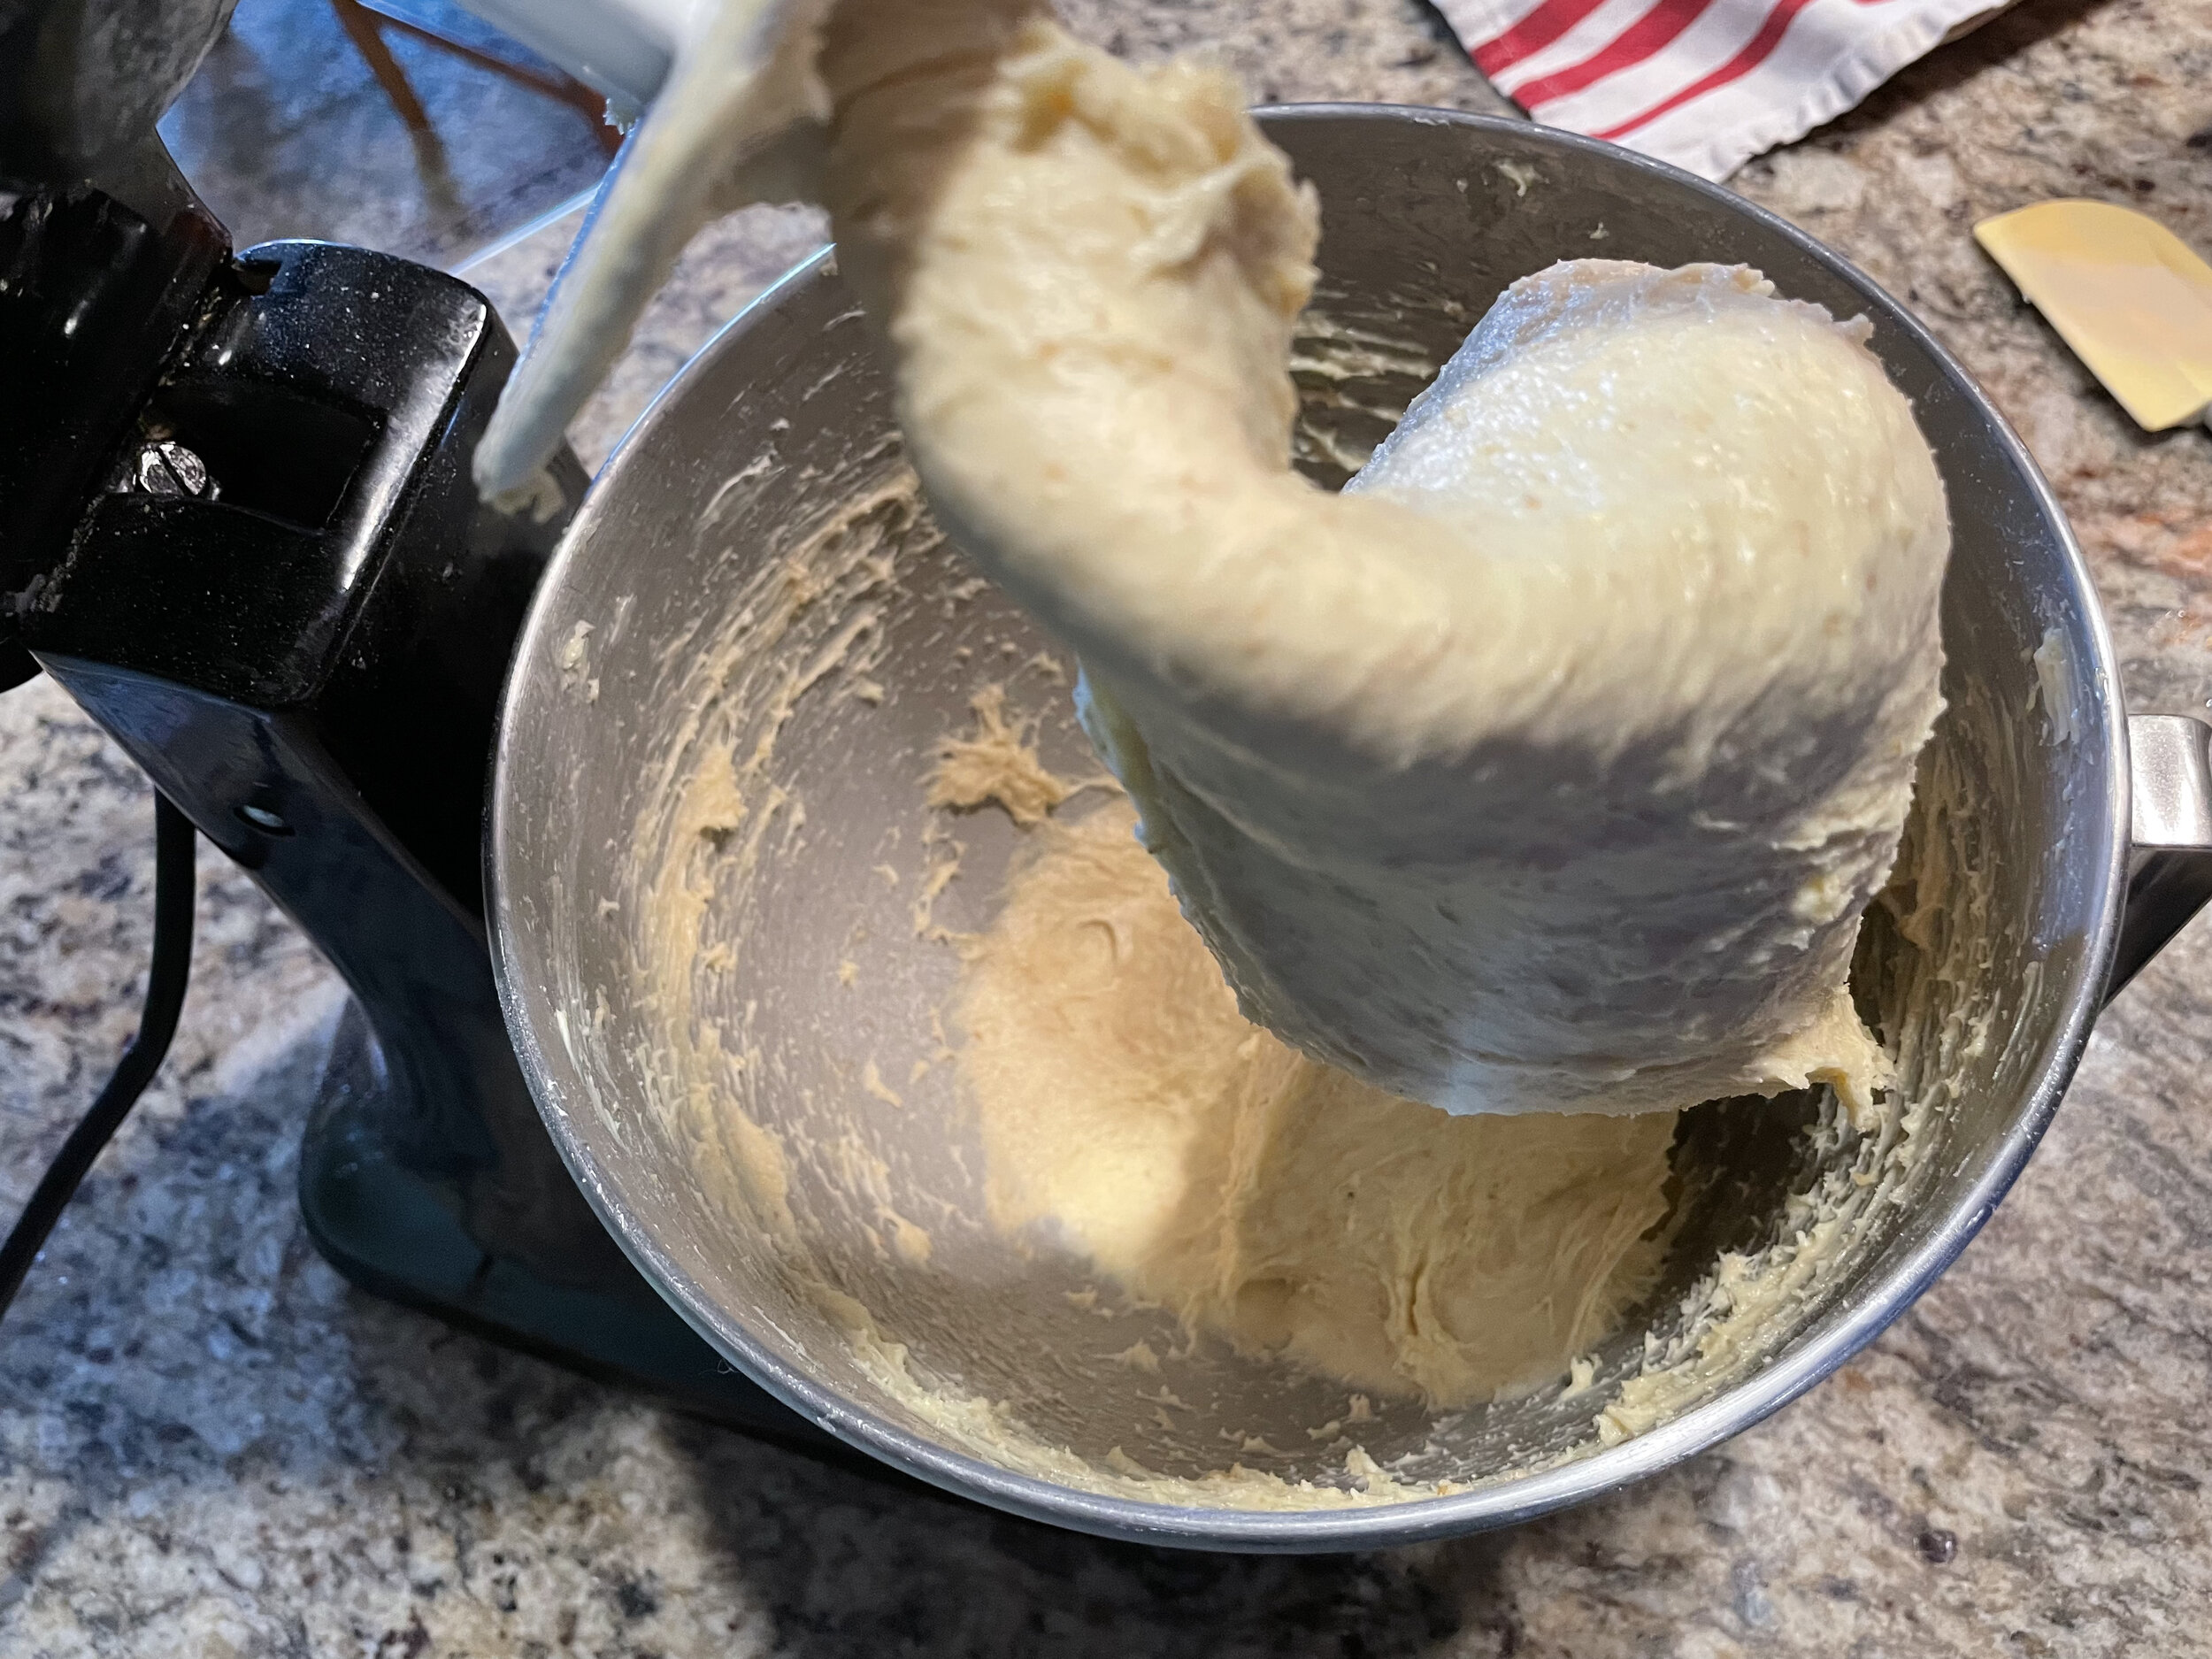
Add the butter all at once and mix for 8 minutes on fast speed.
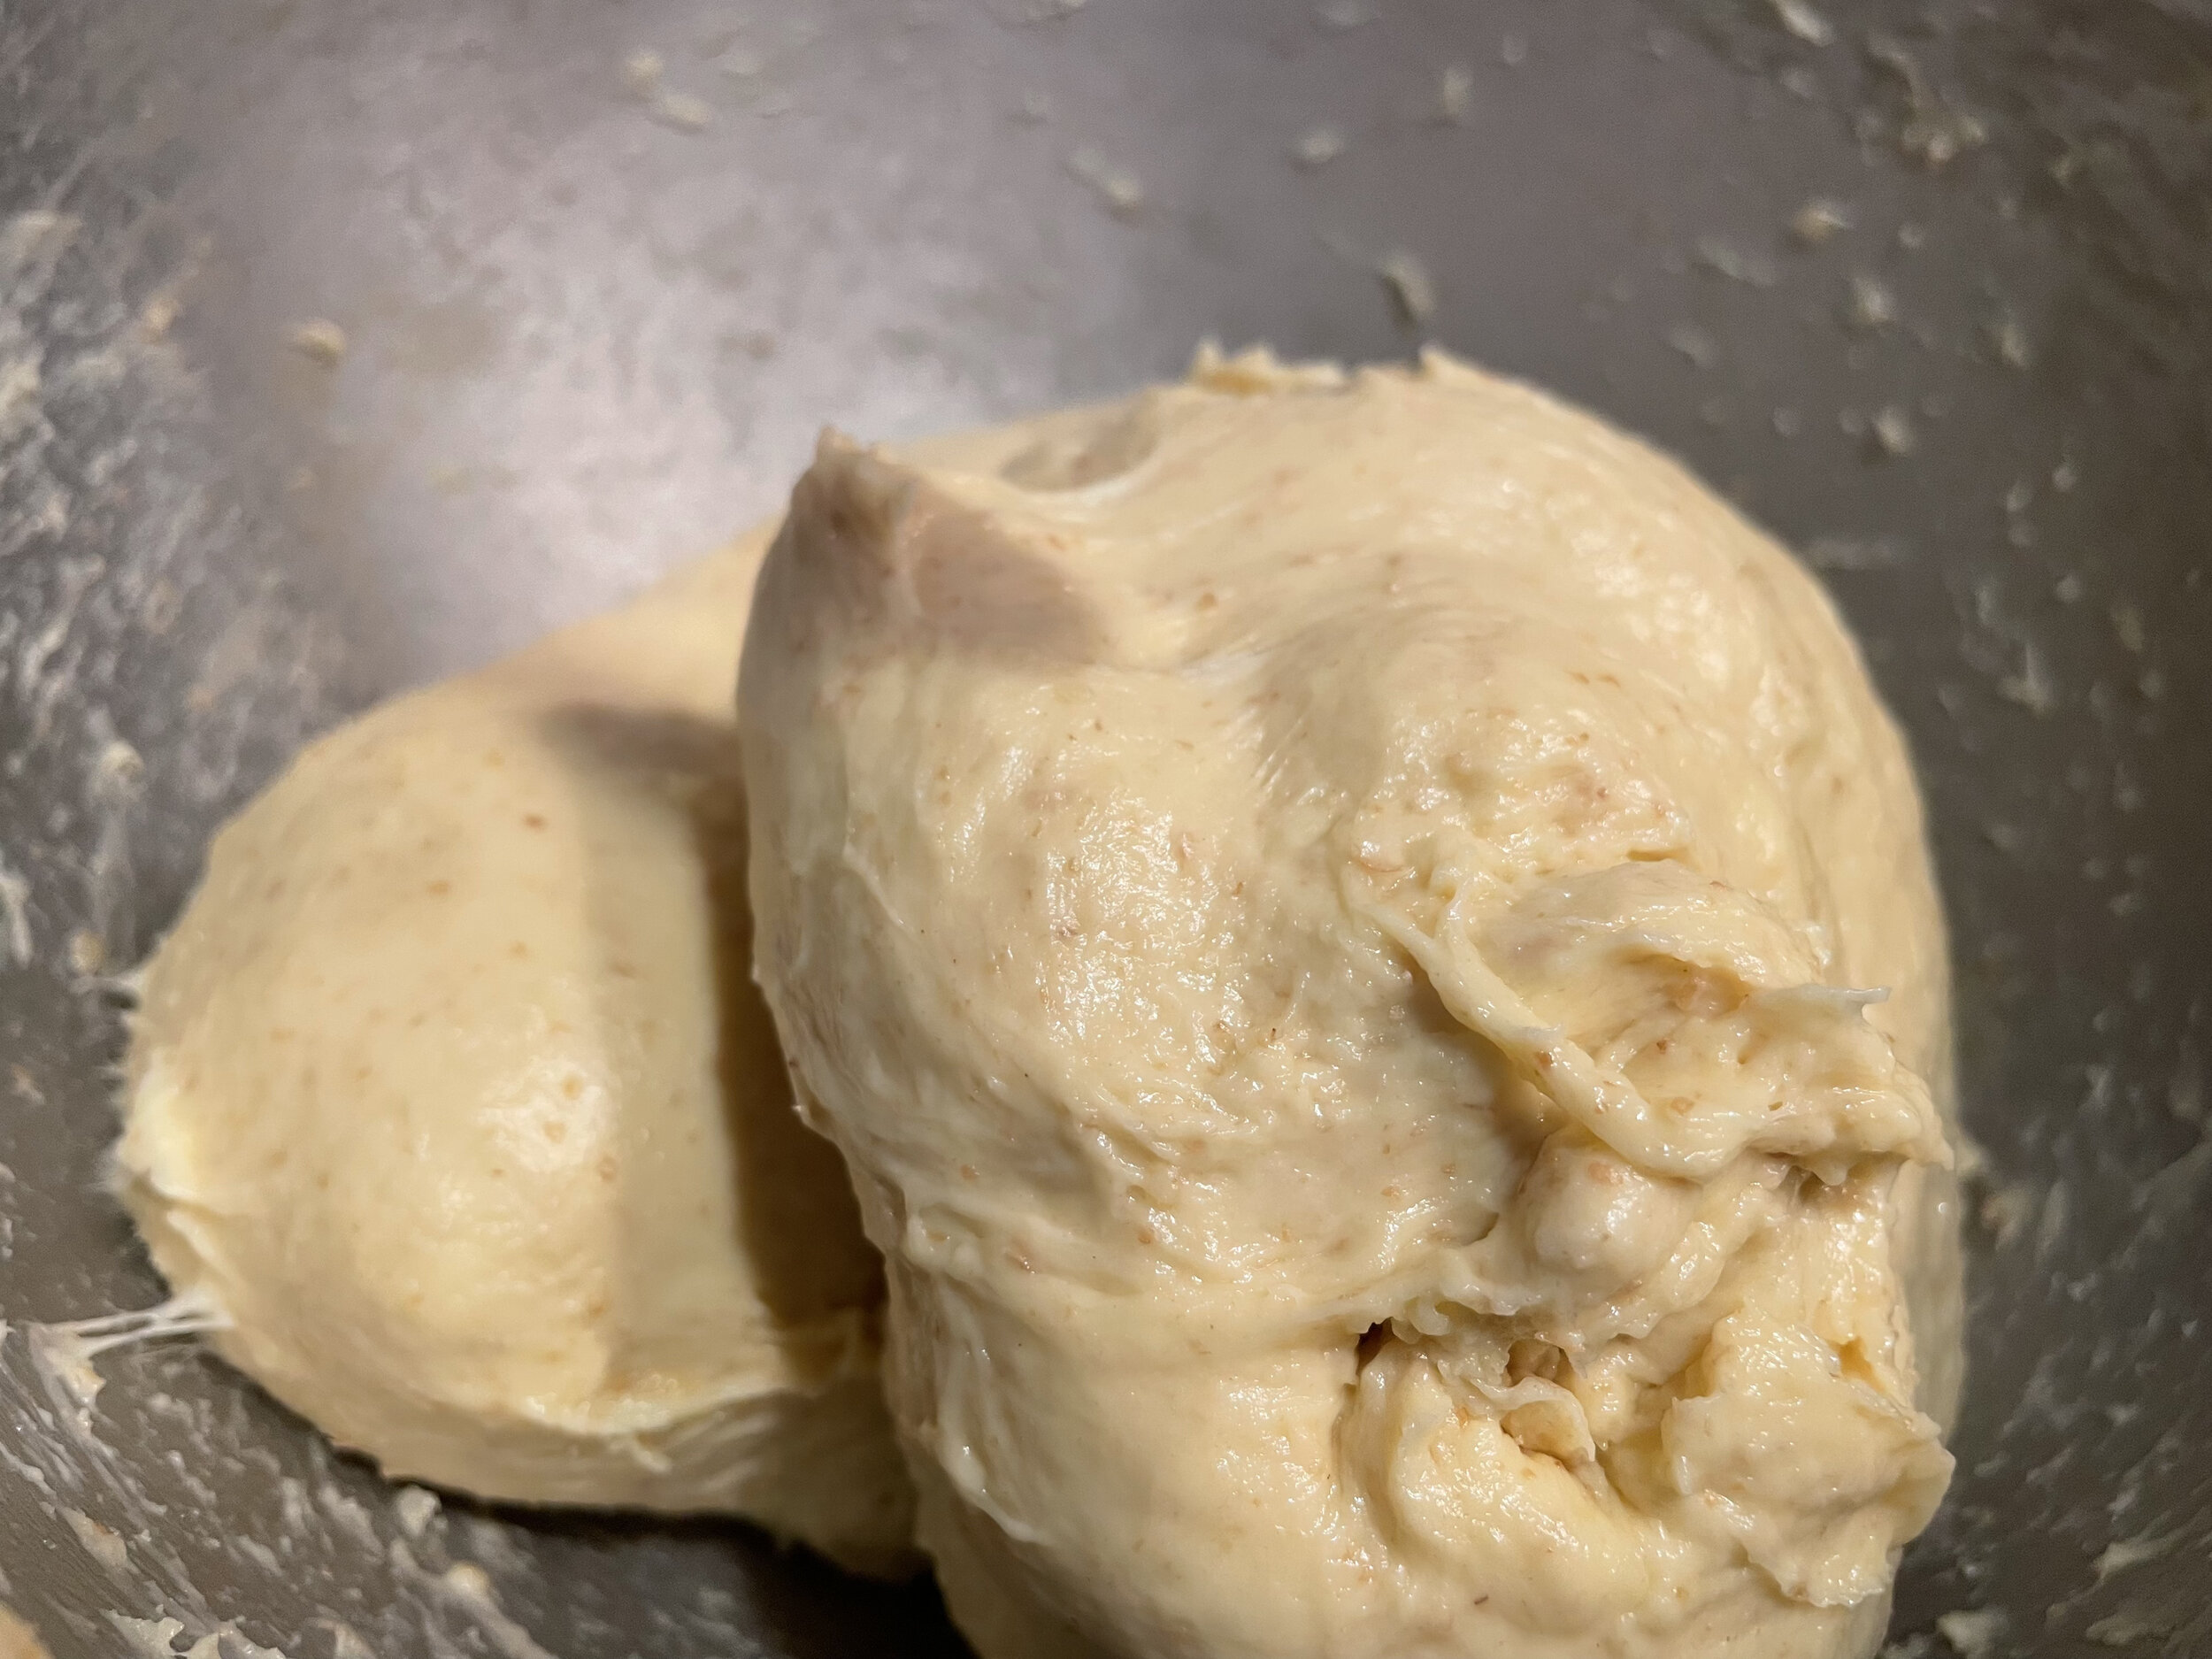
If you follow those basic times, you should attain a perfect smooth, stretchy dough. You may find that you need more time to get the butter incorporated fully. I’ll go into more detail for each step. But that’s the schedule of mixing for brioche.
I have given this formula a little whole wheat flour. If you don’t care for it, please try it anyway. I think you’ll like it….a lot. It gives a certain sweetness and twang to the flavor. The color is still essentially a white bread. If you really hate it, use 100% or 500g of white bread flour.
What are the basic ingredients?
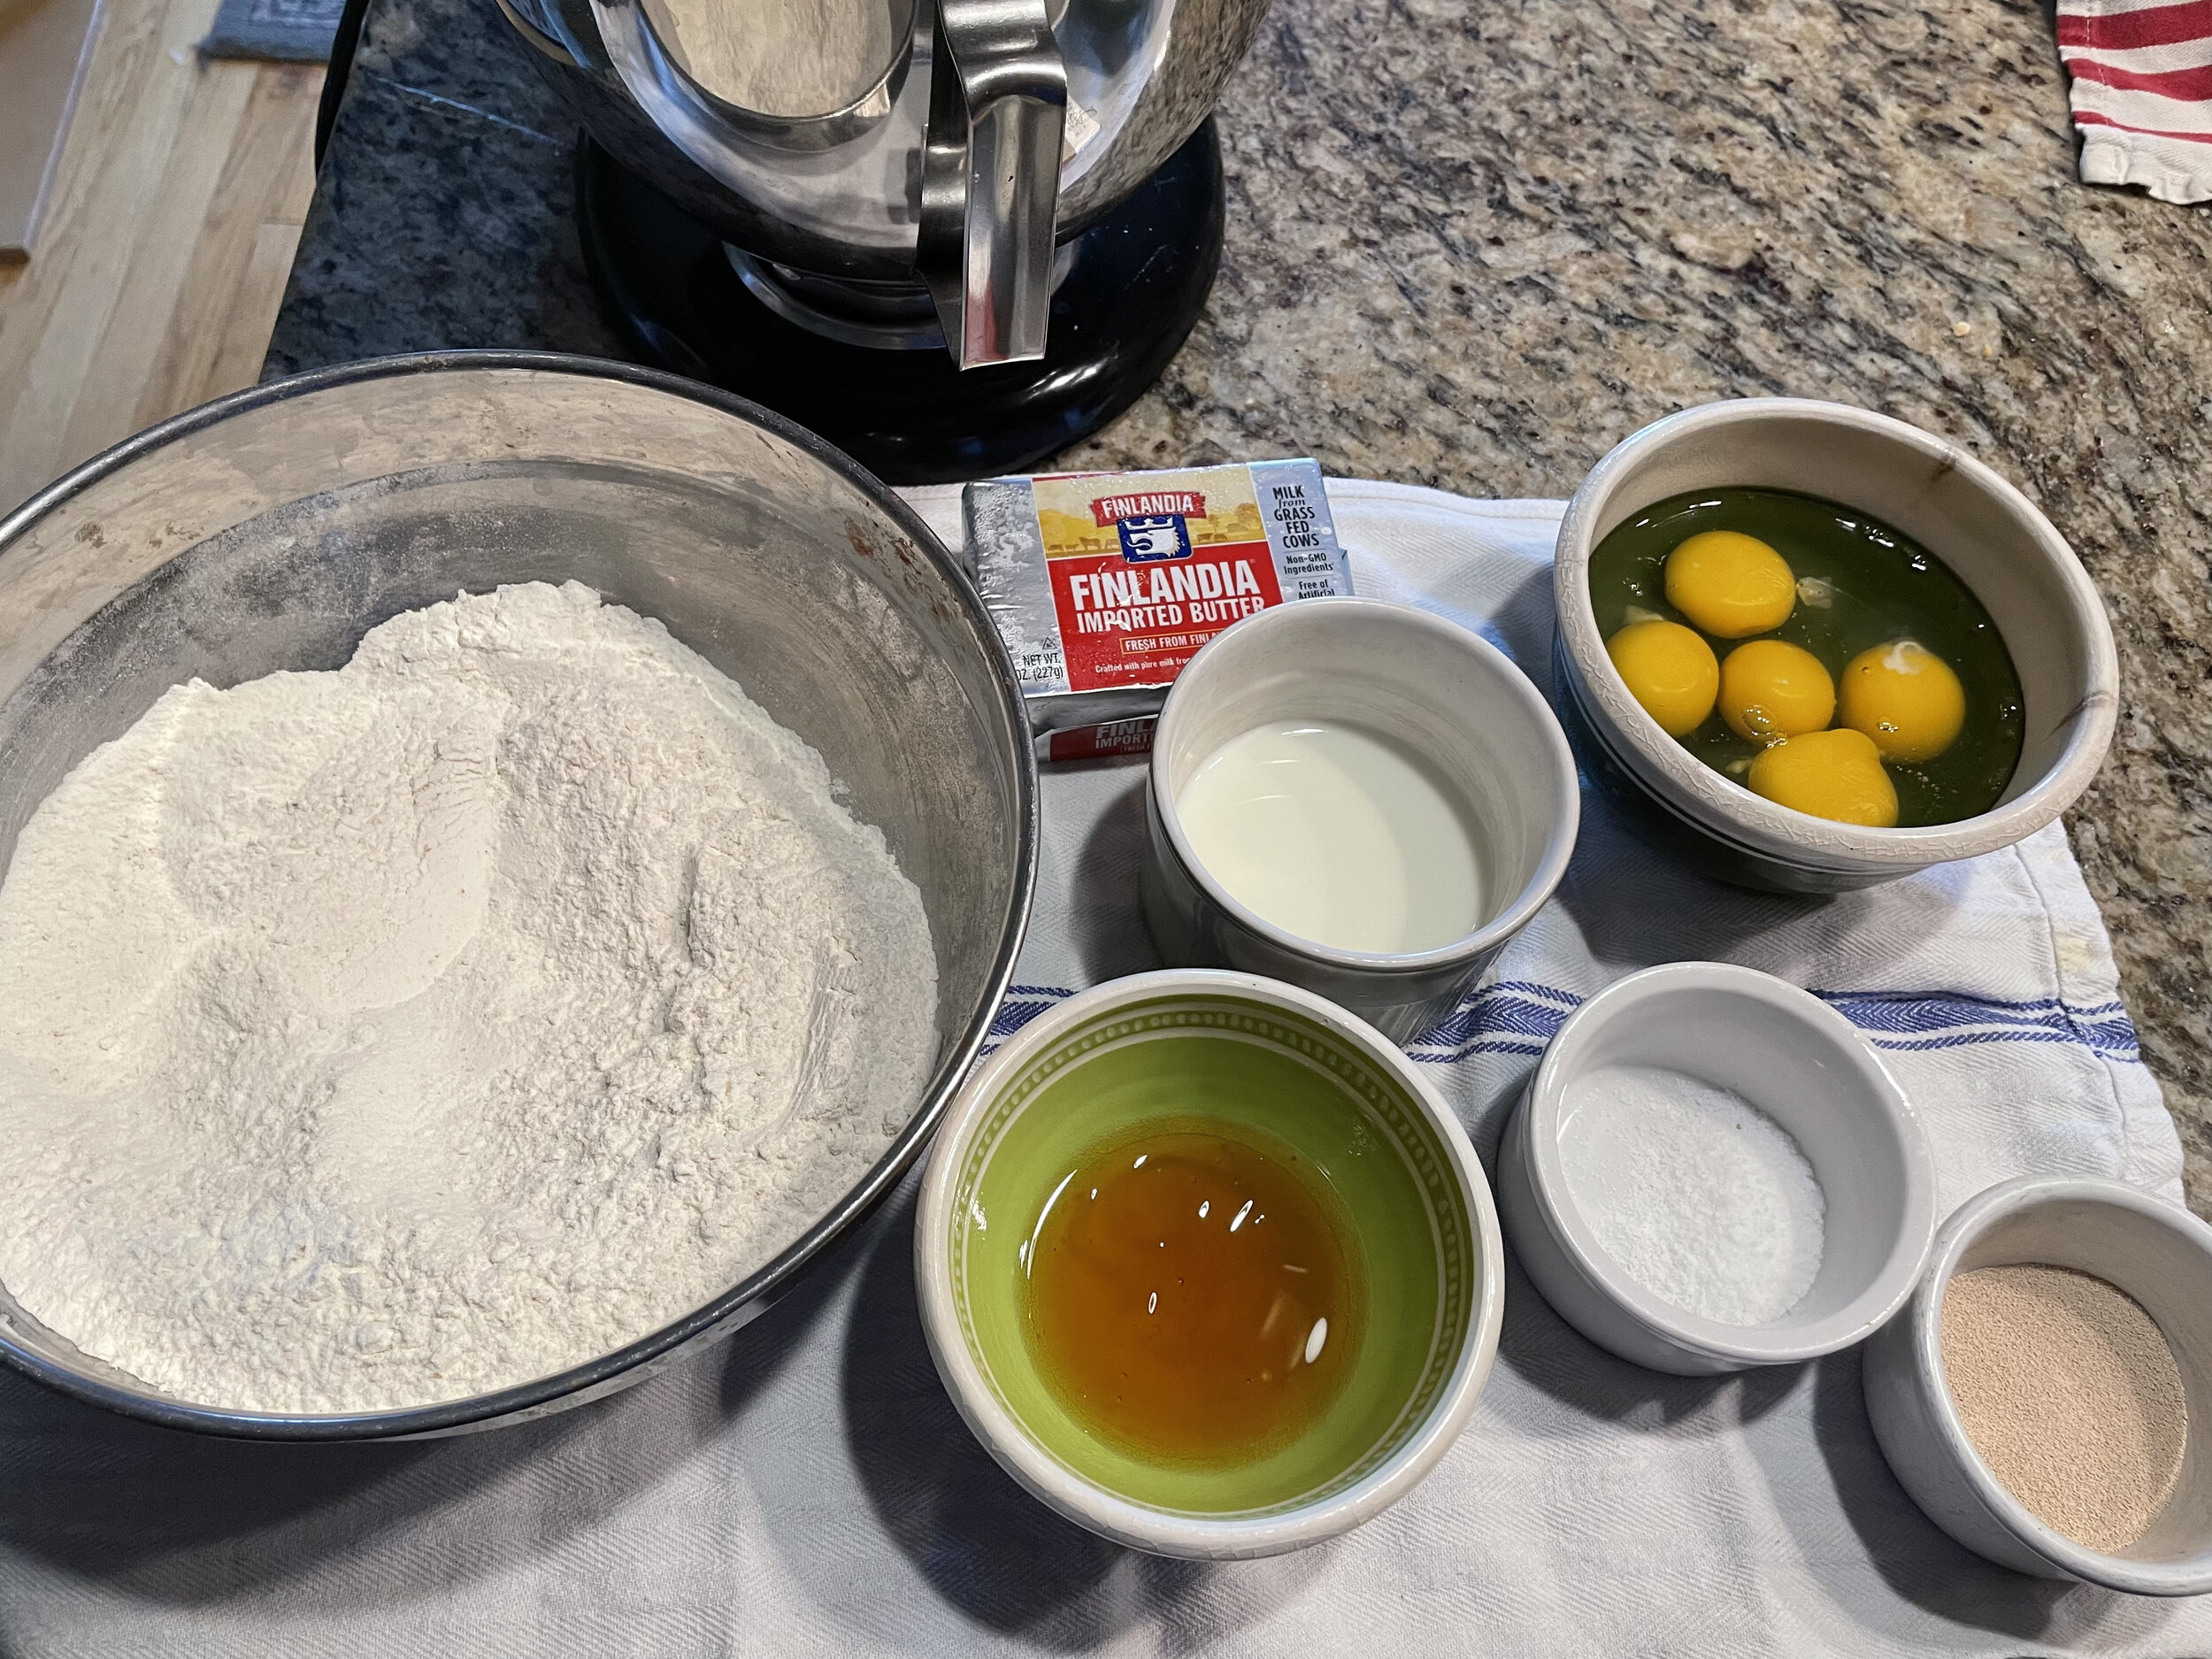
90% bread flour 450g
10% whole wheat 50g
50% eggs 250g
14% milk 70g
12% honey 60g
2.5% kosher salt 12.5g
2.5% instant yeast 12.5g
50% butter 250g
Egg wash for finishing
What tools will you need?
Stand mixer -recommended as it makes the work easier but it can be done by hand.
2- 1/2 sheet pans
parchment
dough scrapers, flexible and rigid
scale
loaf pan - for nantaire
any other molds you might want to use (brioche works best in a mold but it’s not necessary)
pastry brush for egg wash
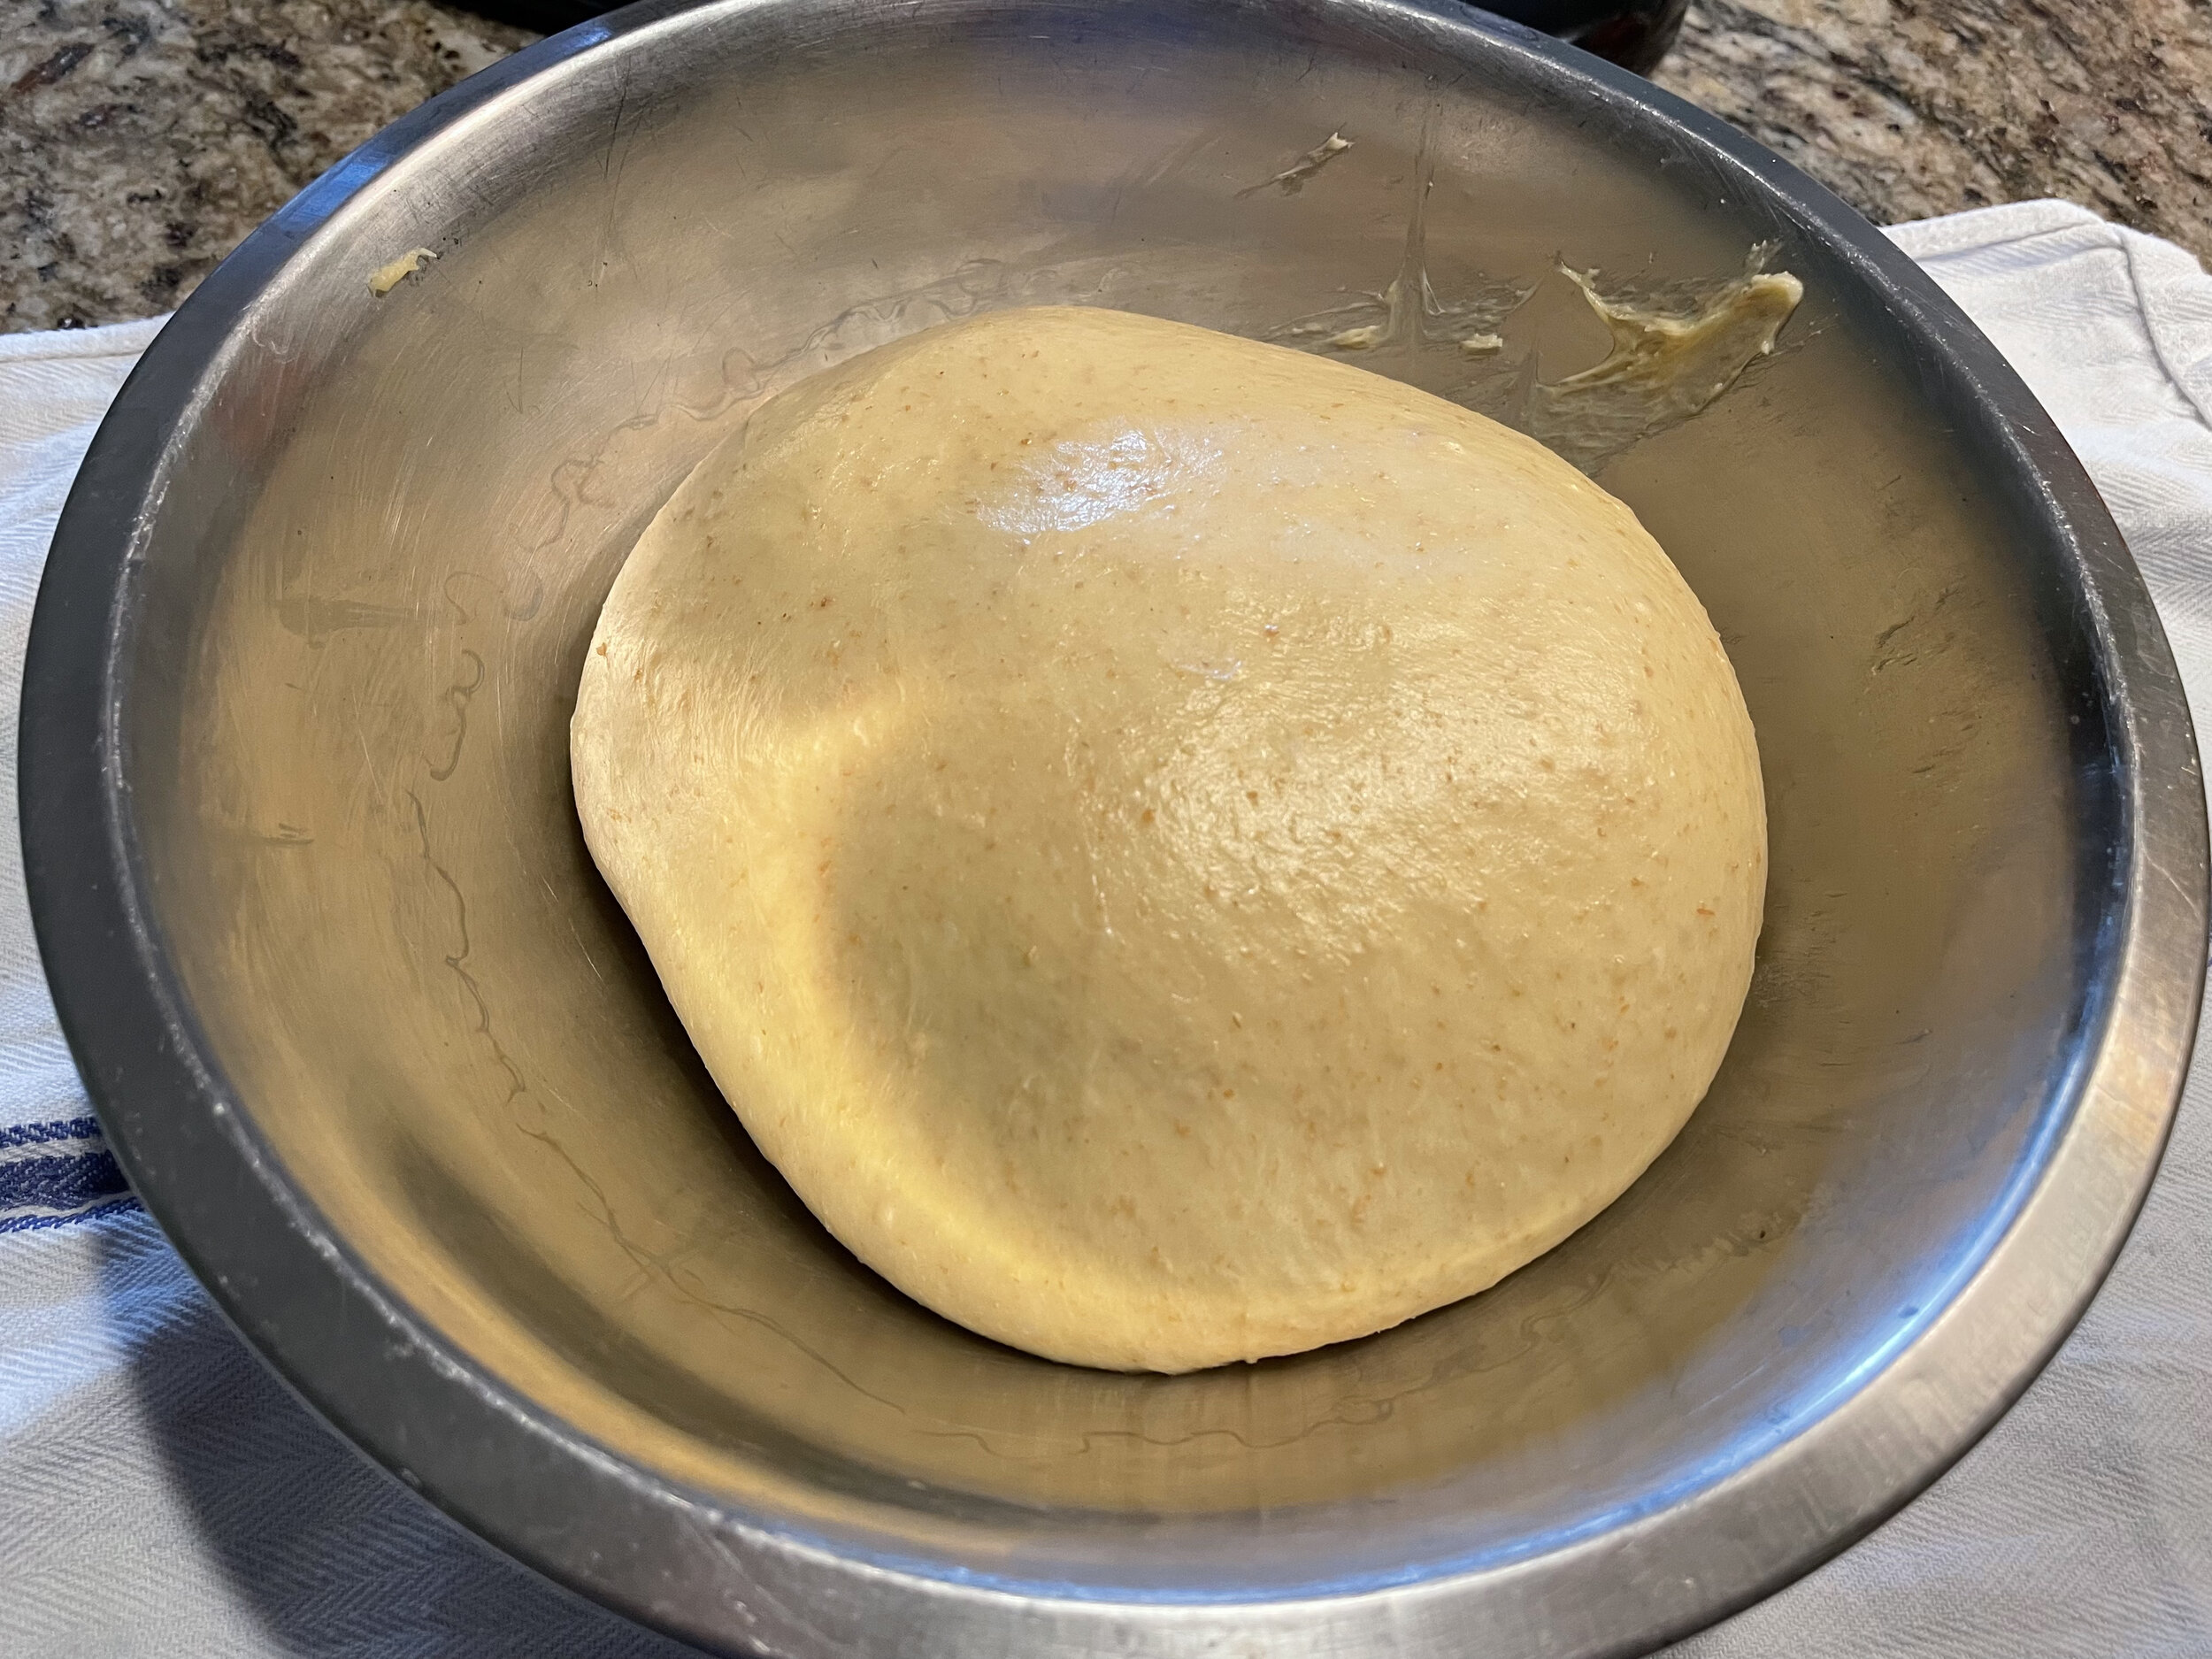
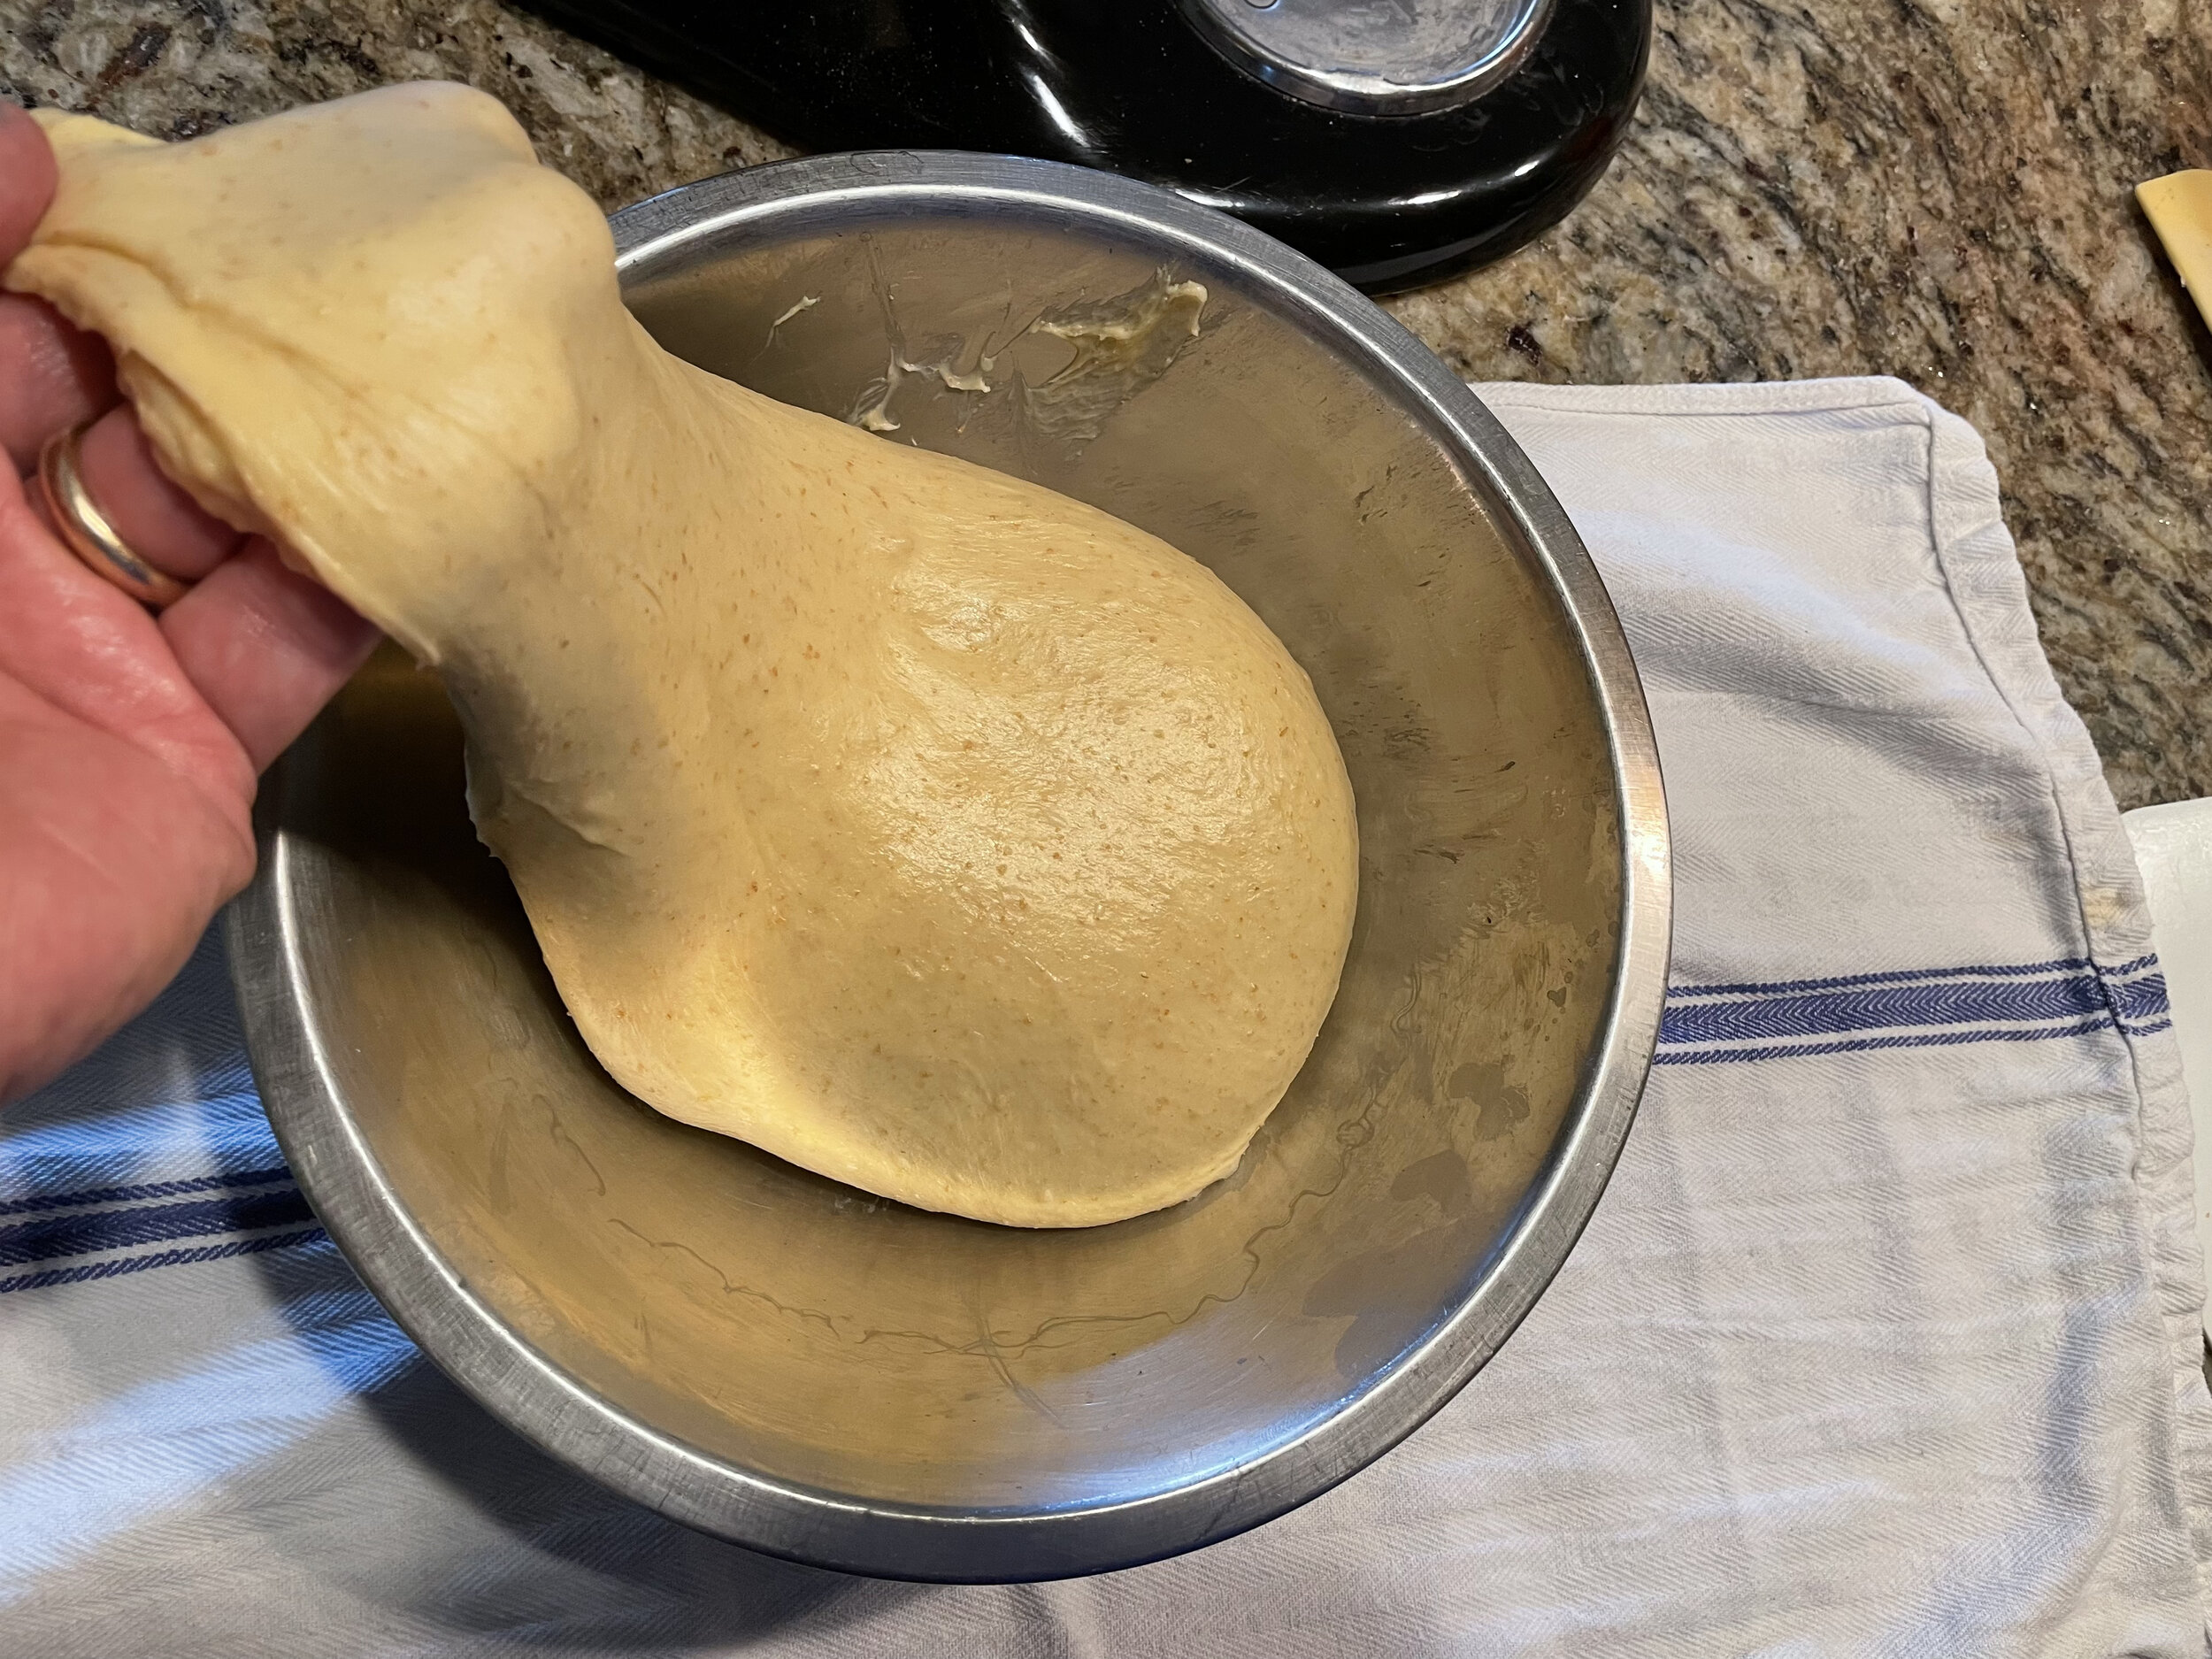
Mixing Brioche
Brioche is always mixed the first day and baked the second day. Sure, you could start early in the morning and bake late at night. But it’s not recommended. Longer fermentation will increase flavor and texture in the brioche. You’ll taste that slightly sweet/sour tang in your finished product. I’m going to talk about two different shapes, nantaire and hamburger buns in this post but you can make any shape you want with this particular dough.
Day 1
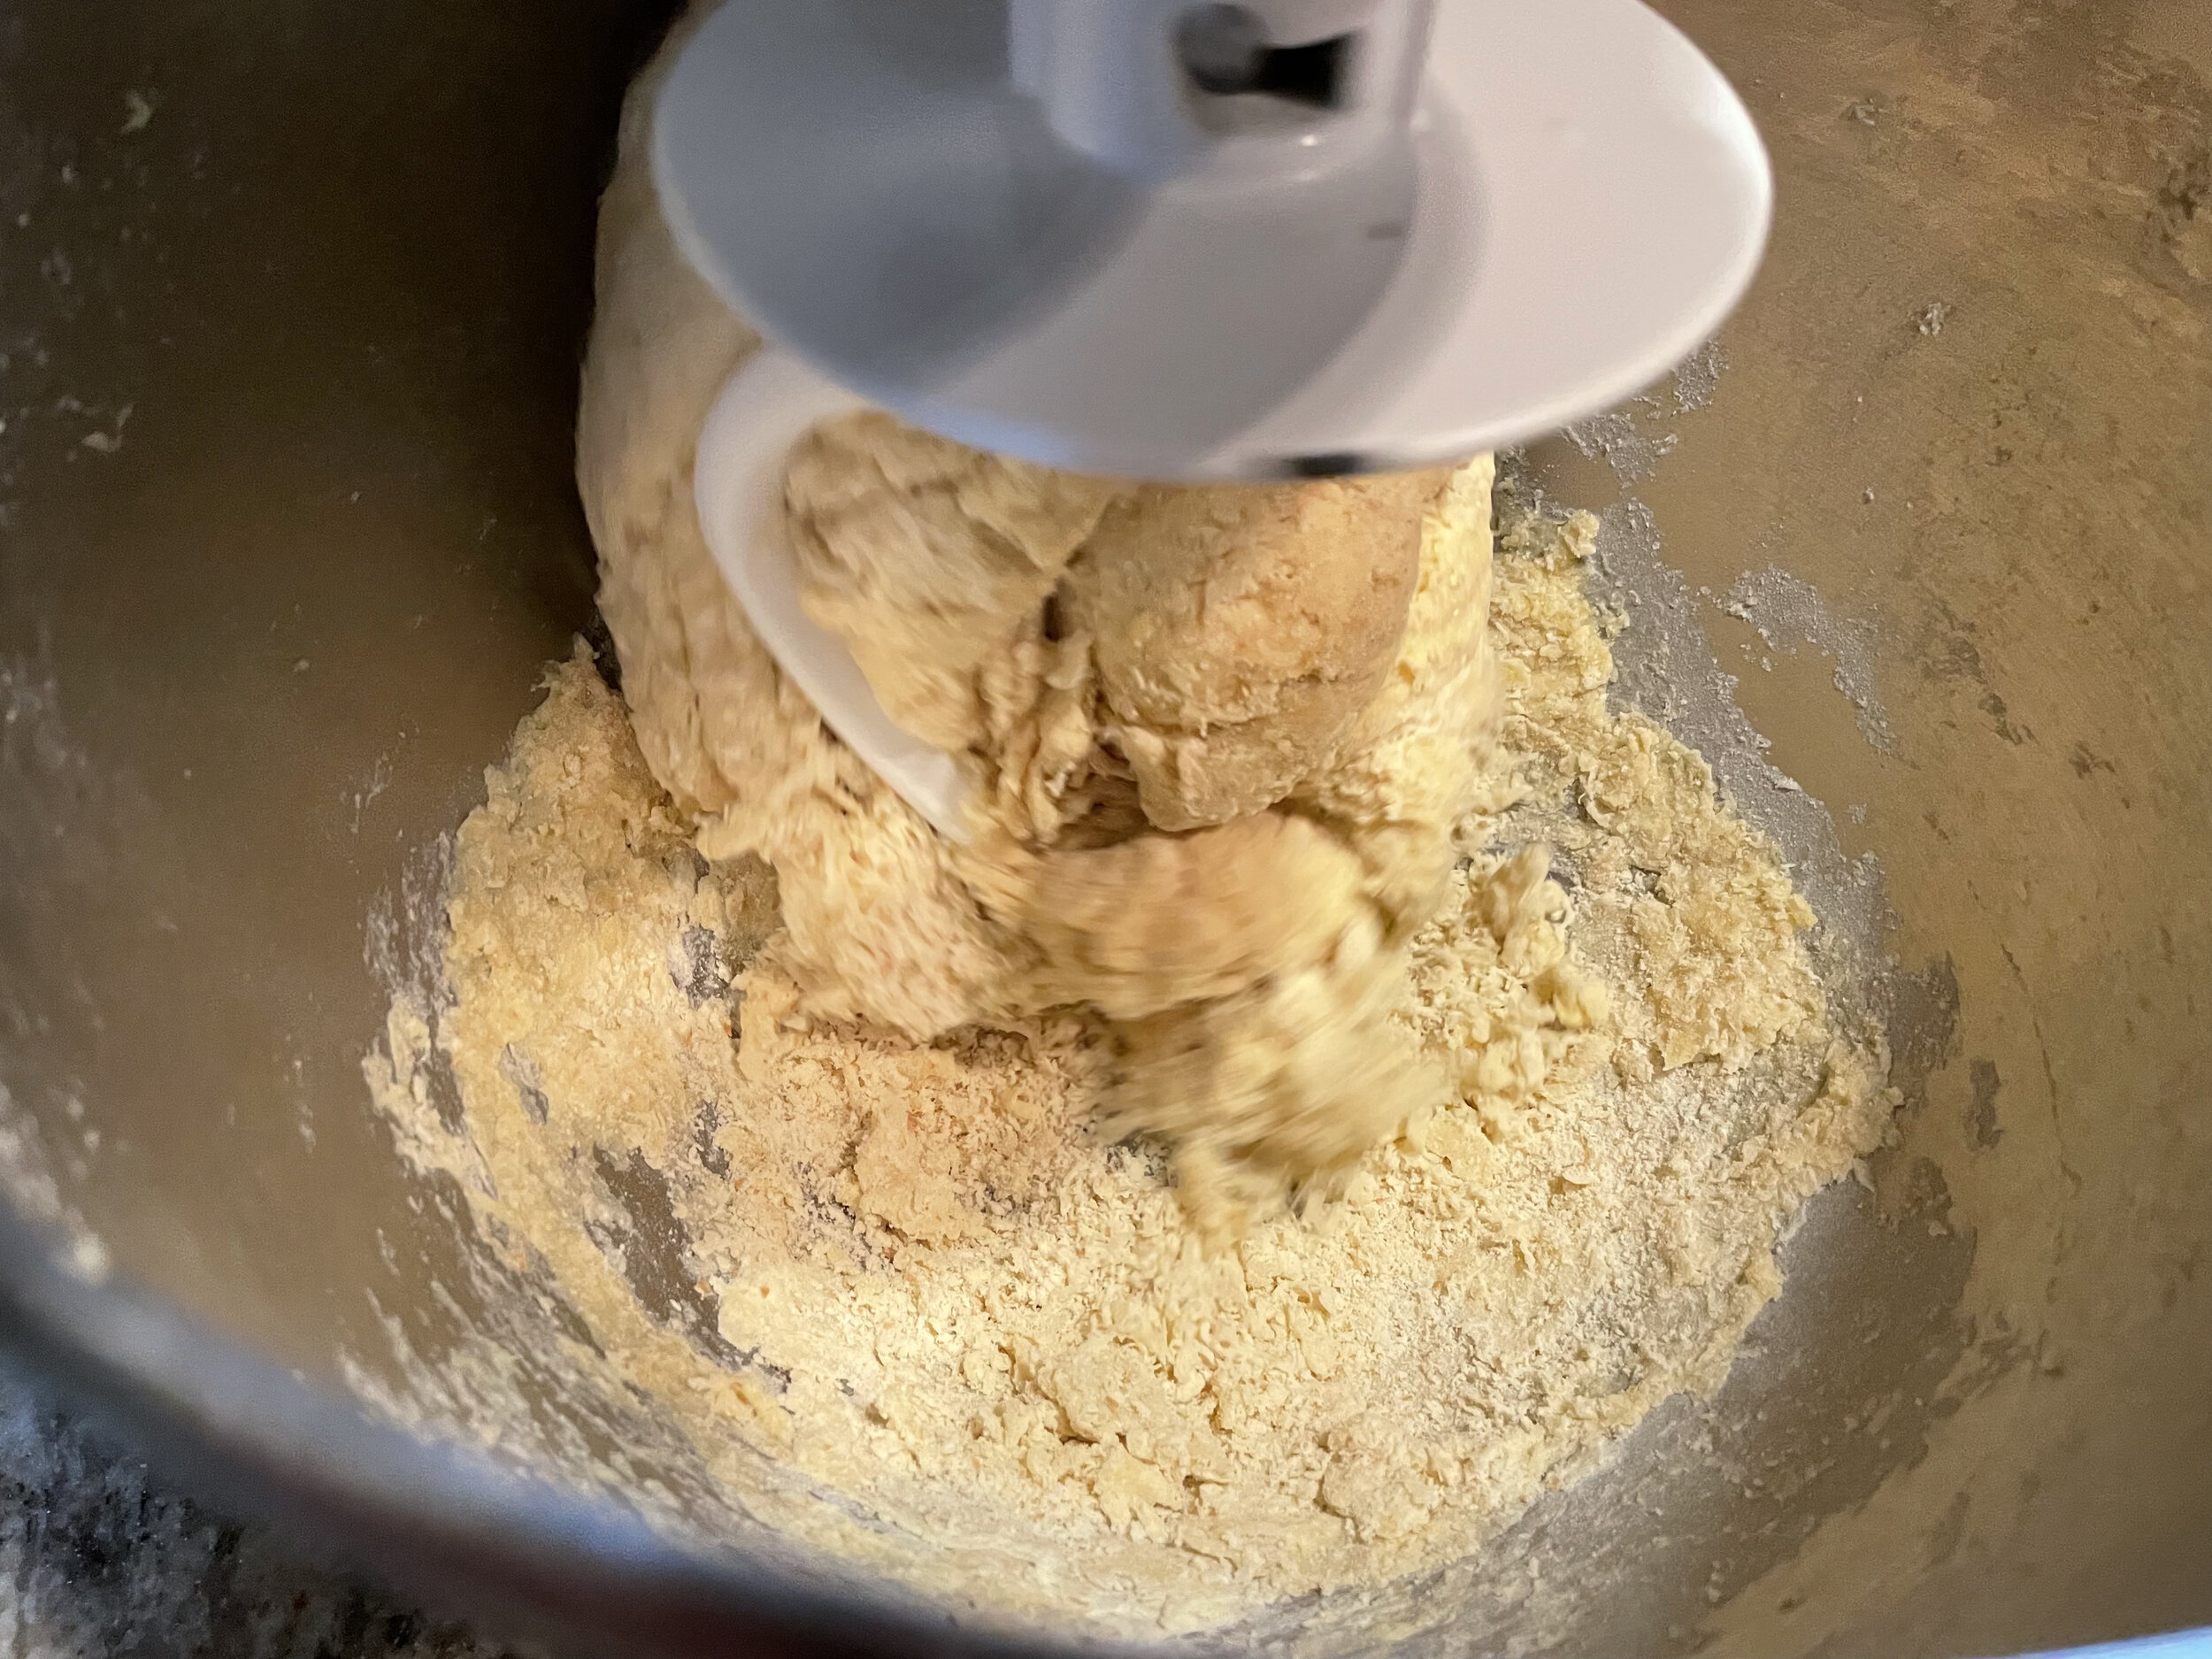
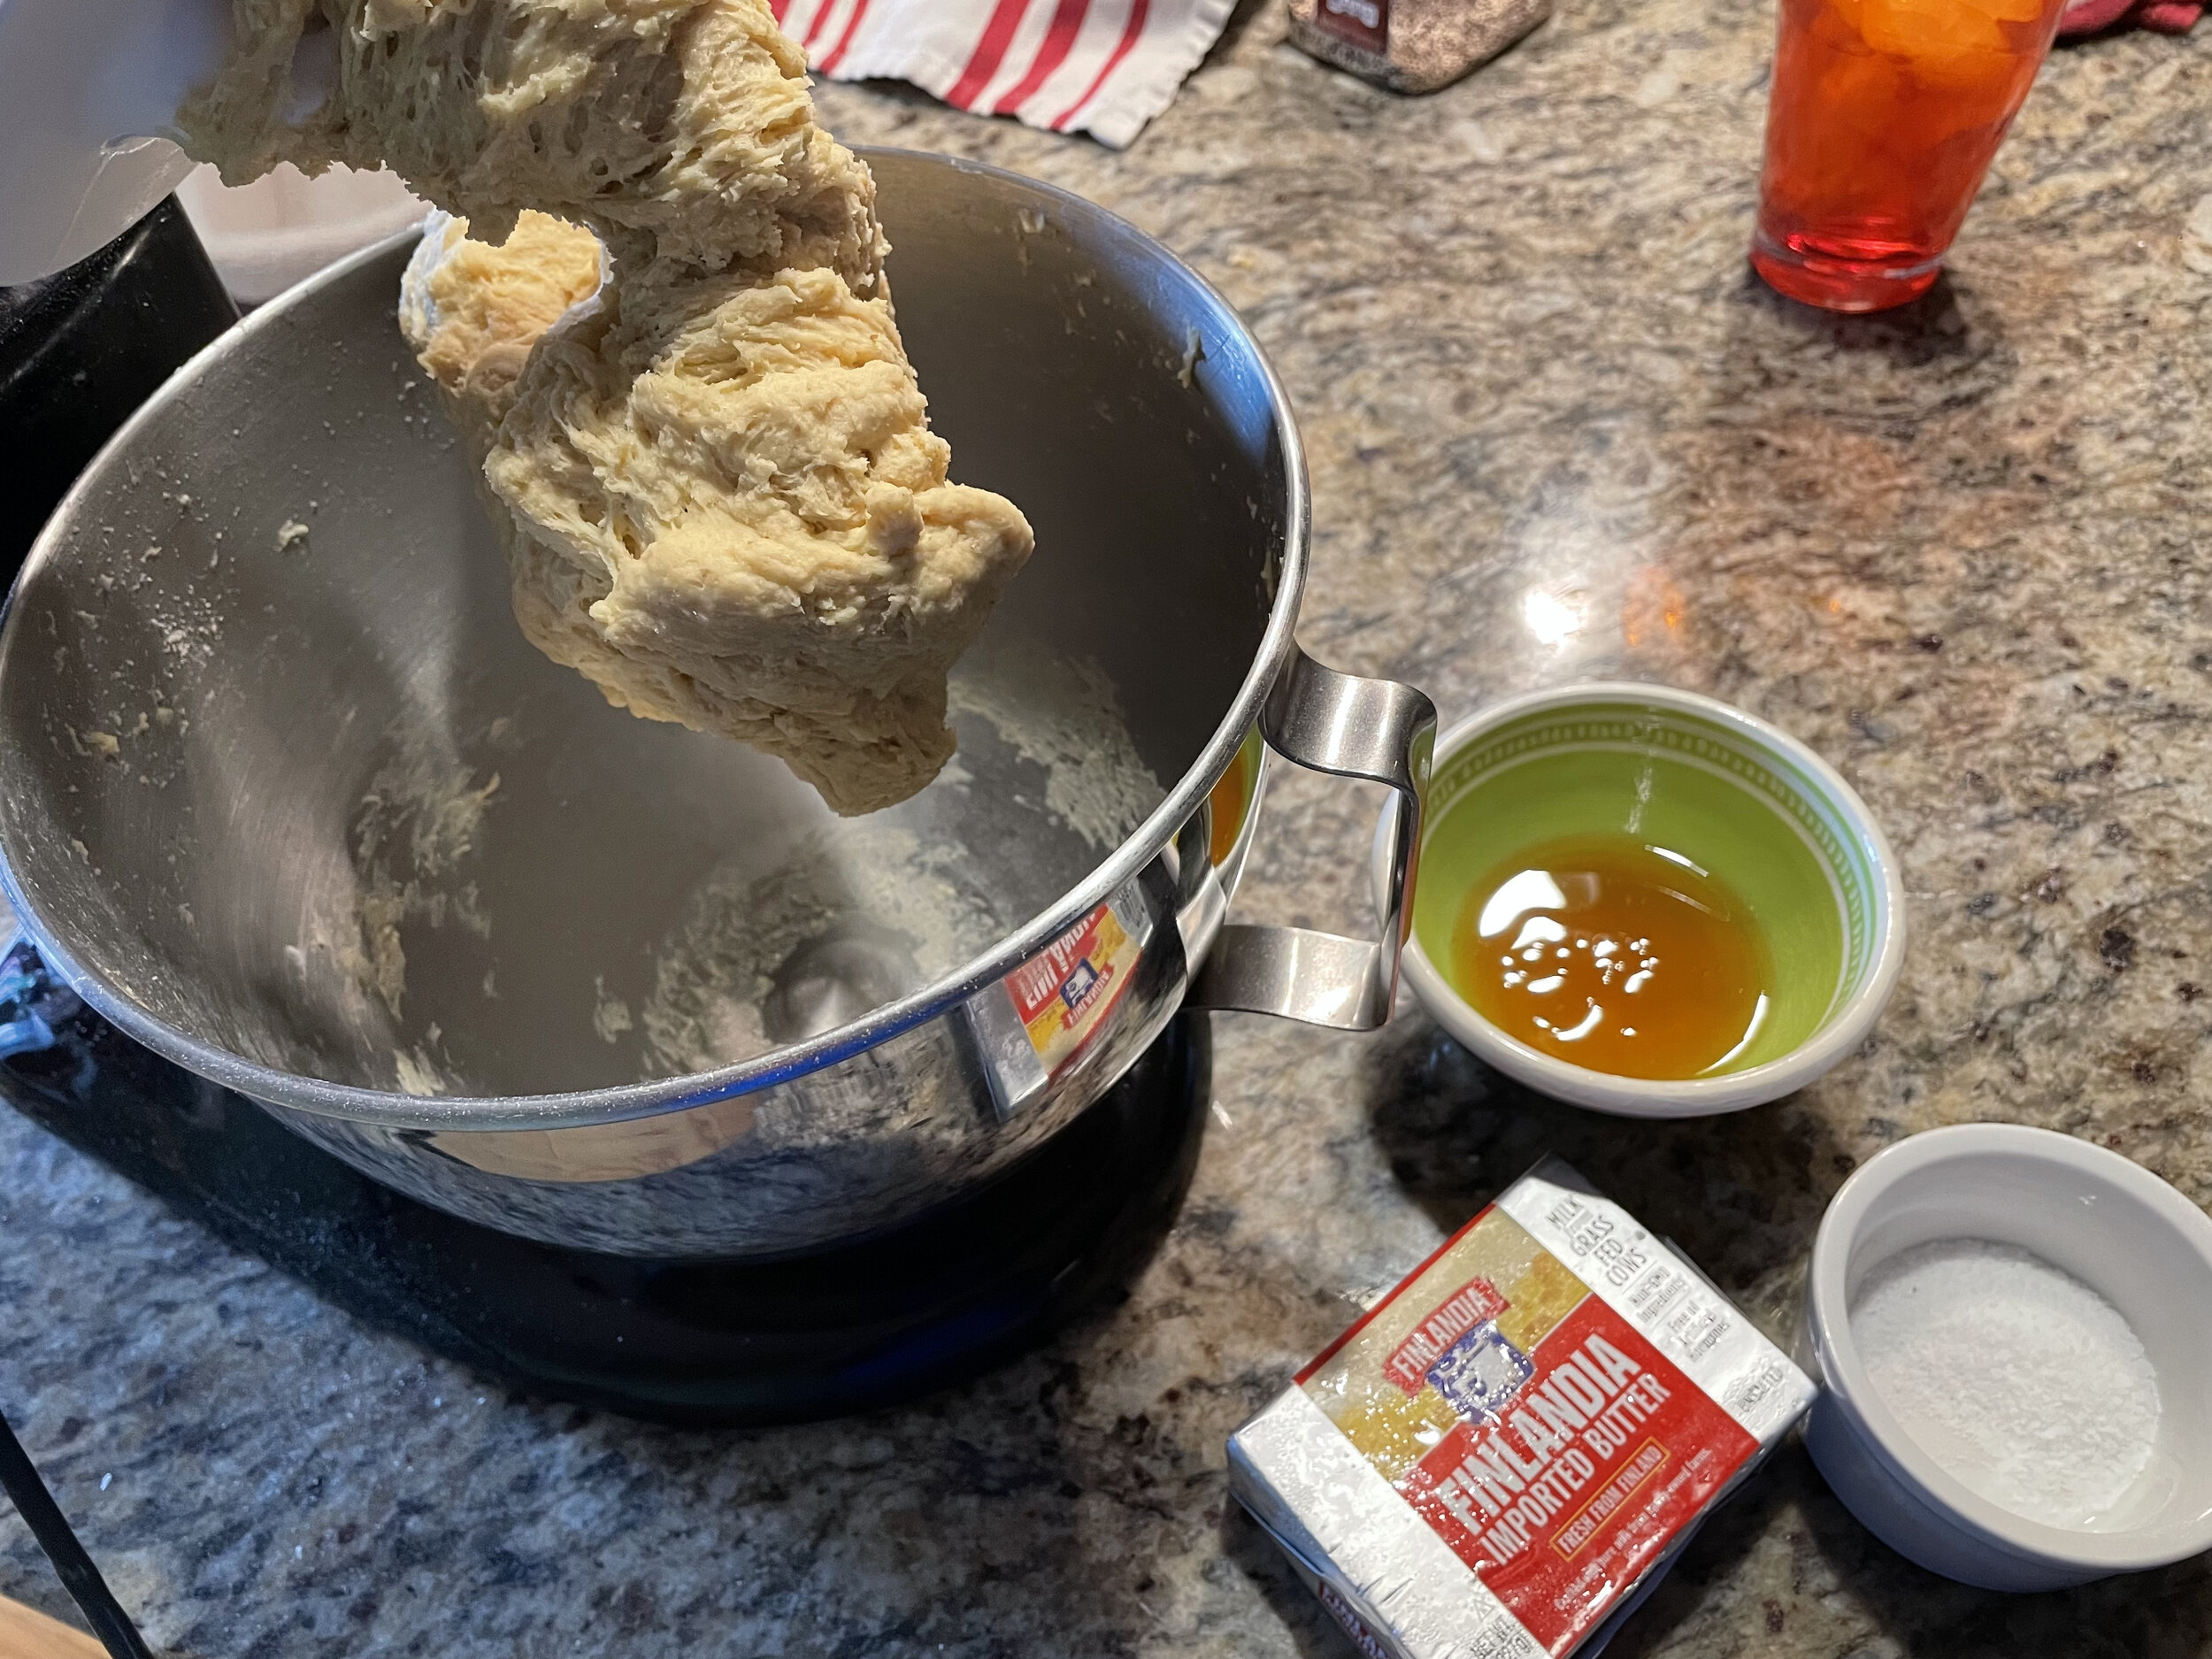
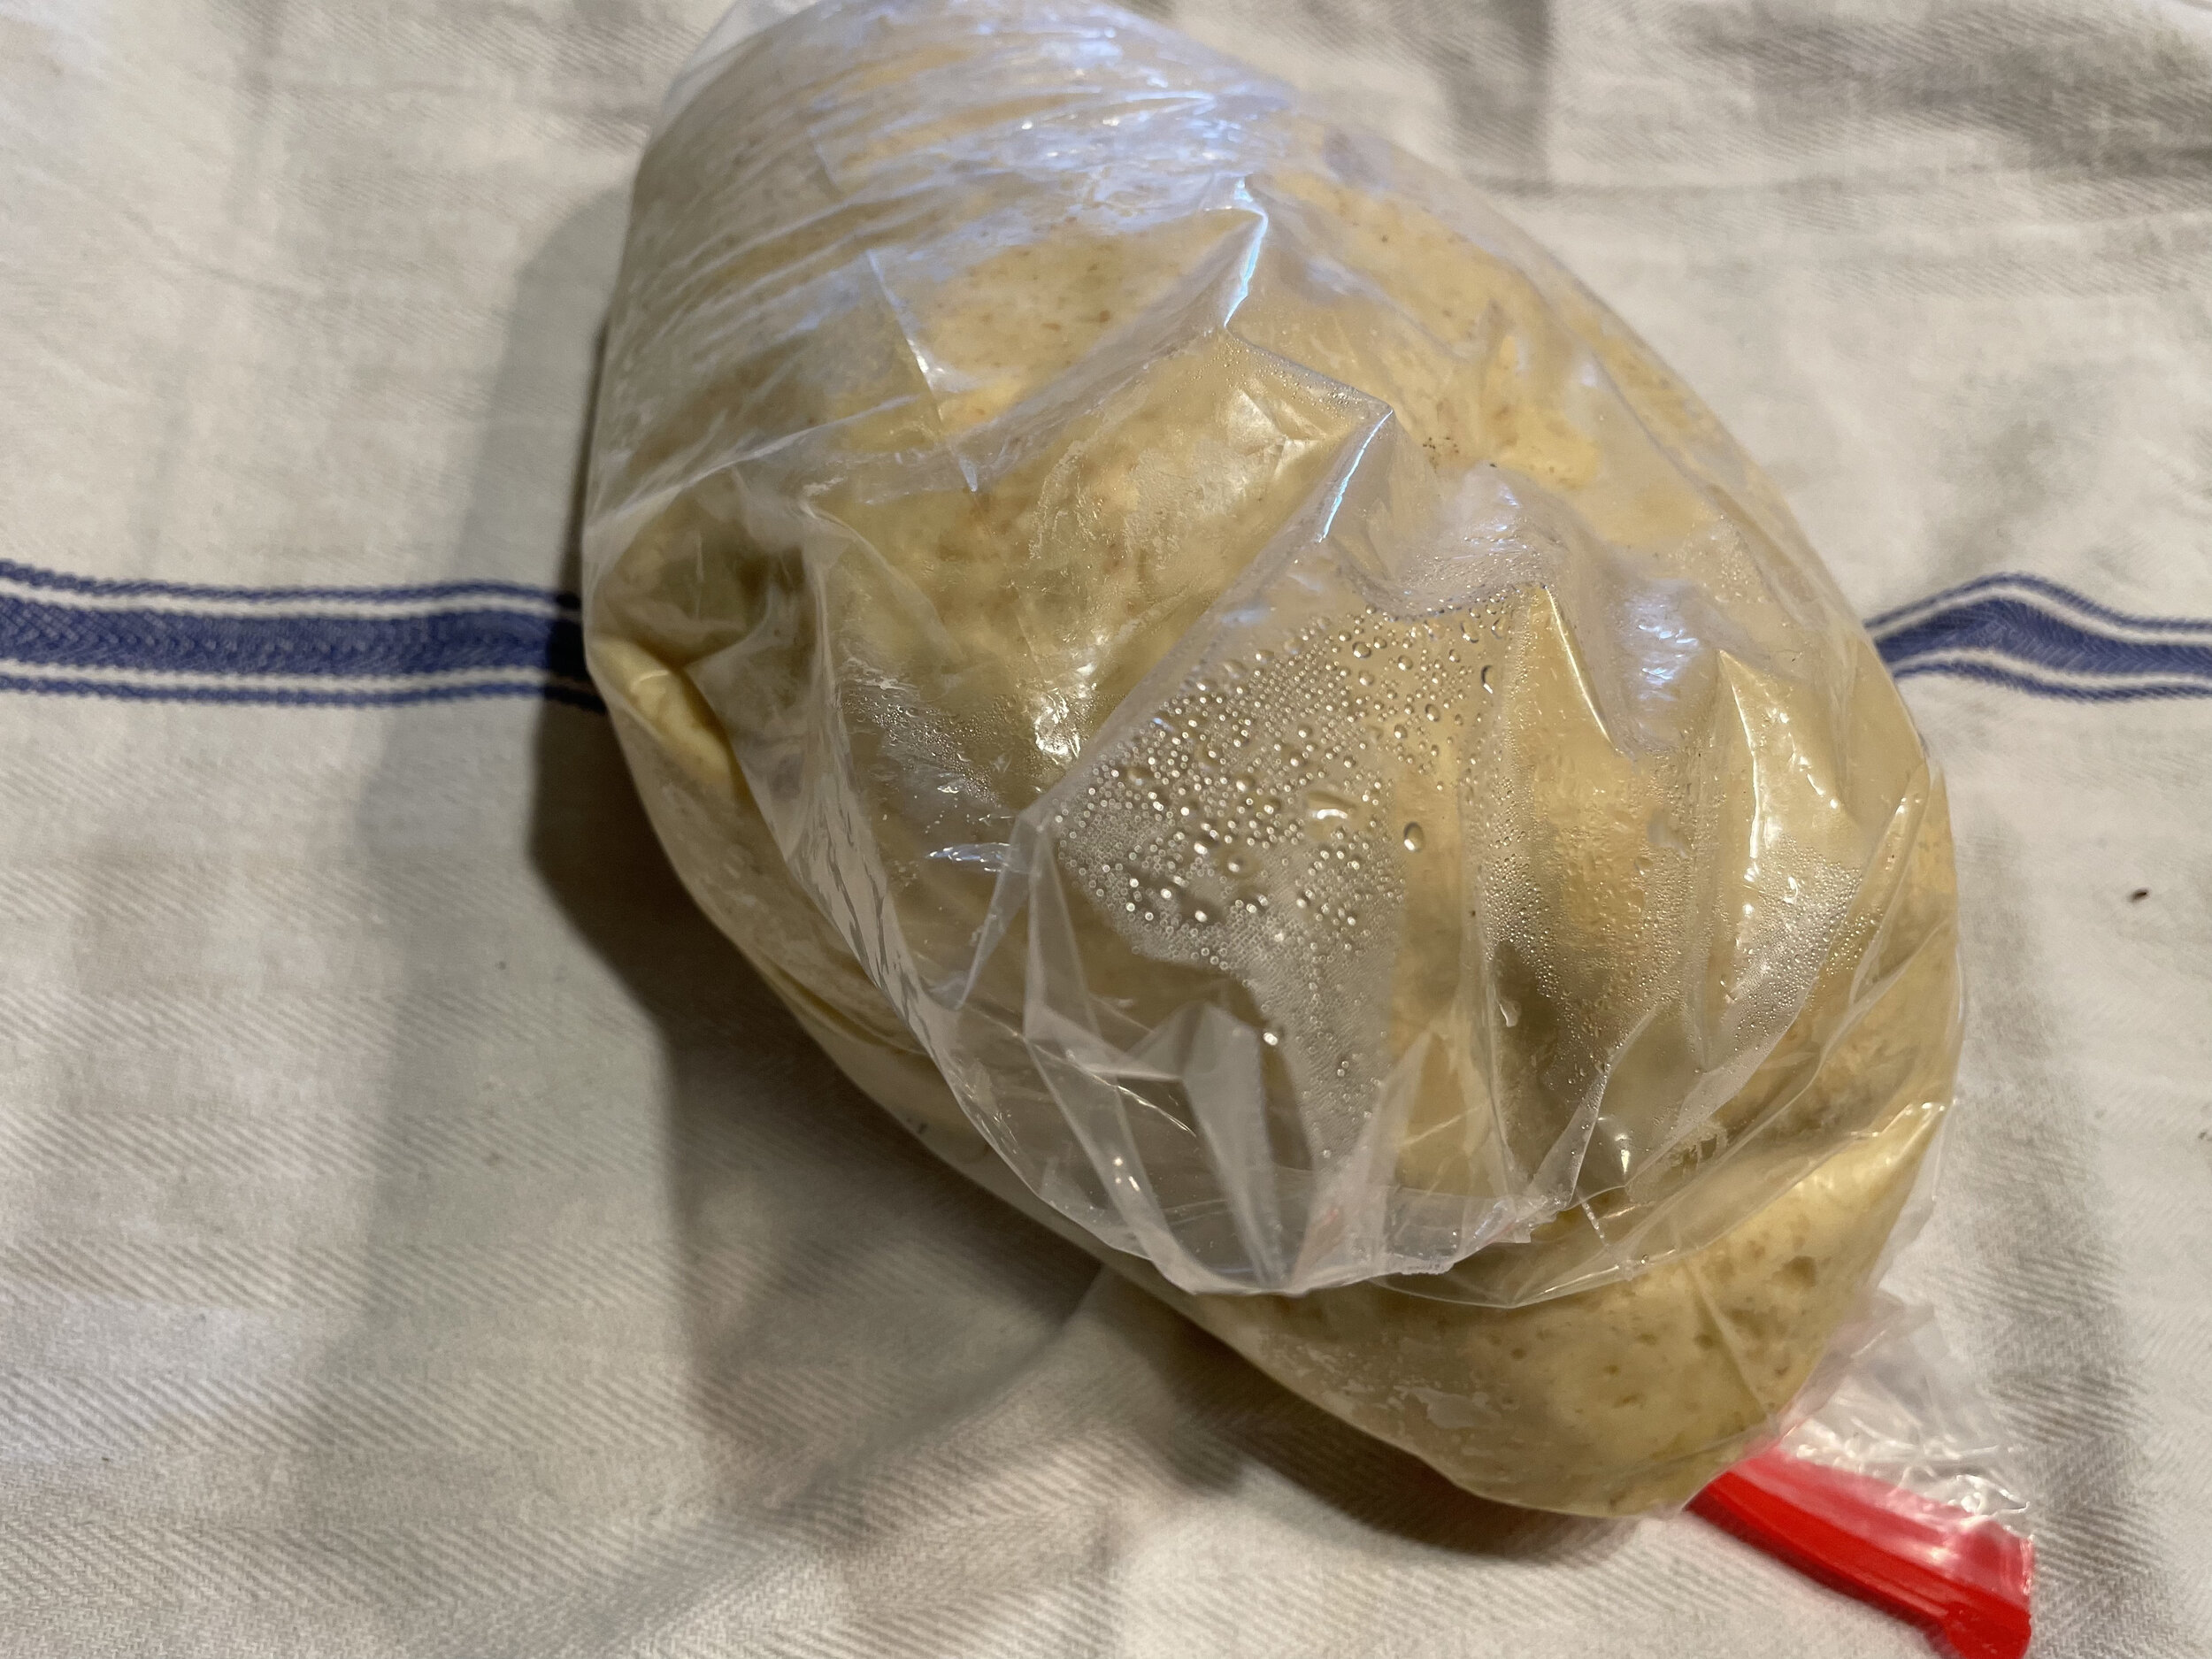
Scale your ingredients including the butter. (note on butter, see below) It’s a straight dough so put the flour, eggs, yeast and milk in the mixer and mix on slow speed for about 4 minutes. Then add the salt and sugar. Mix it another 4 minutes at a higher speed. During this time, you may find the dough is pretty stiff and may break up a bit. Stay with it and it will come together. If you find it’s too stiff for the mixer (the mixer is struggling or producing smoke), stop the mixer and add a bit of water or milk. Loosen it up to the point where it forms an elastic dough. After mixing the two 4 minute sections, you can add the butter. I like using cold butter here. Don’t let the butter get too warm. Remember you want to emulsify the dough and butter, not melt the butter into the dough. Mix until the butter incorporates fully, about eight minutes. You will see many descriptions for brioche that mention to add the butter in small chunks and not to add another piece of butter until the previous one was incorporated. That was the way I learned. That was until I met Jeffrey Hamelman. He was teaching a course at the French Pastry School in Chicago. He told me to add all the butter at once. I was perplexed. I asked, “can you do that?” He grabbed the butter from my hand and put it in the running mixer. “I just did!”, he quipped. Well, it sure worked well and I have been making brioche like that ever since. You’ll think the dough will never become elastic and silky...until it does. It will clean the bowl and you will have this amazing soft, but not sticky, dough. Place the dough in a covered container for overnight cold fermentation. I use ziplock bags but a covered box or bowl will do as well.
A note on butter:
I like to use a good quality European butter. I used Finlandia for this batch but I have used Kerry Gold, Danish butter, Italian butter. My favorite is President butter from France. It has the most sweet beautiful flavor. It’s worth it to invest in some good butter when you are making brioche much like croissants and Danish. It improves the texture, flavor, color and handling aspects of the dough. Remember butter is 50% of your dough.
Day 2
Remove the dough from the refrigerator and take it out of the container. Cover it with a towel or some plastic. You’ll see that the dough has not changed much from the day before. It may puff up a bit. But don’t be surprised if you don’t see any change at all. Let it sit at room temperature for a few minutes. Then cut the dough into the sizes of what you want to make. There’s lots of ways to go. I made 65g hamburger rolls and a nantaire (loaf pan) of 600g. You can make smaller dinner rolls at 50g. You can make cinnamon rolls (see the post from a few weeks back). You can do brioche a tete. That is brioche with a head. Typically you would use special molds for this but you can use a muffin pan. You could do a cake pan at 500g-600g. If you have a particularly decorative bundt pan, brioche is perfect to bake in it. Even just a plain cake pan will be fine. There’s a dessert that is brioche baked in a cake pan, split in two layers, filled with pastry cream and topped with caramel. But that’s another post. The bottom line is you can do a lot with brioche dough.
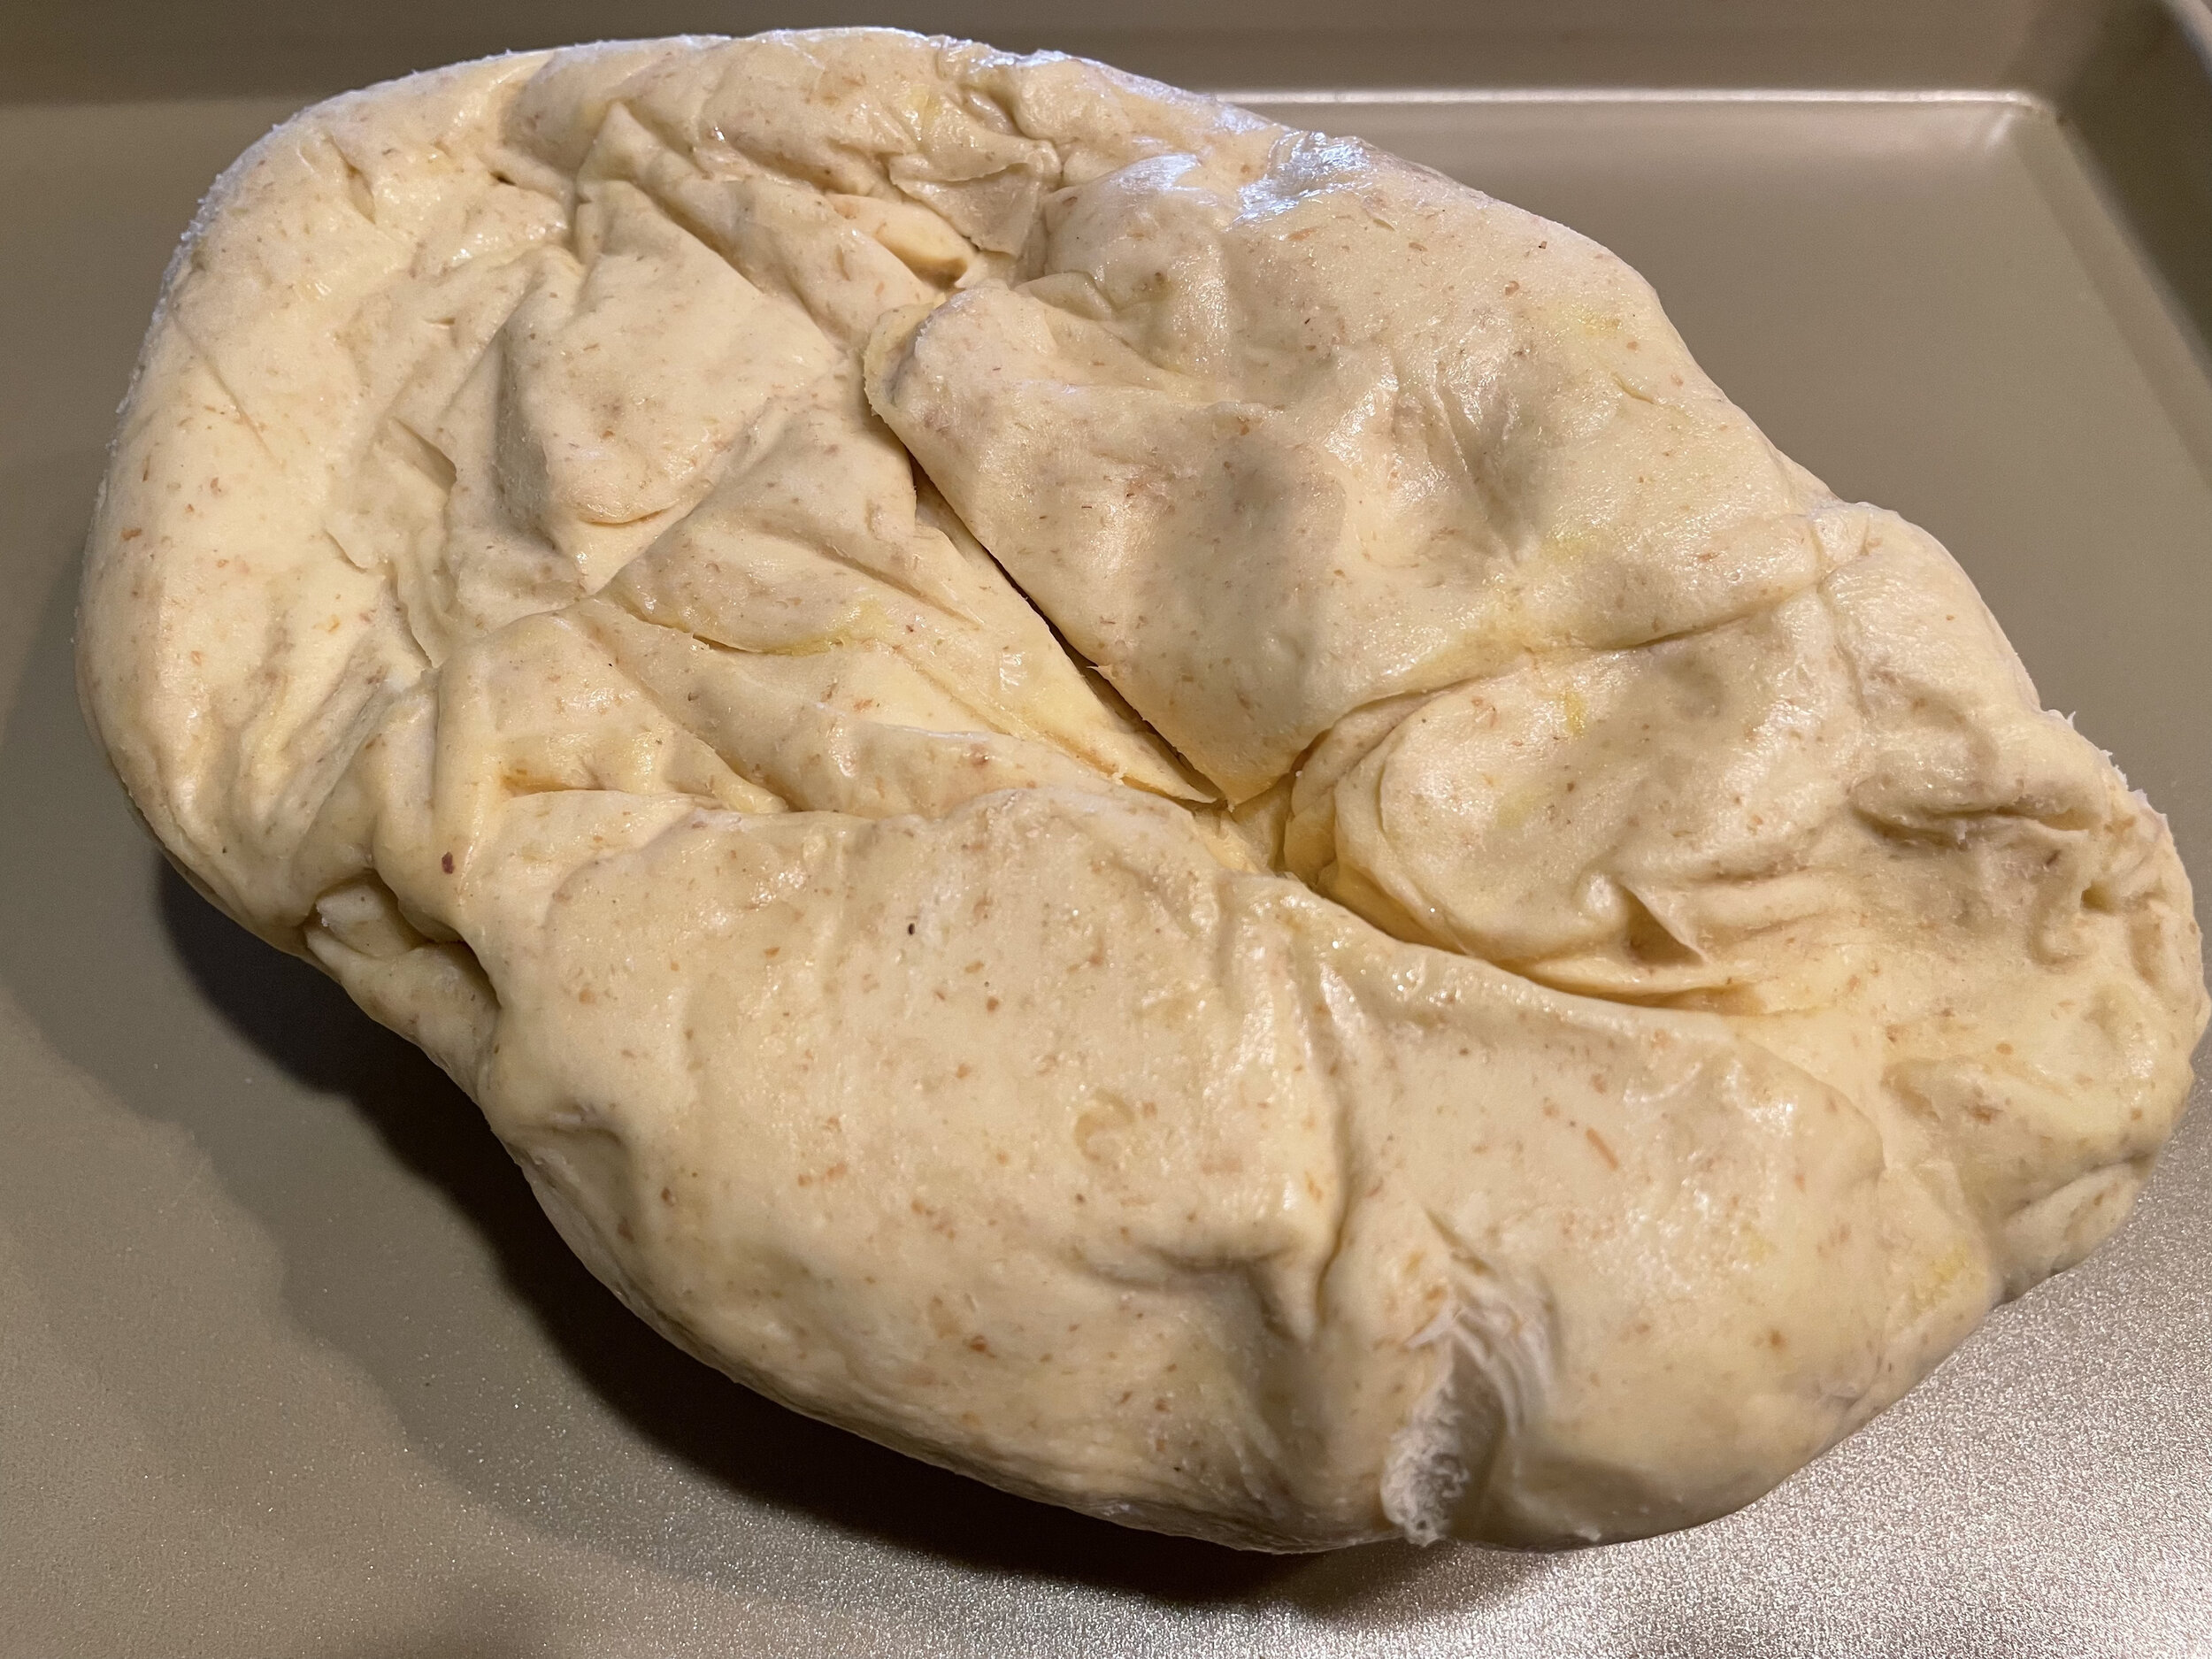
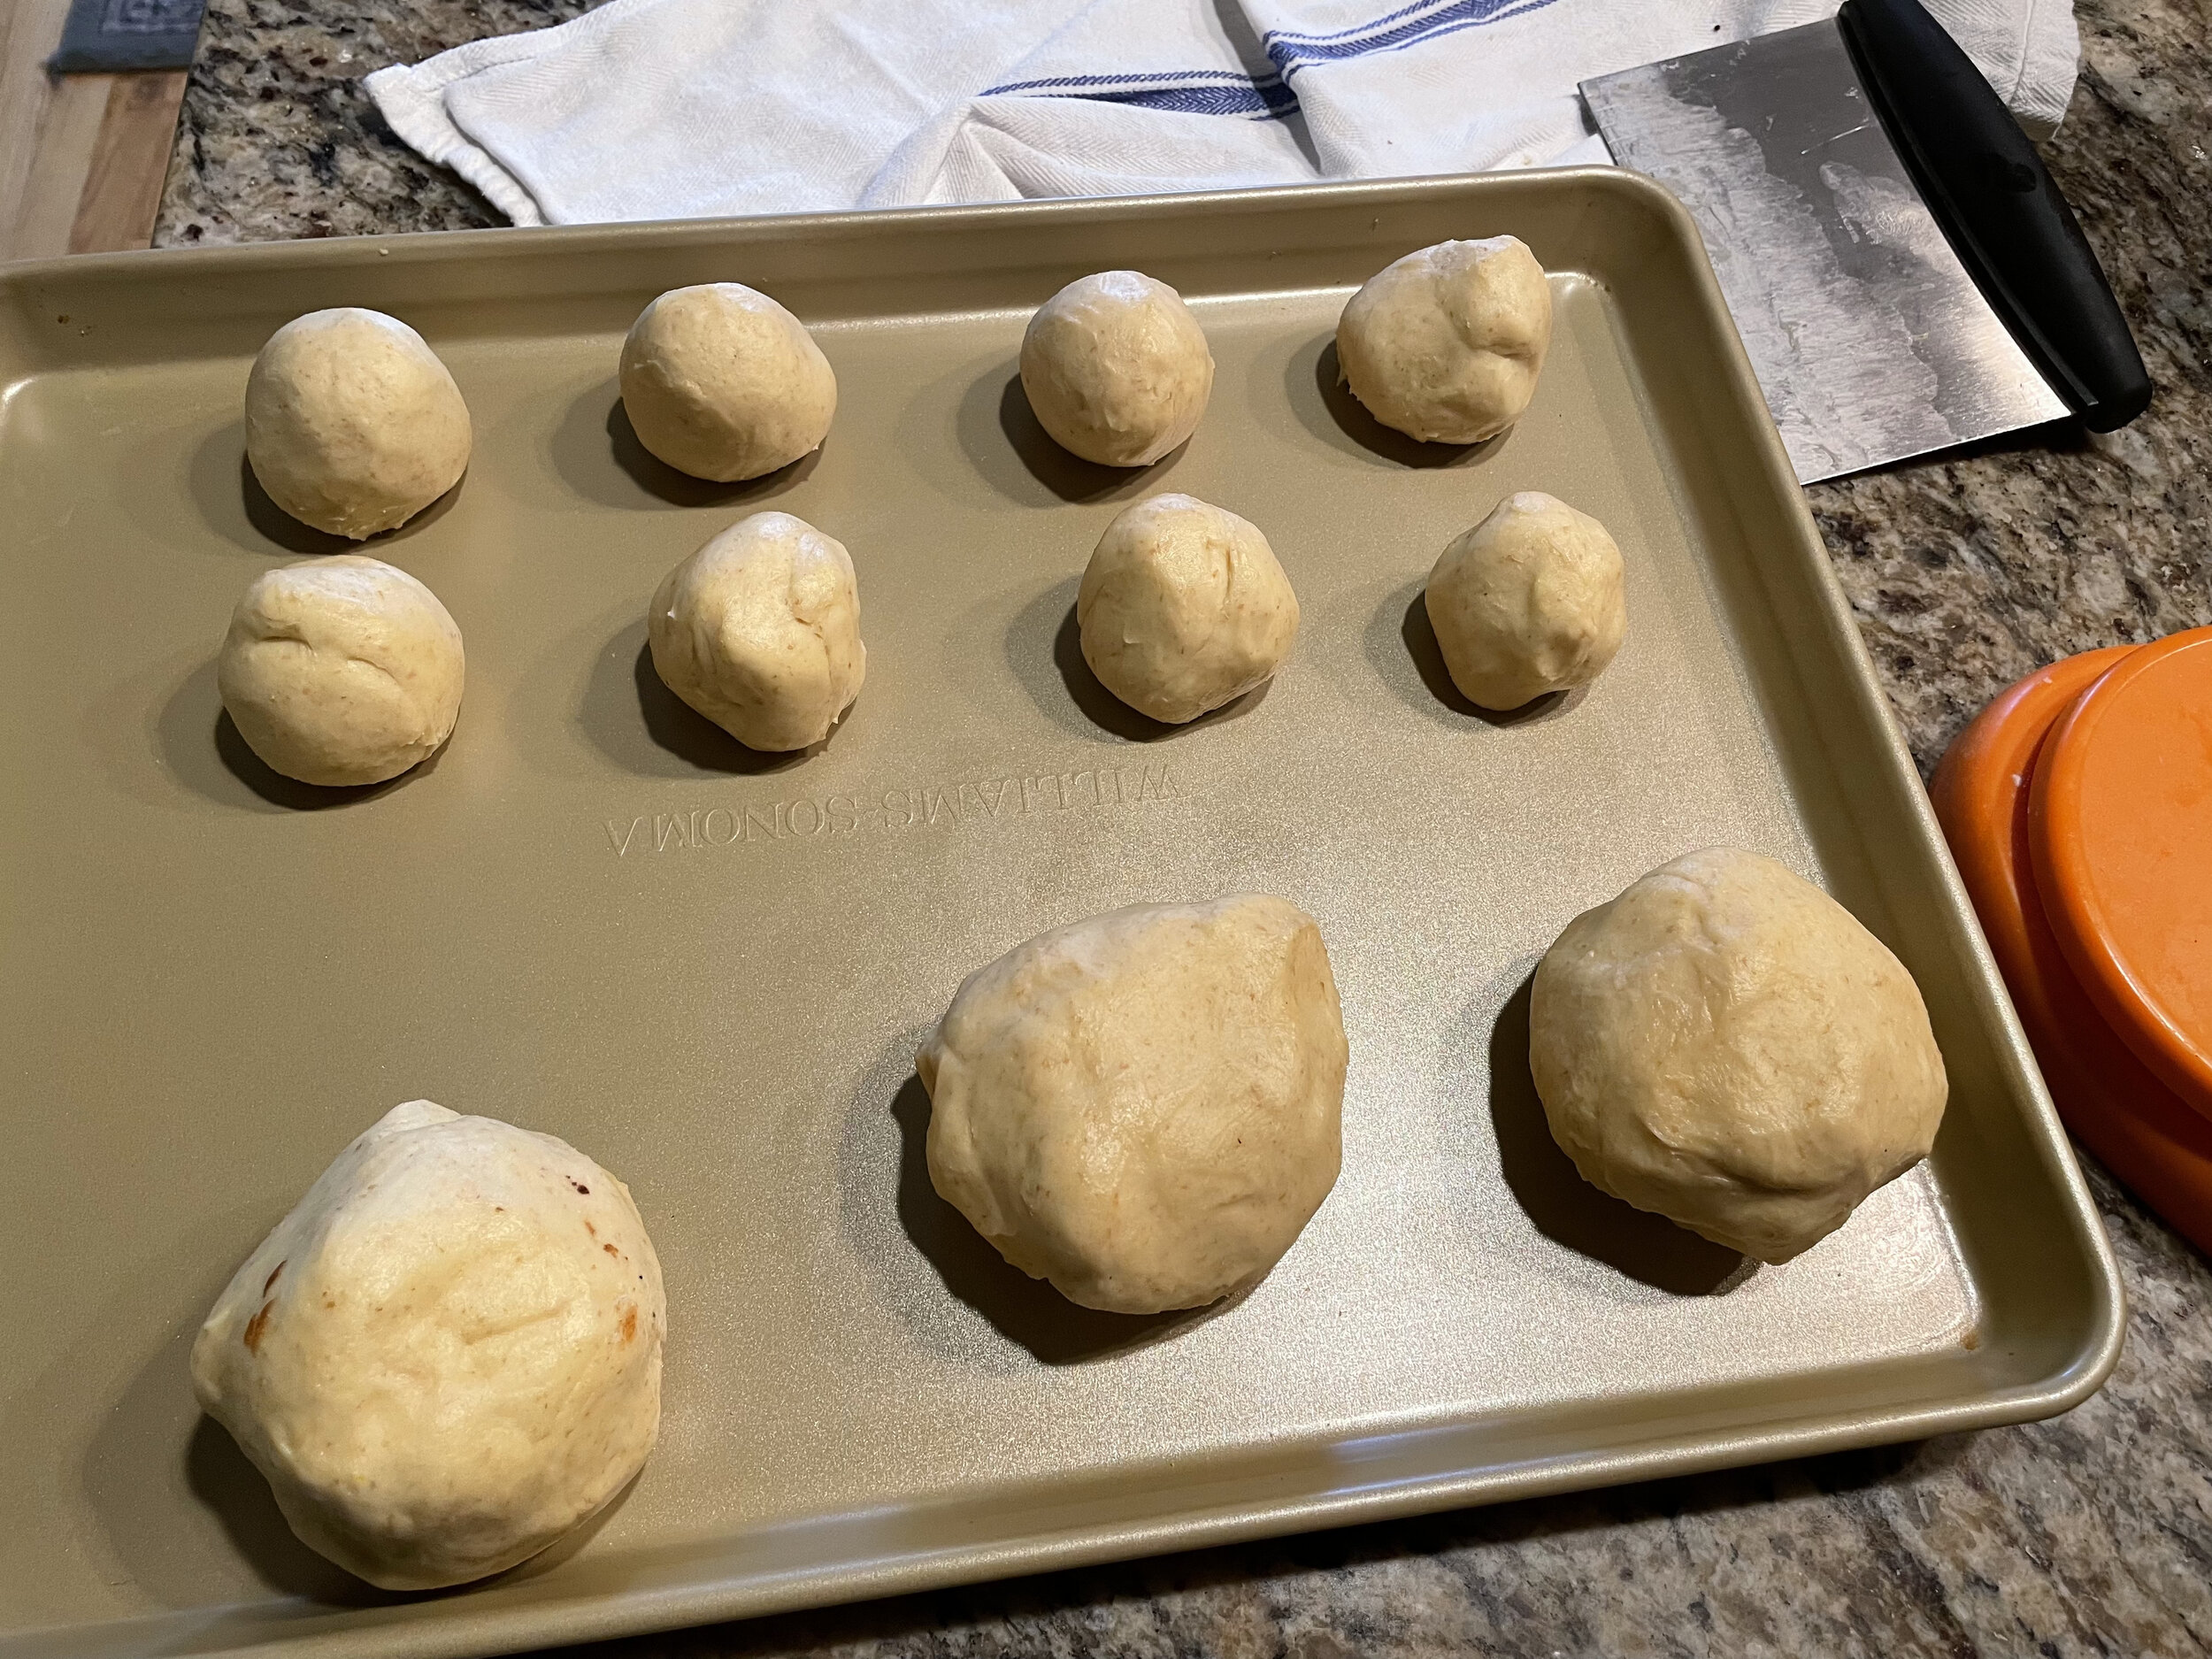
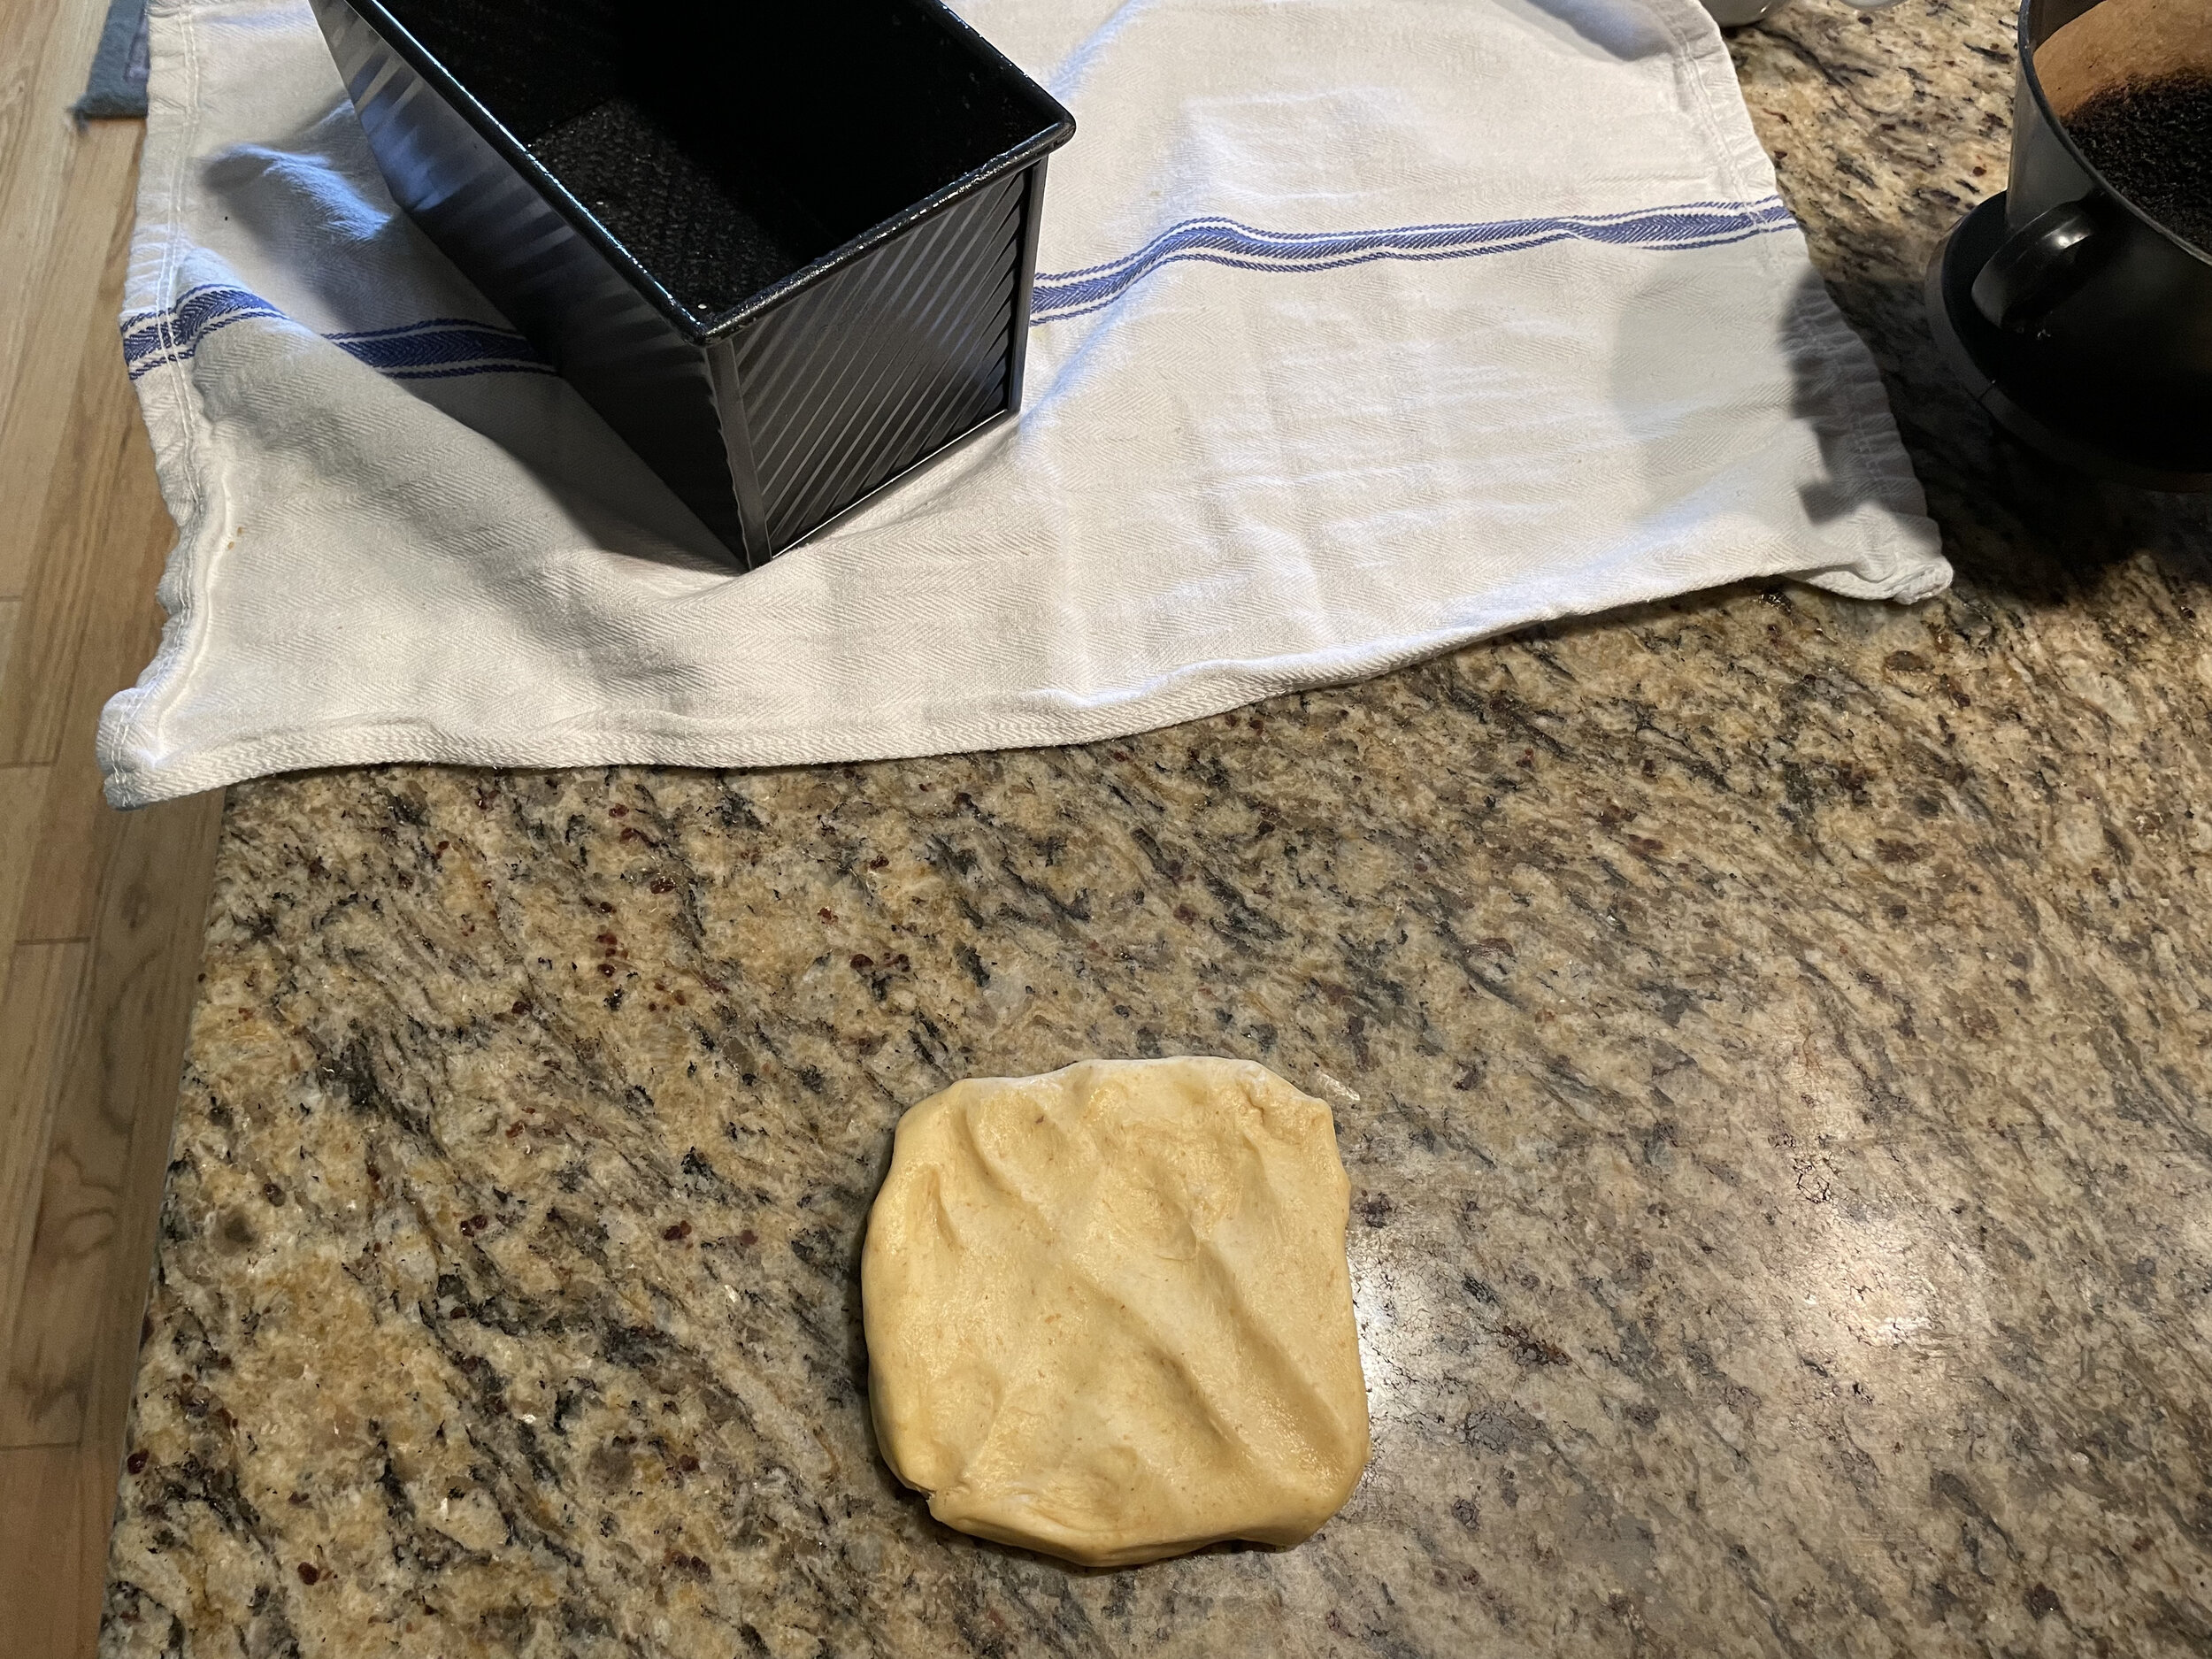
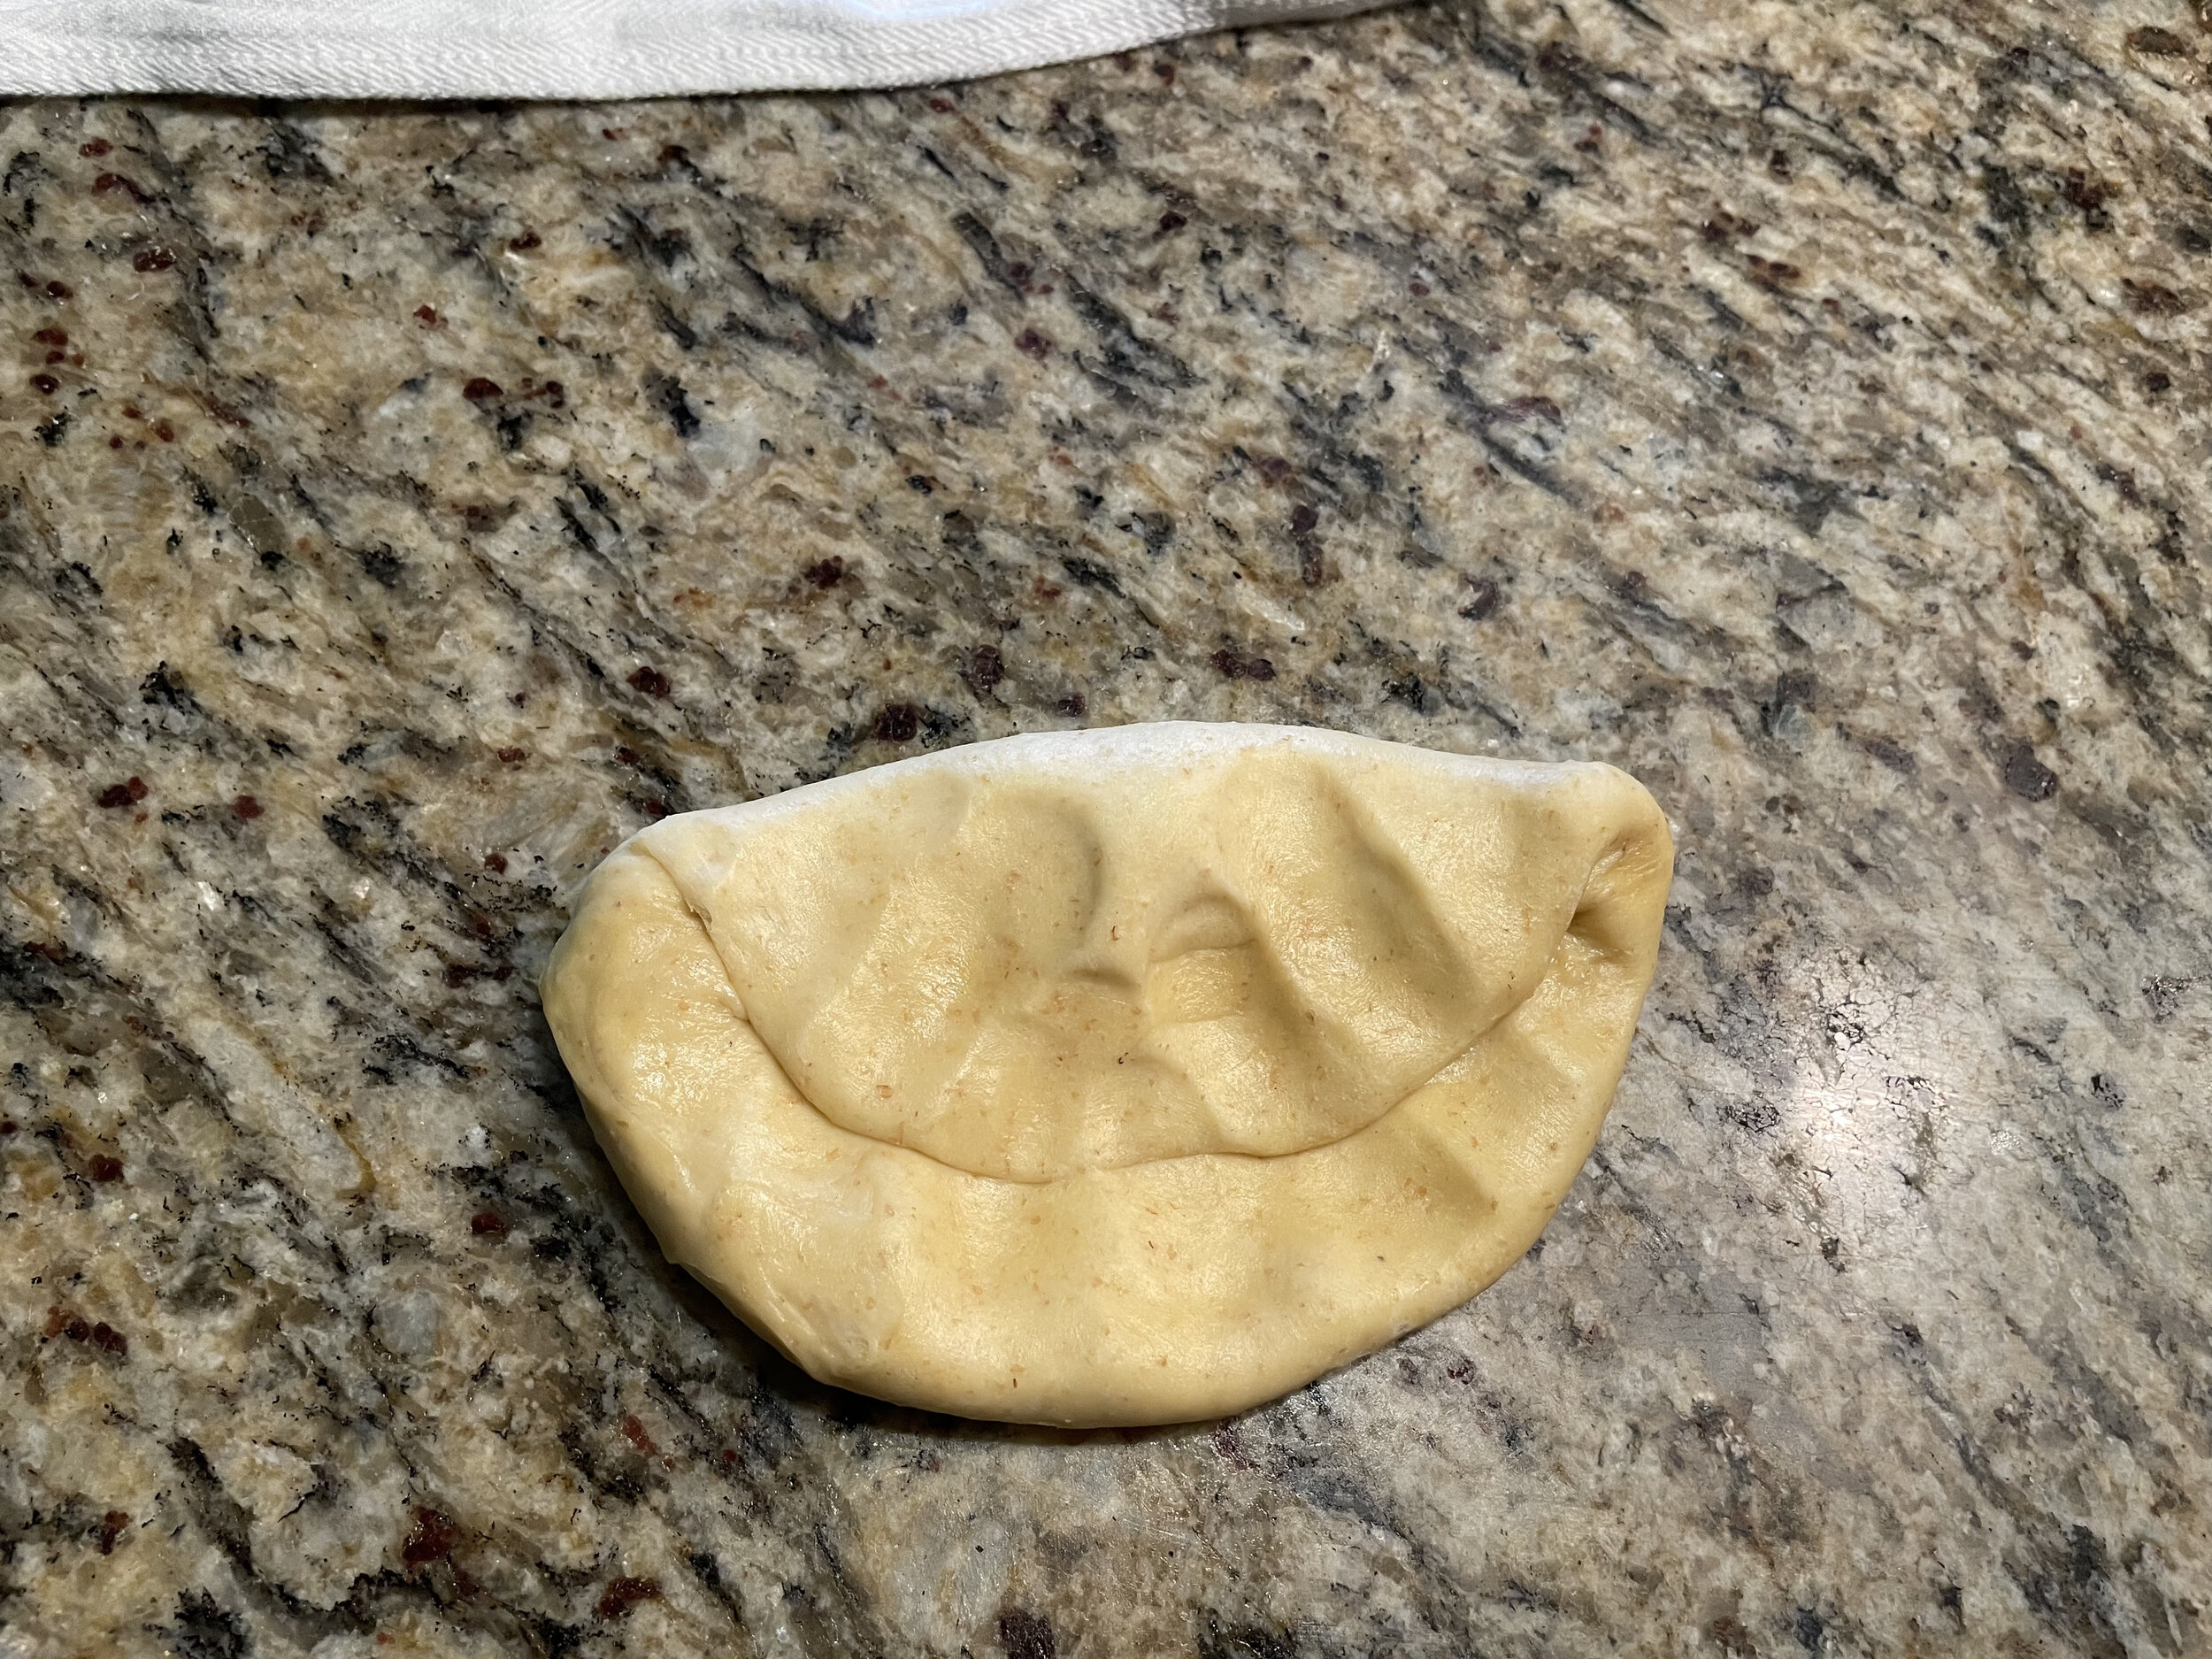
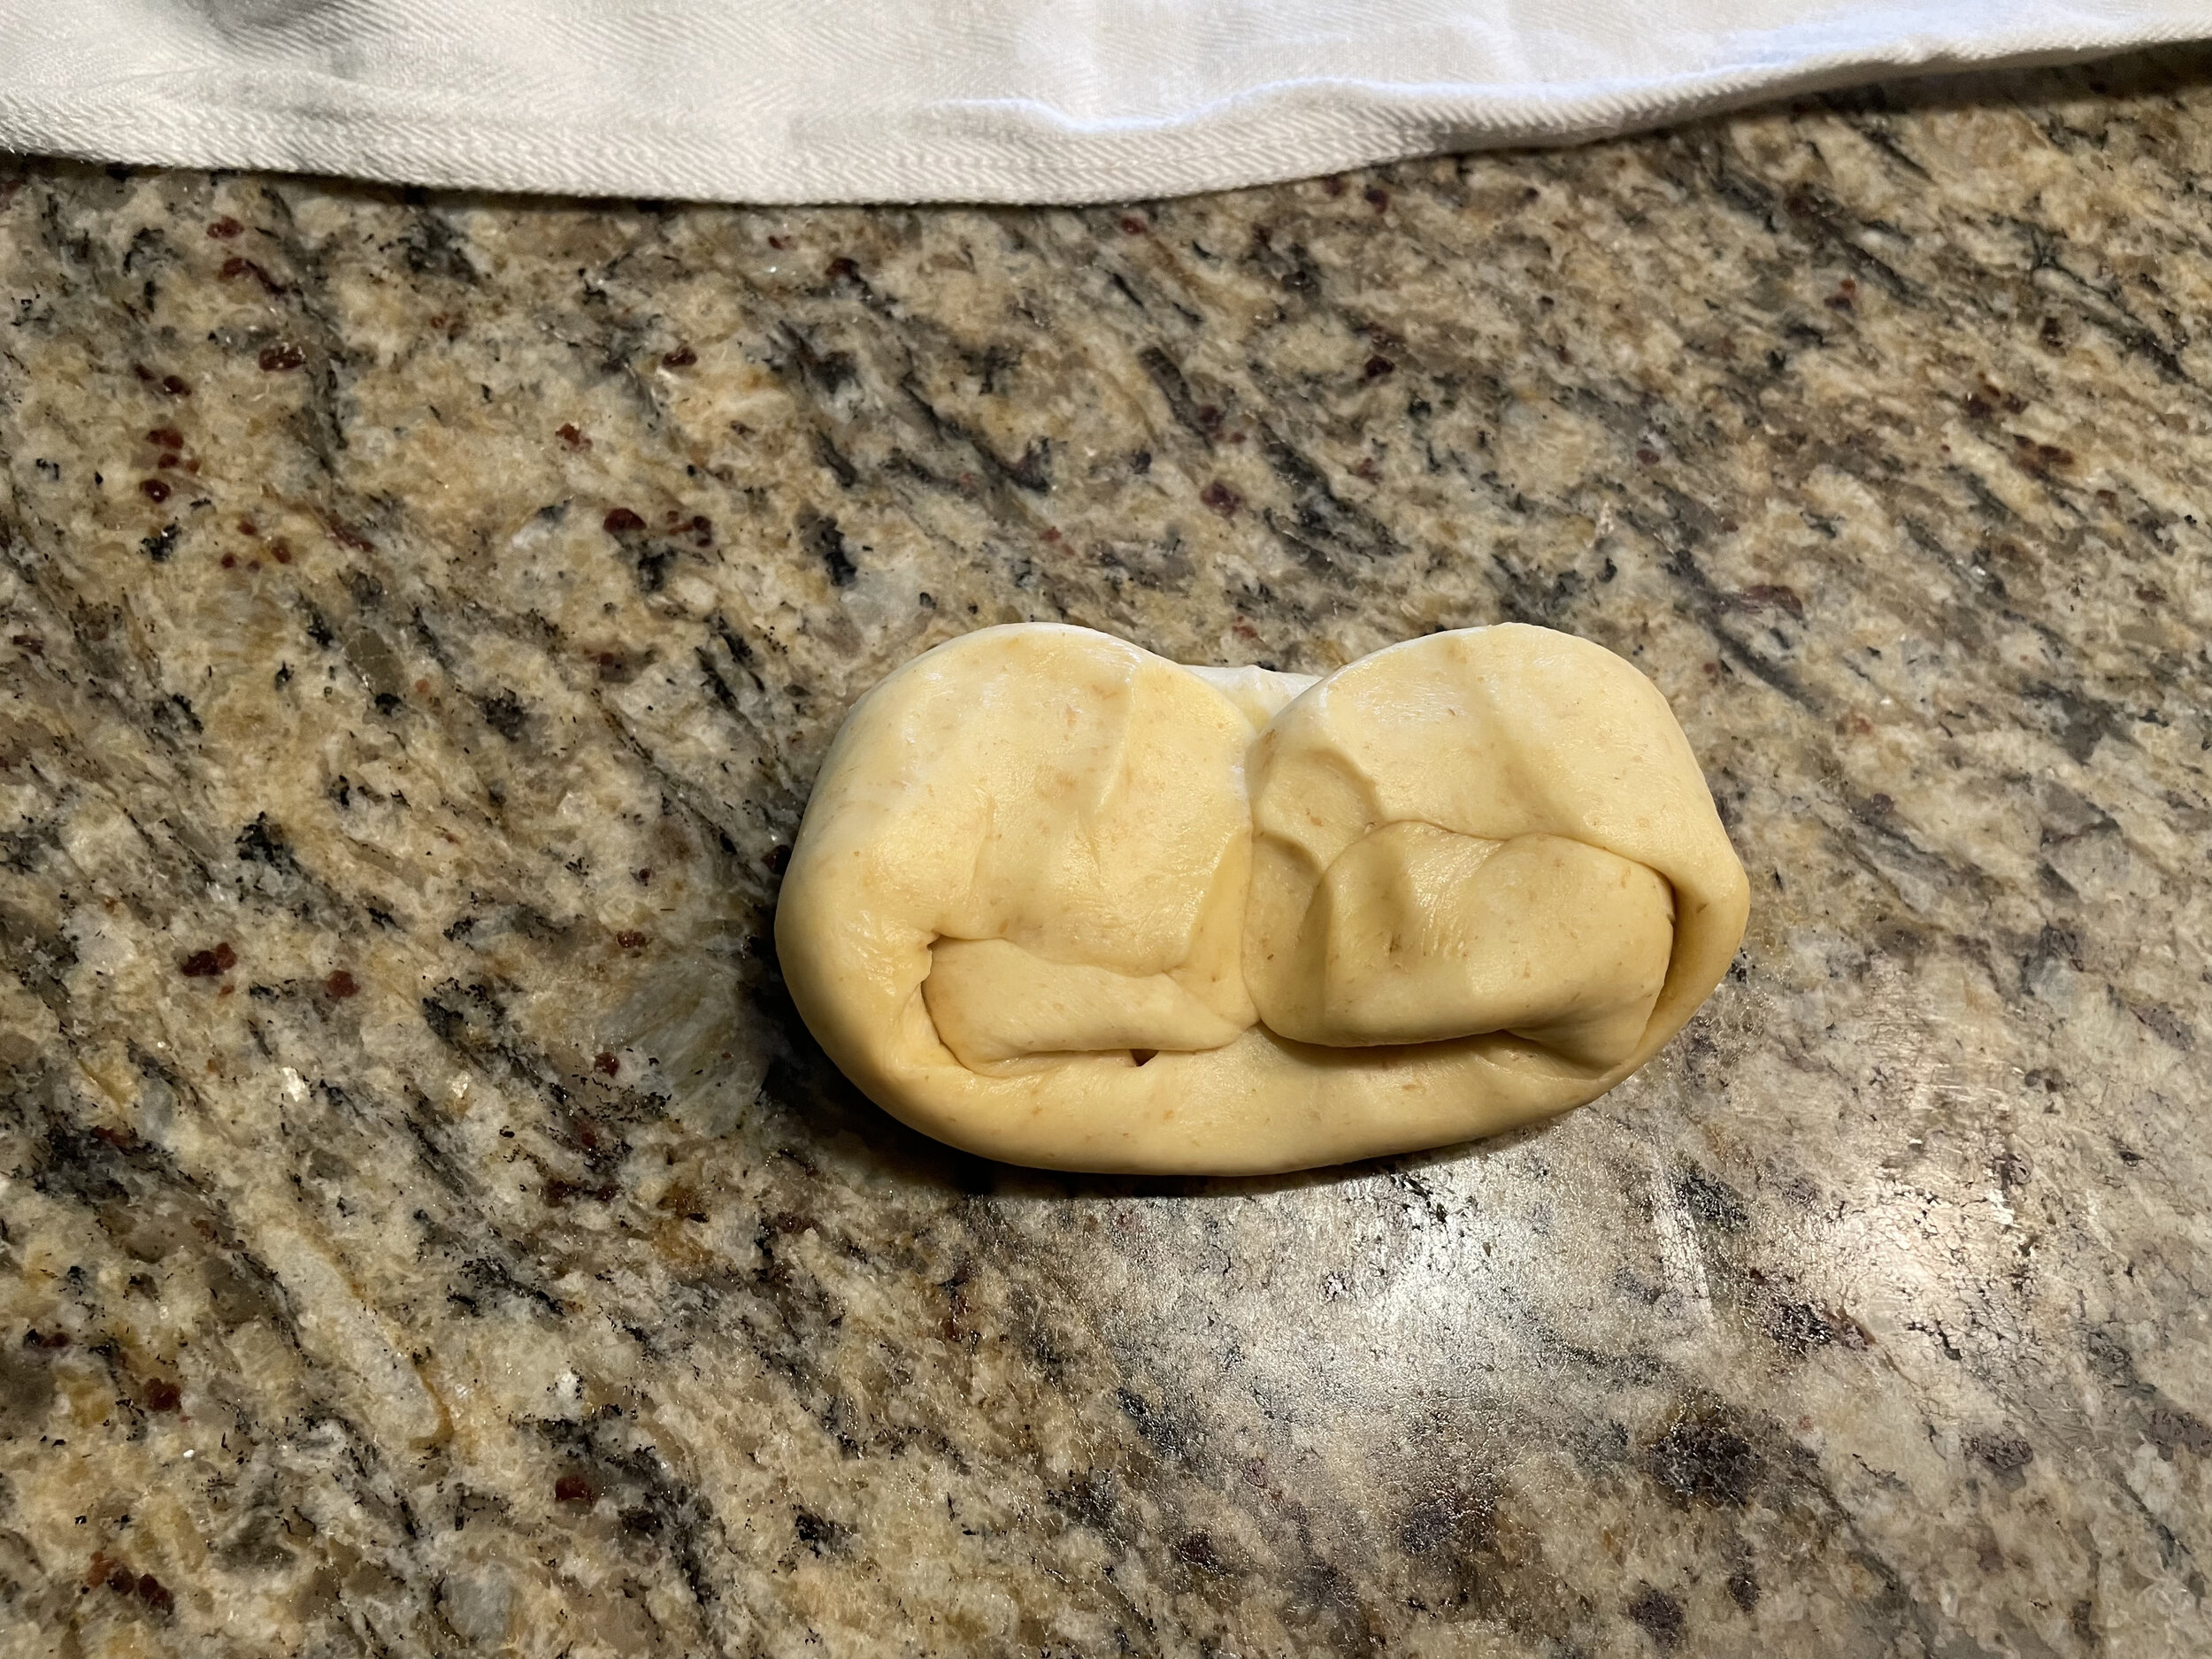
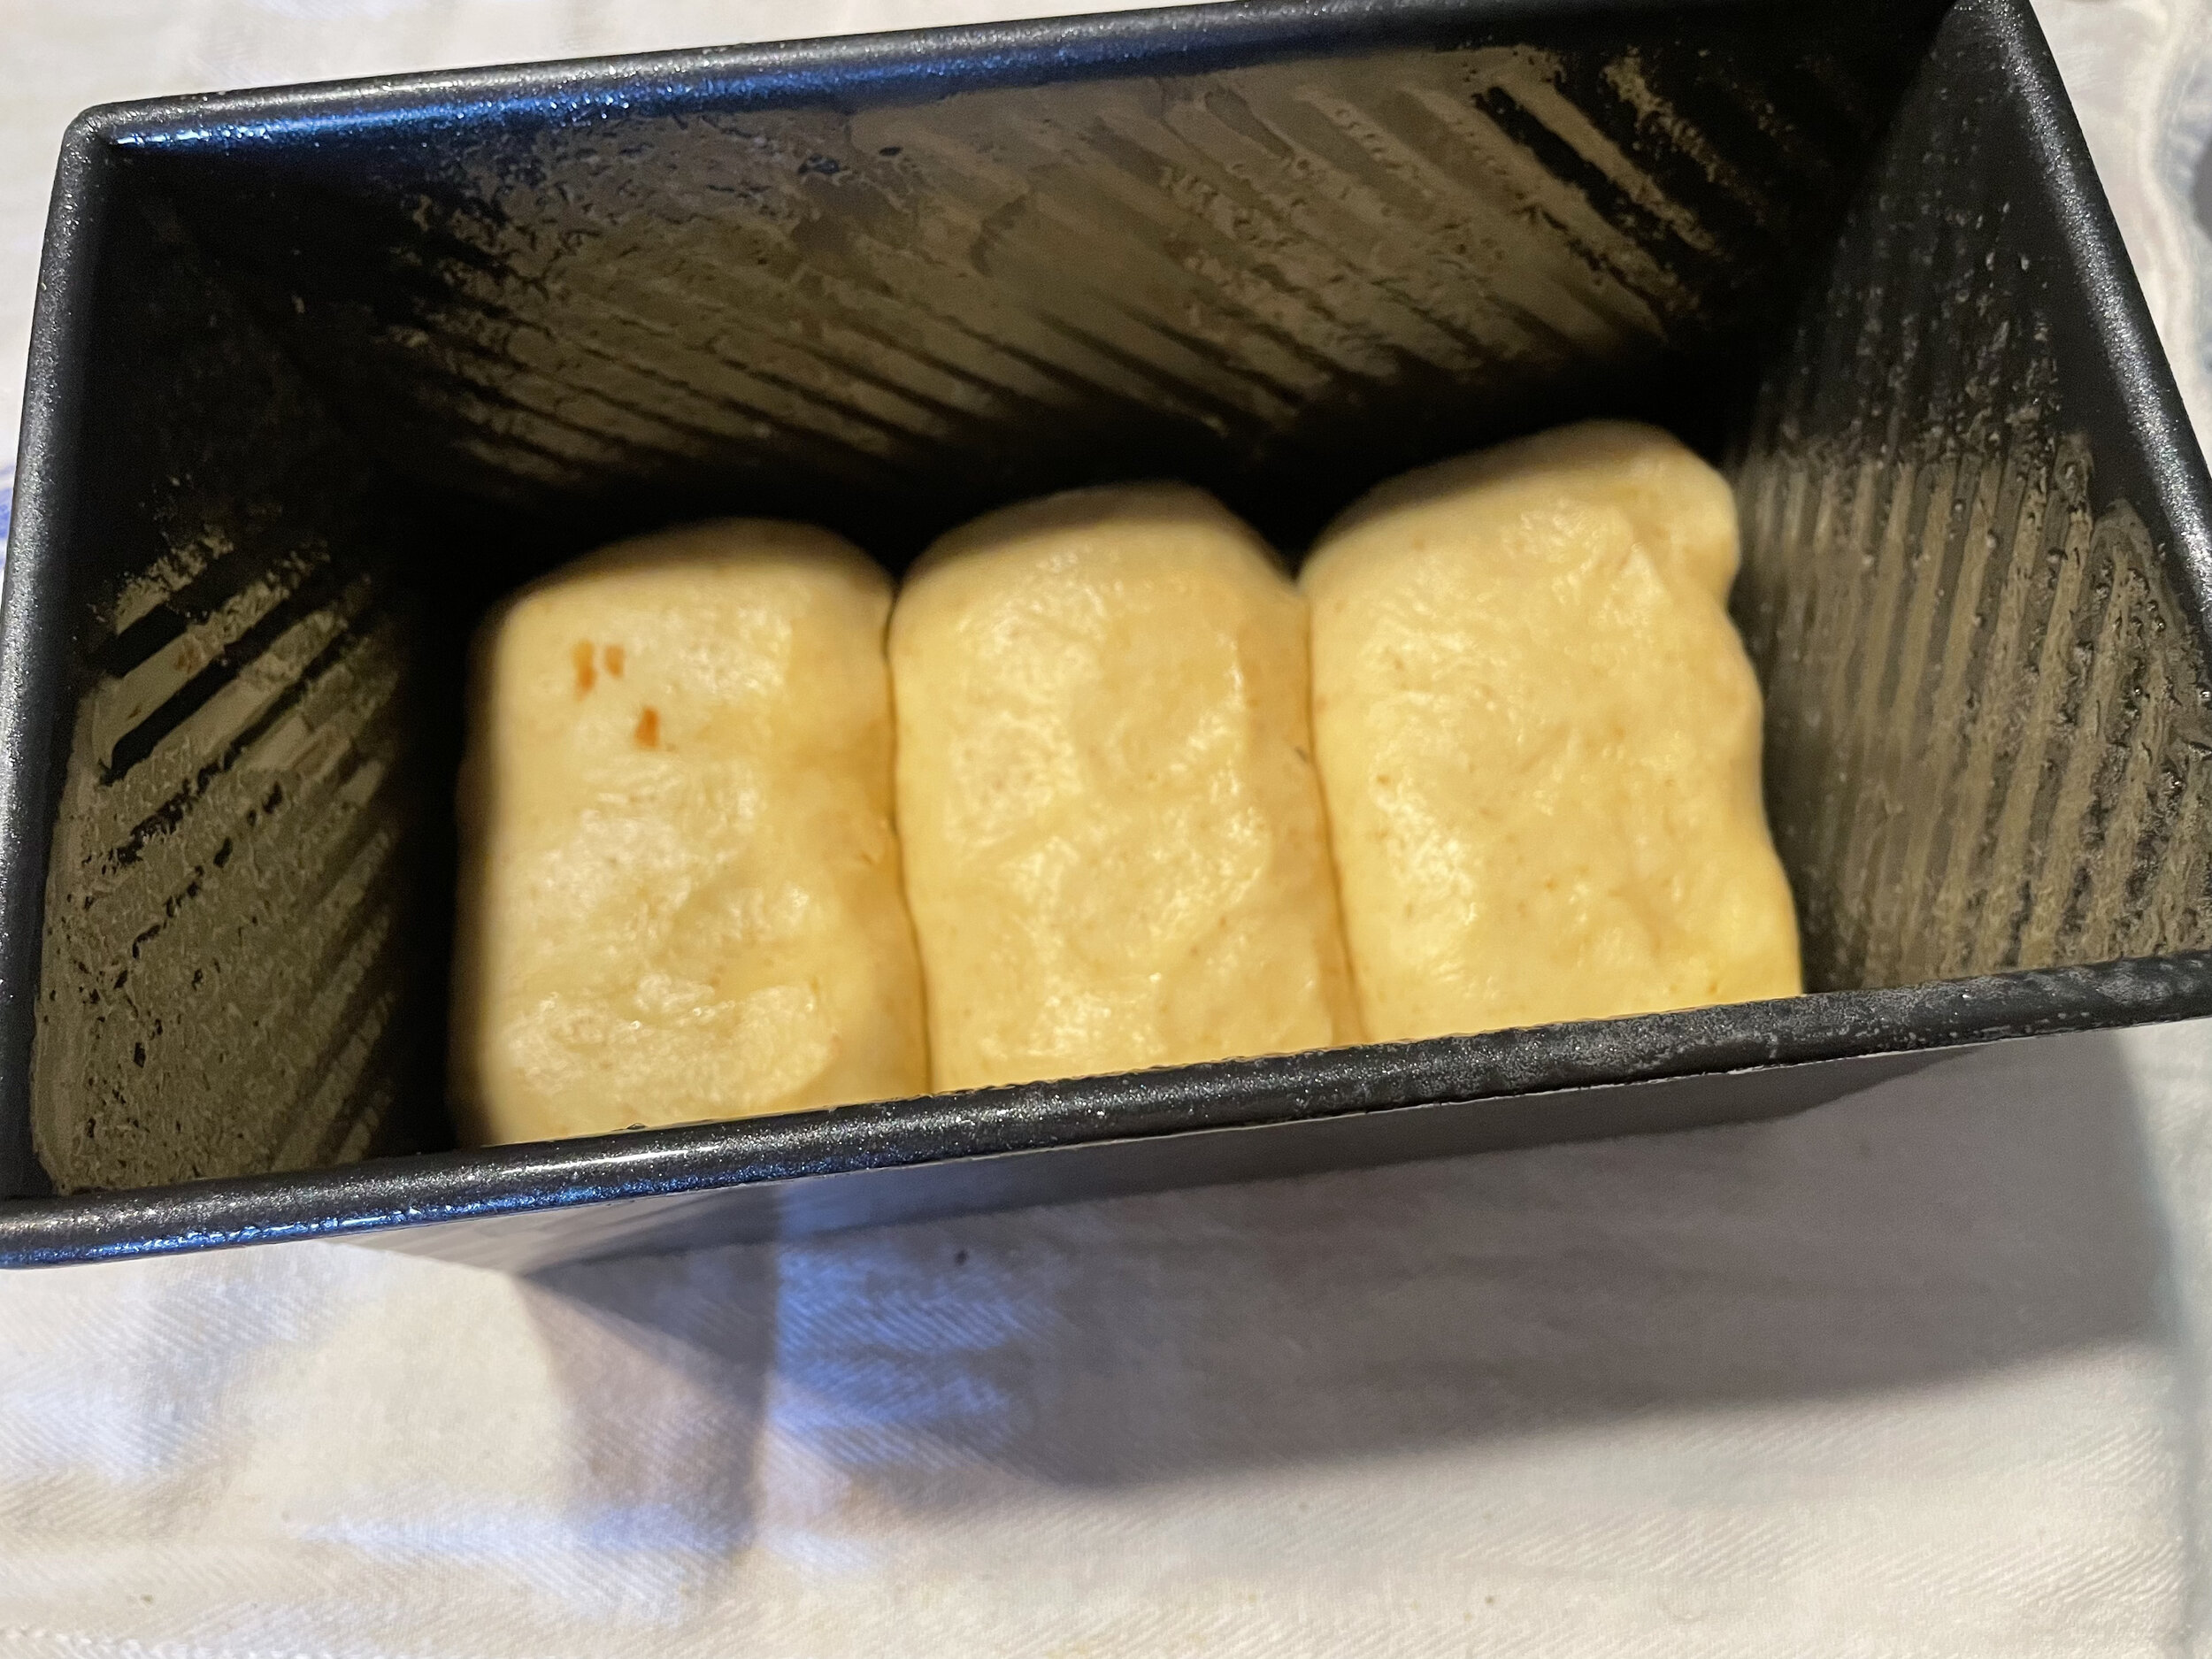
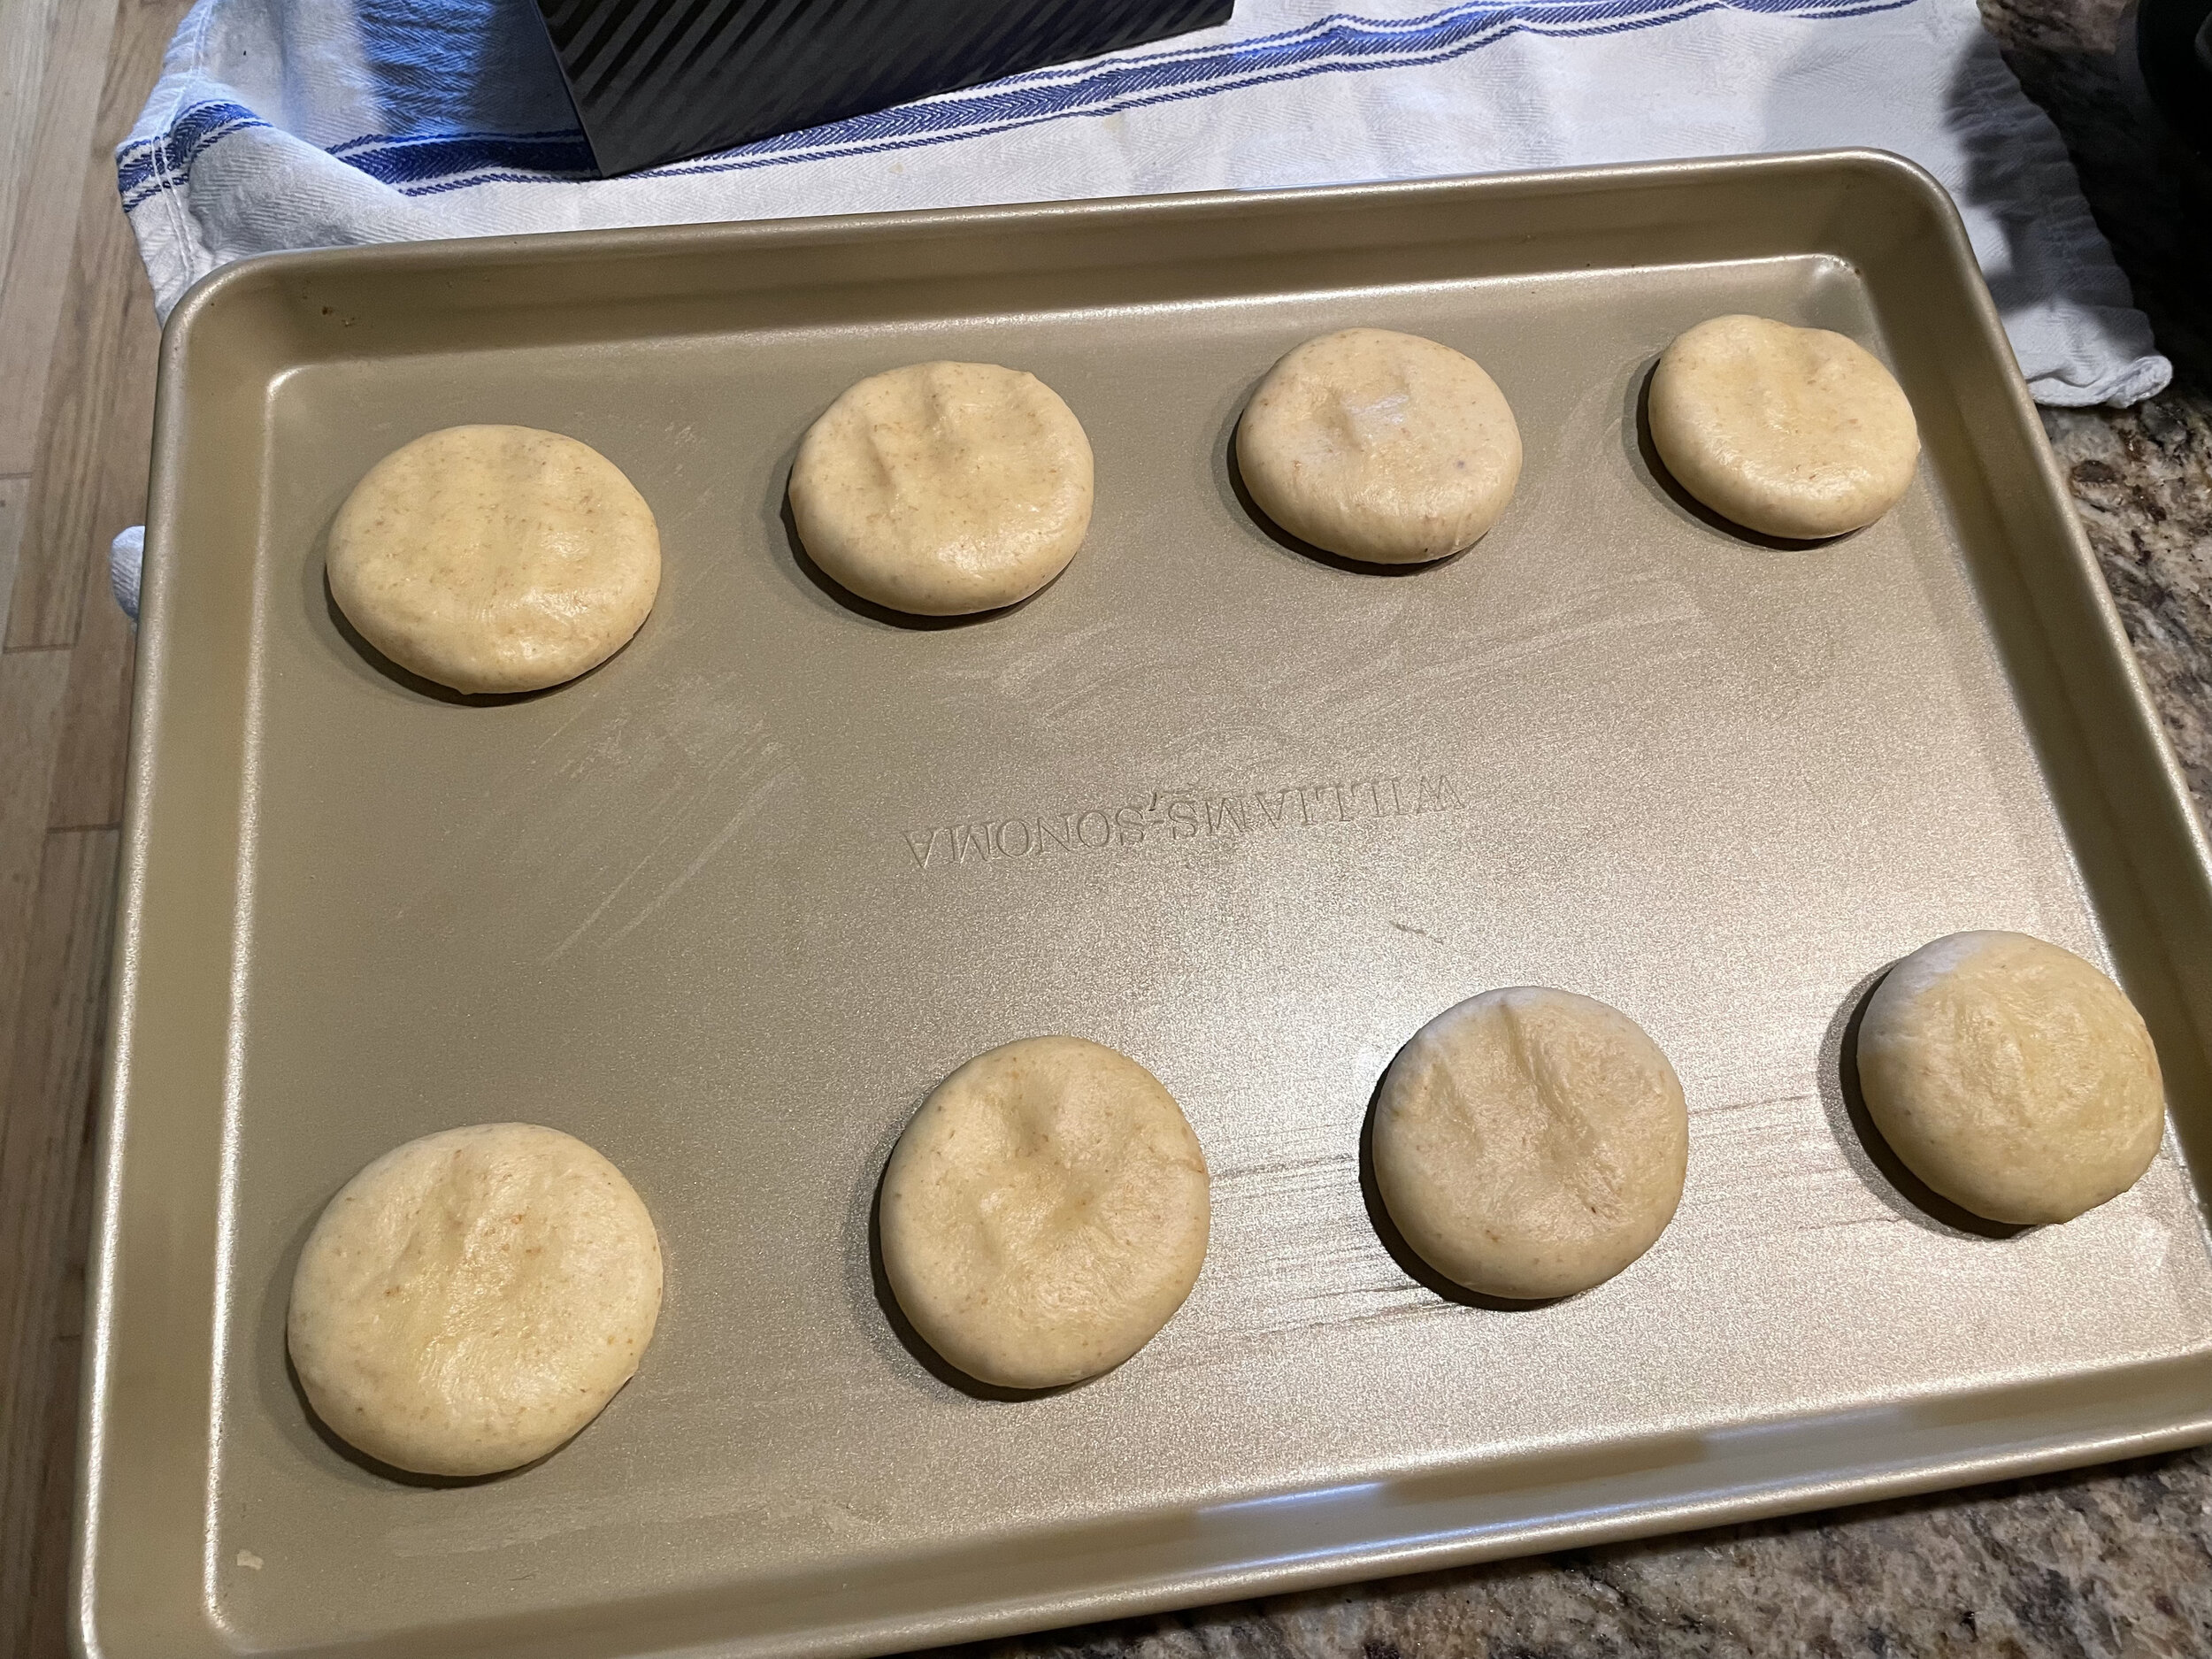
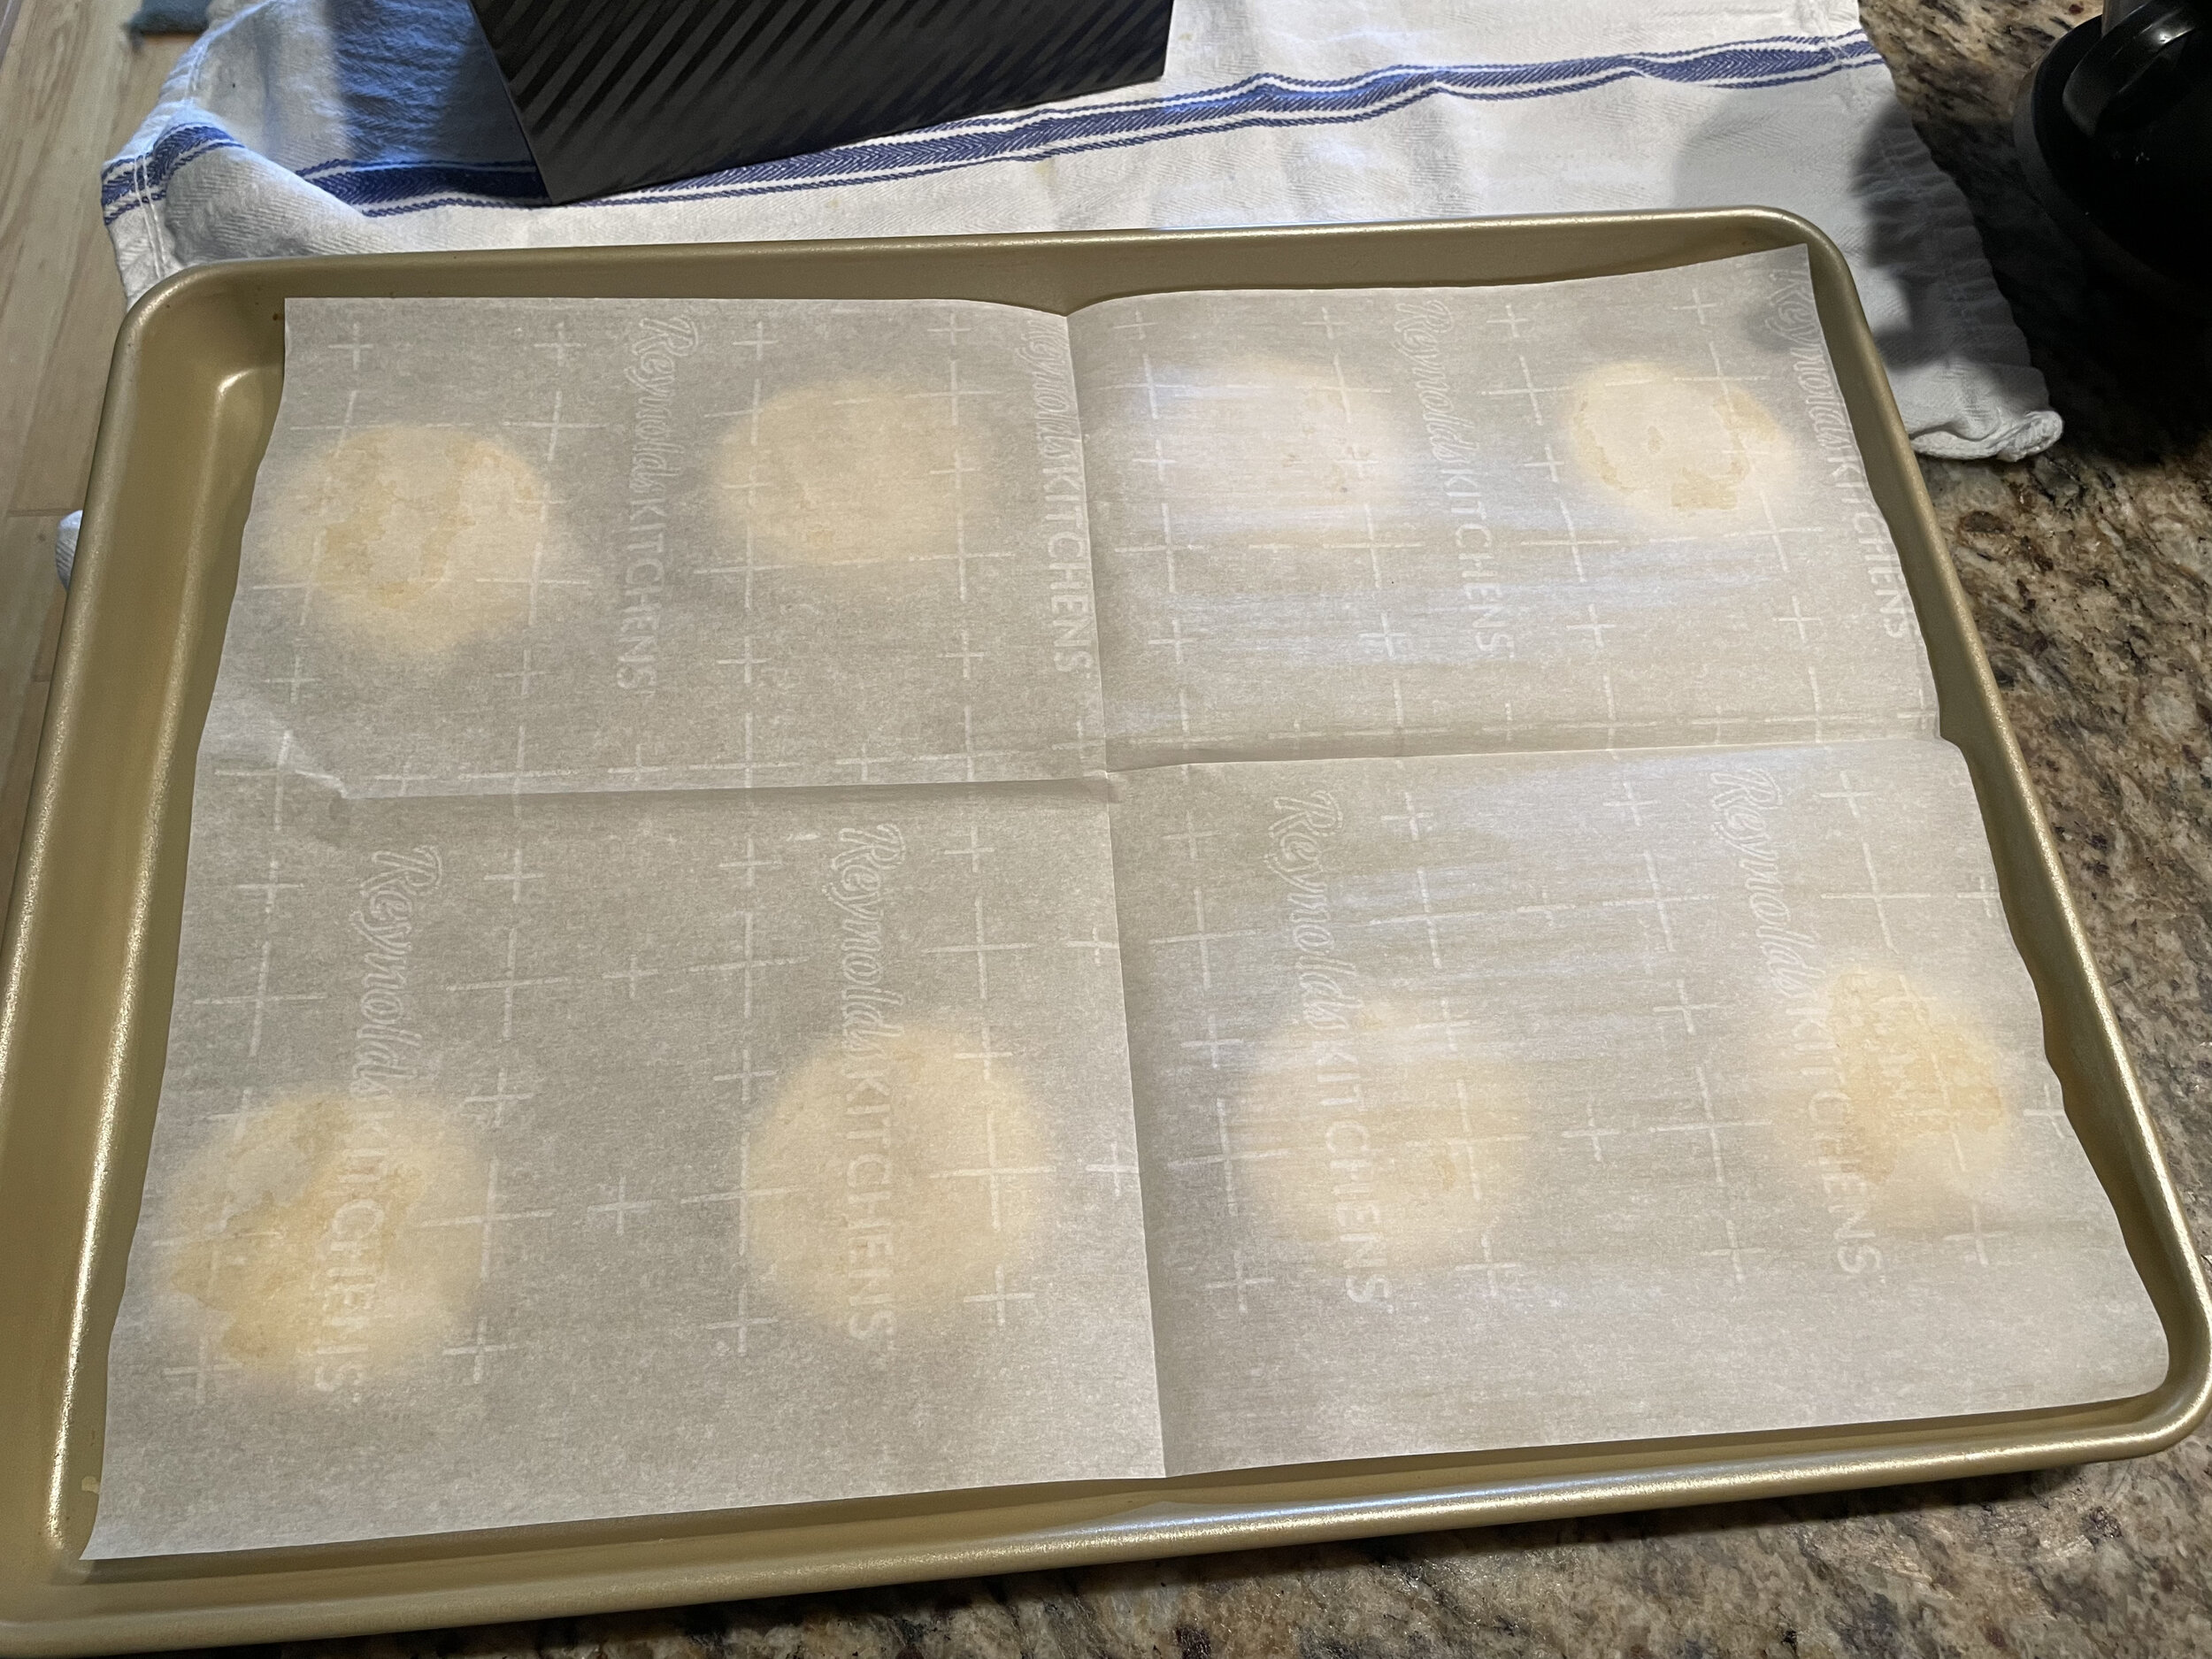
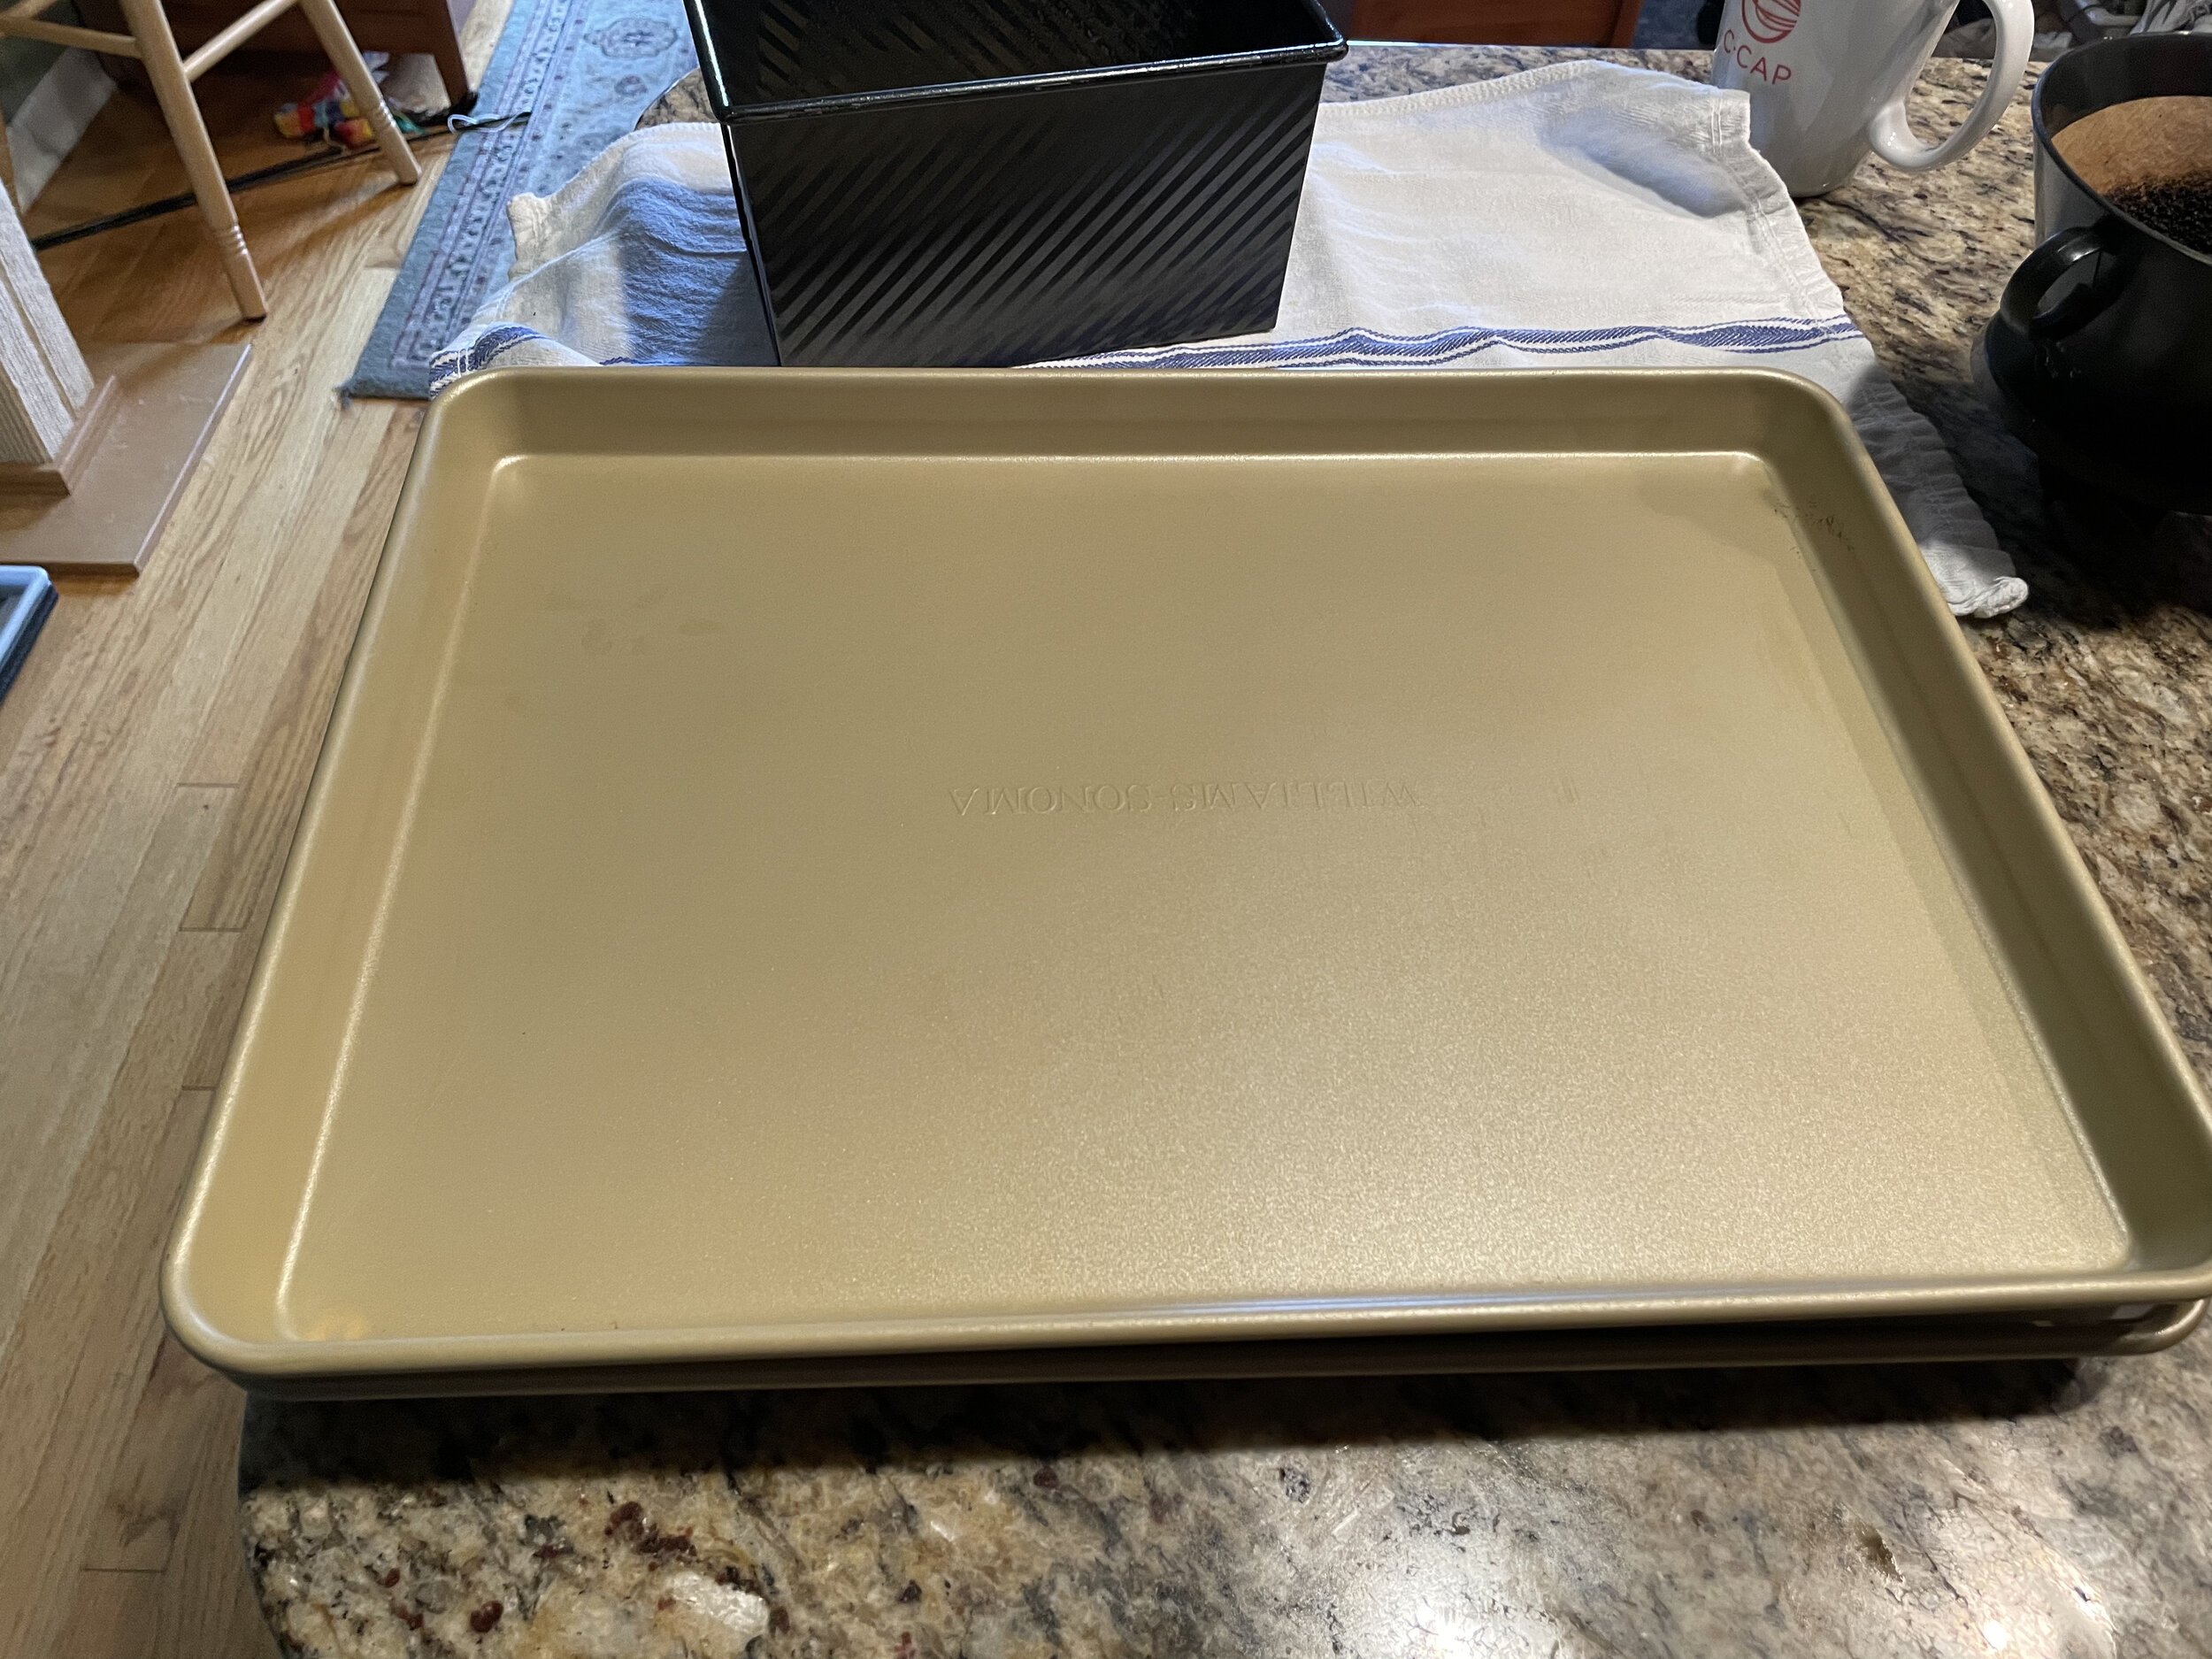
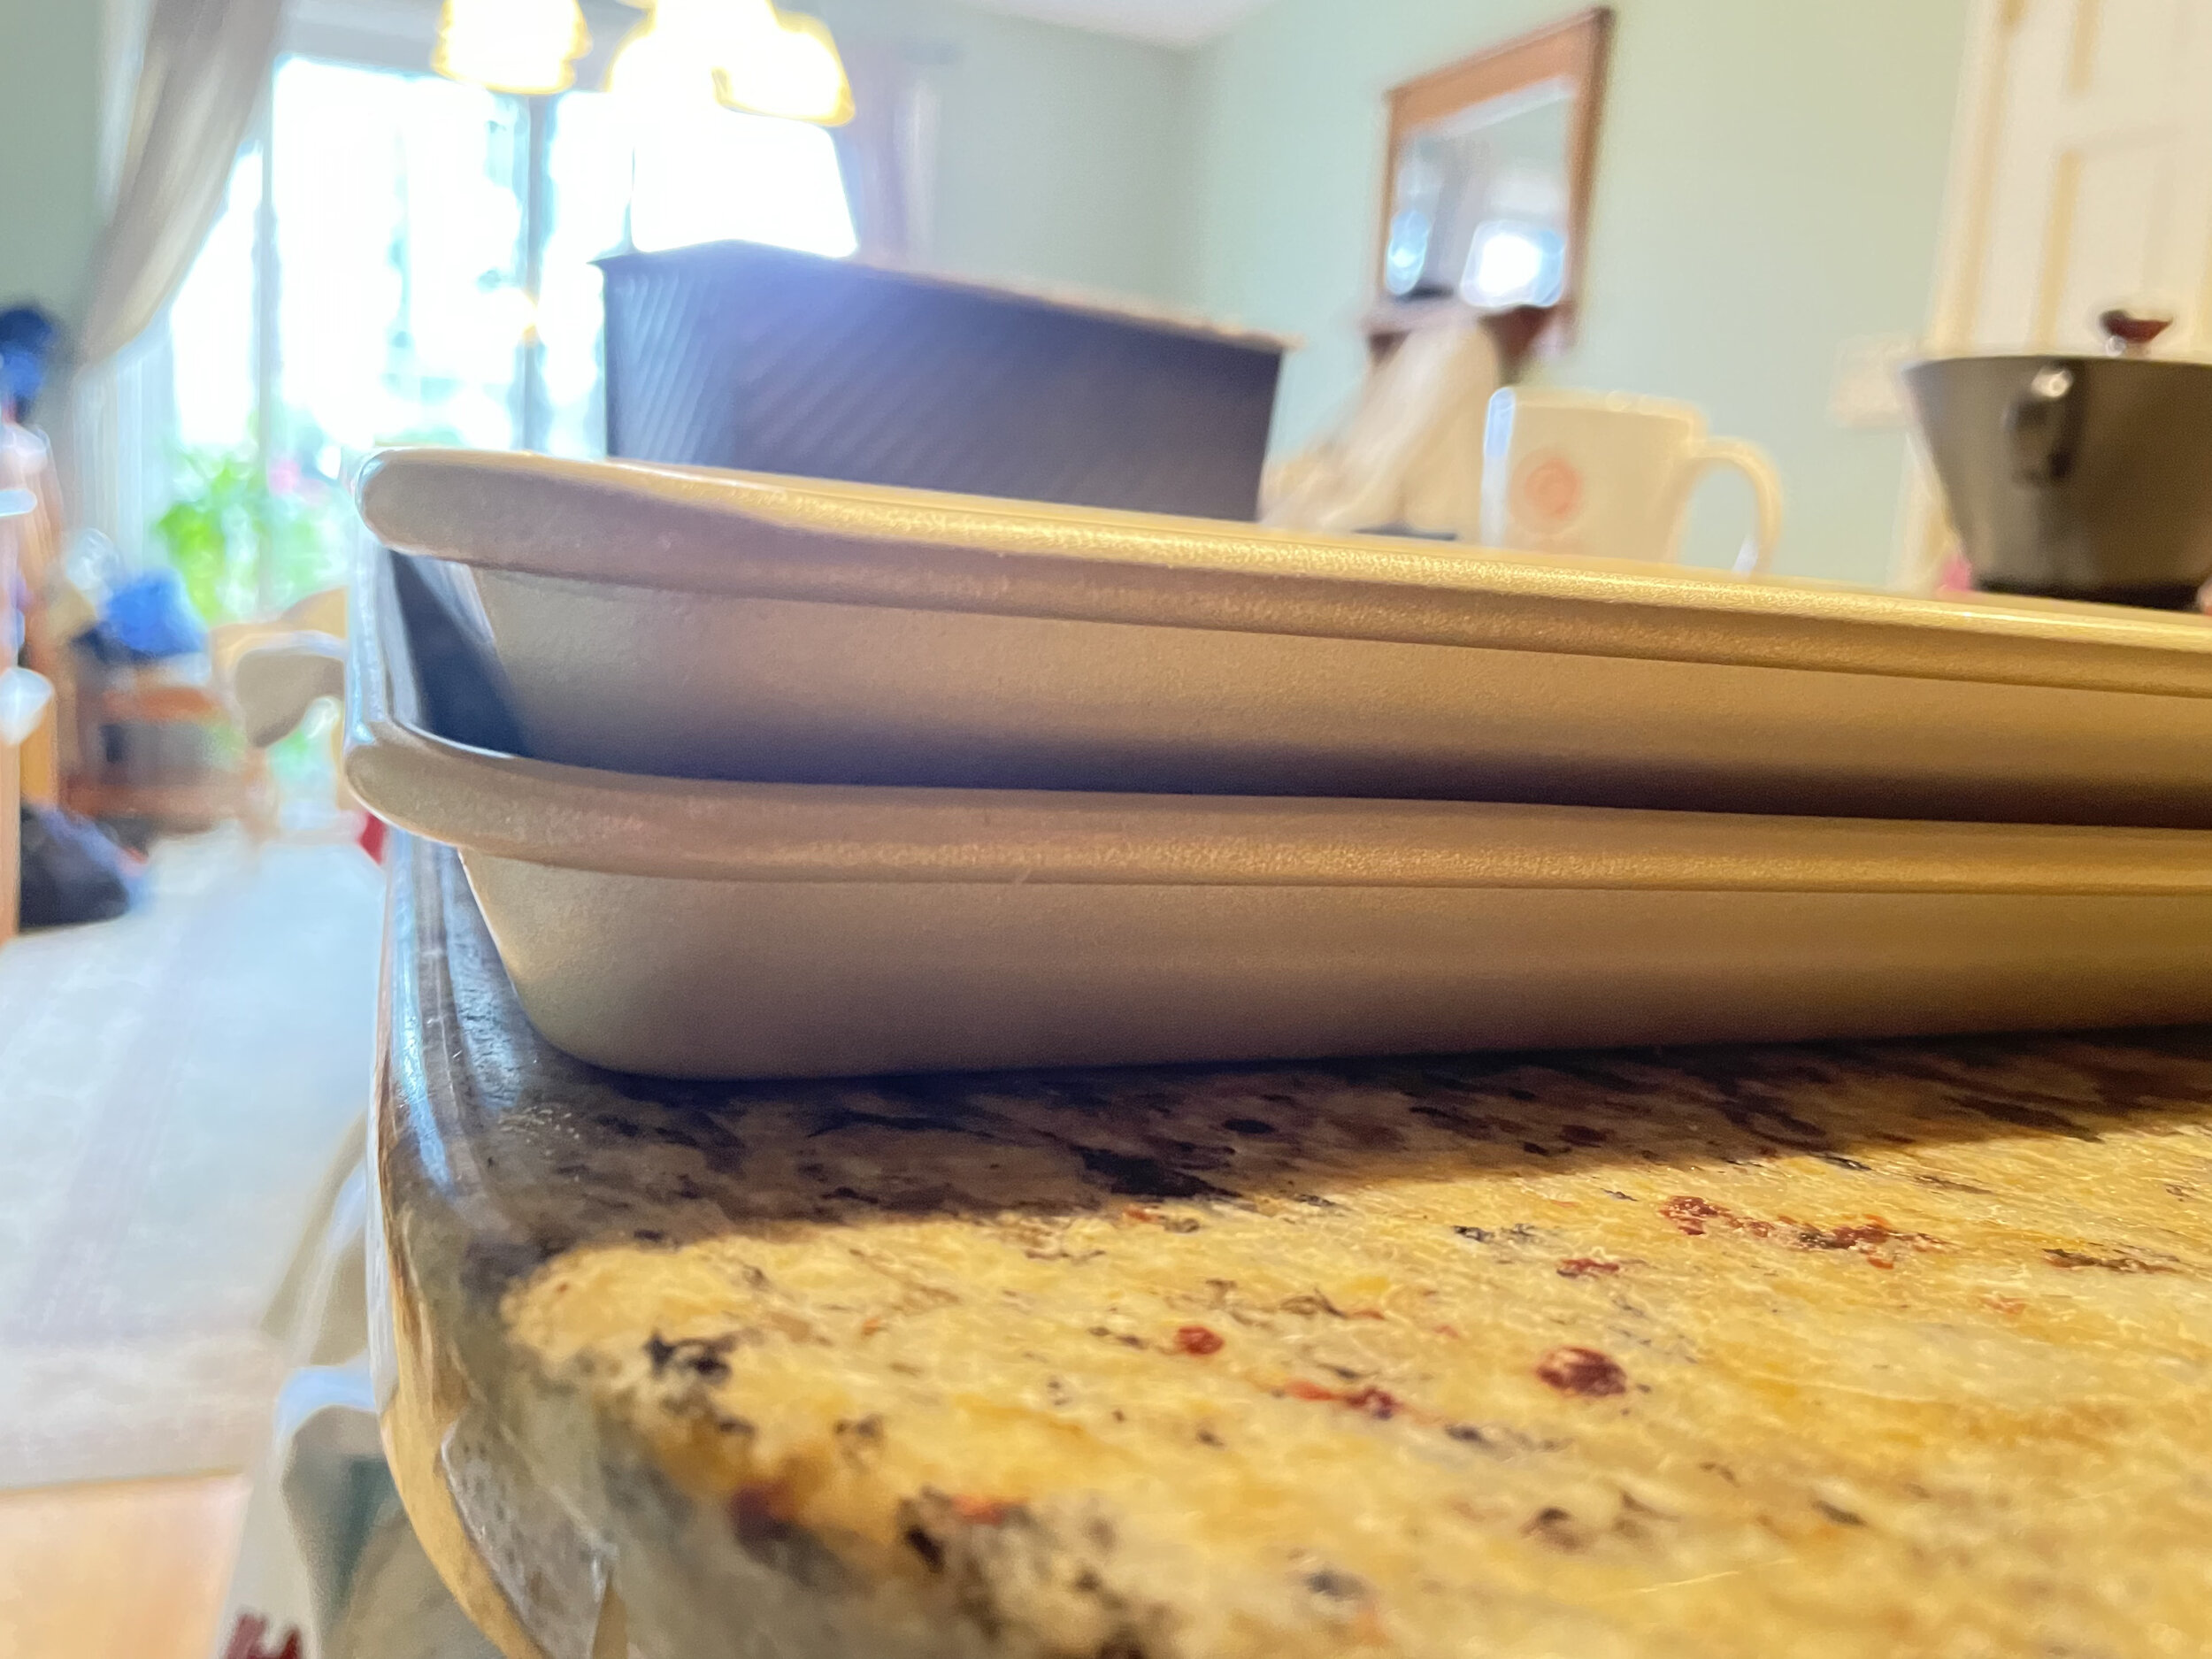
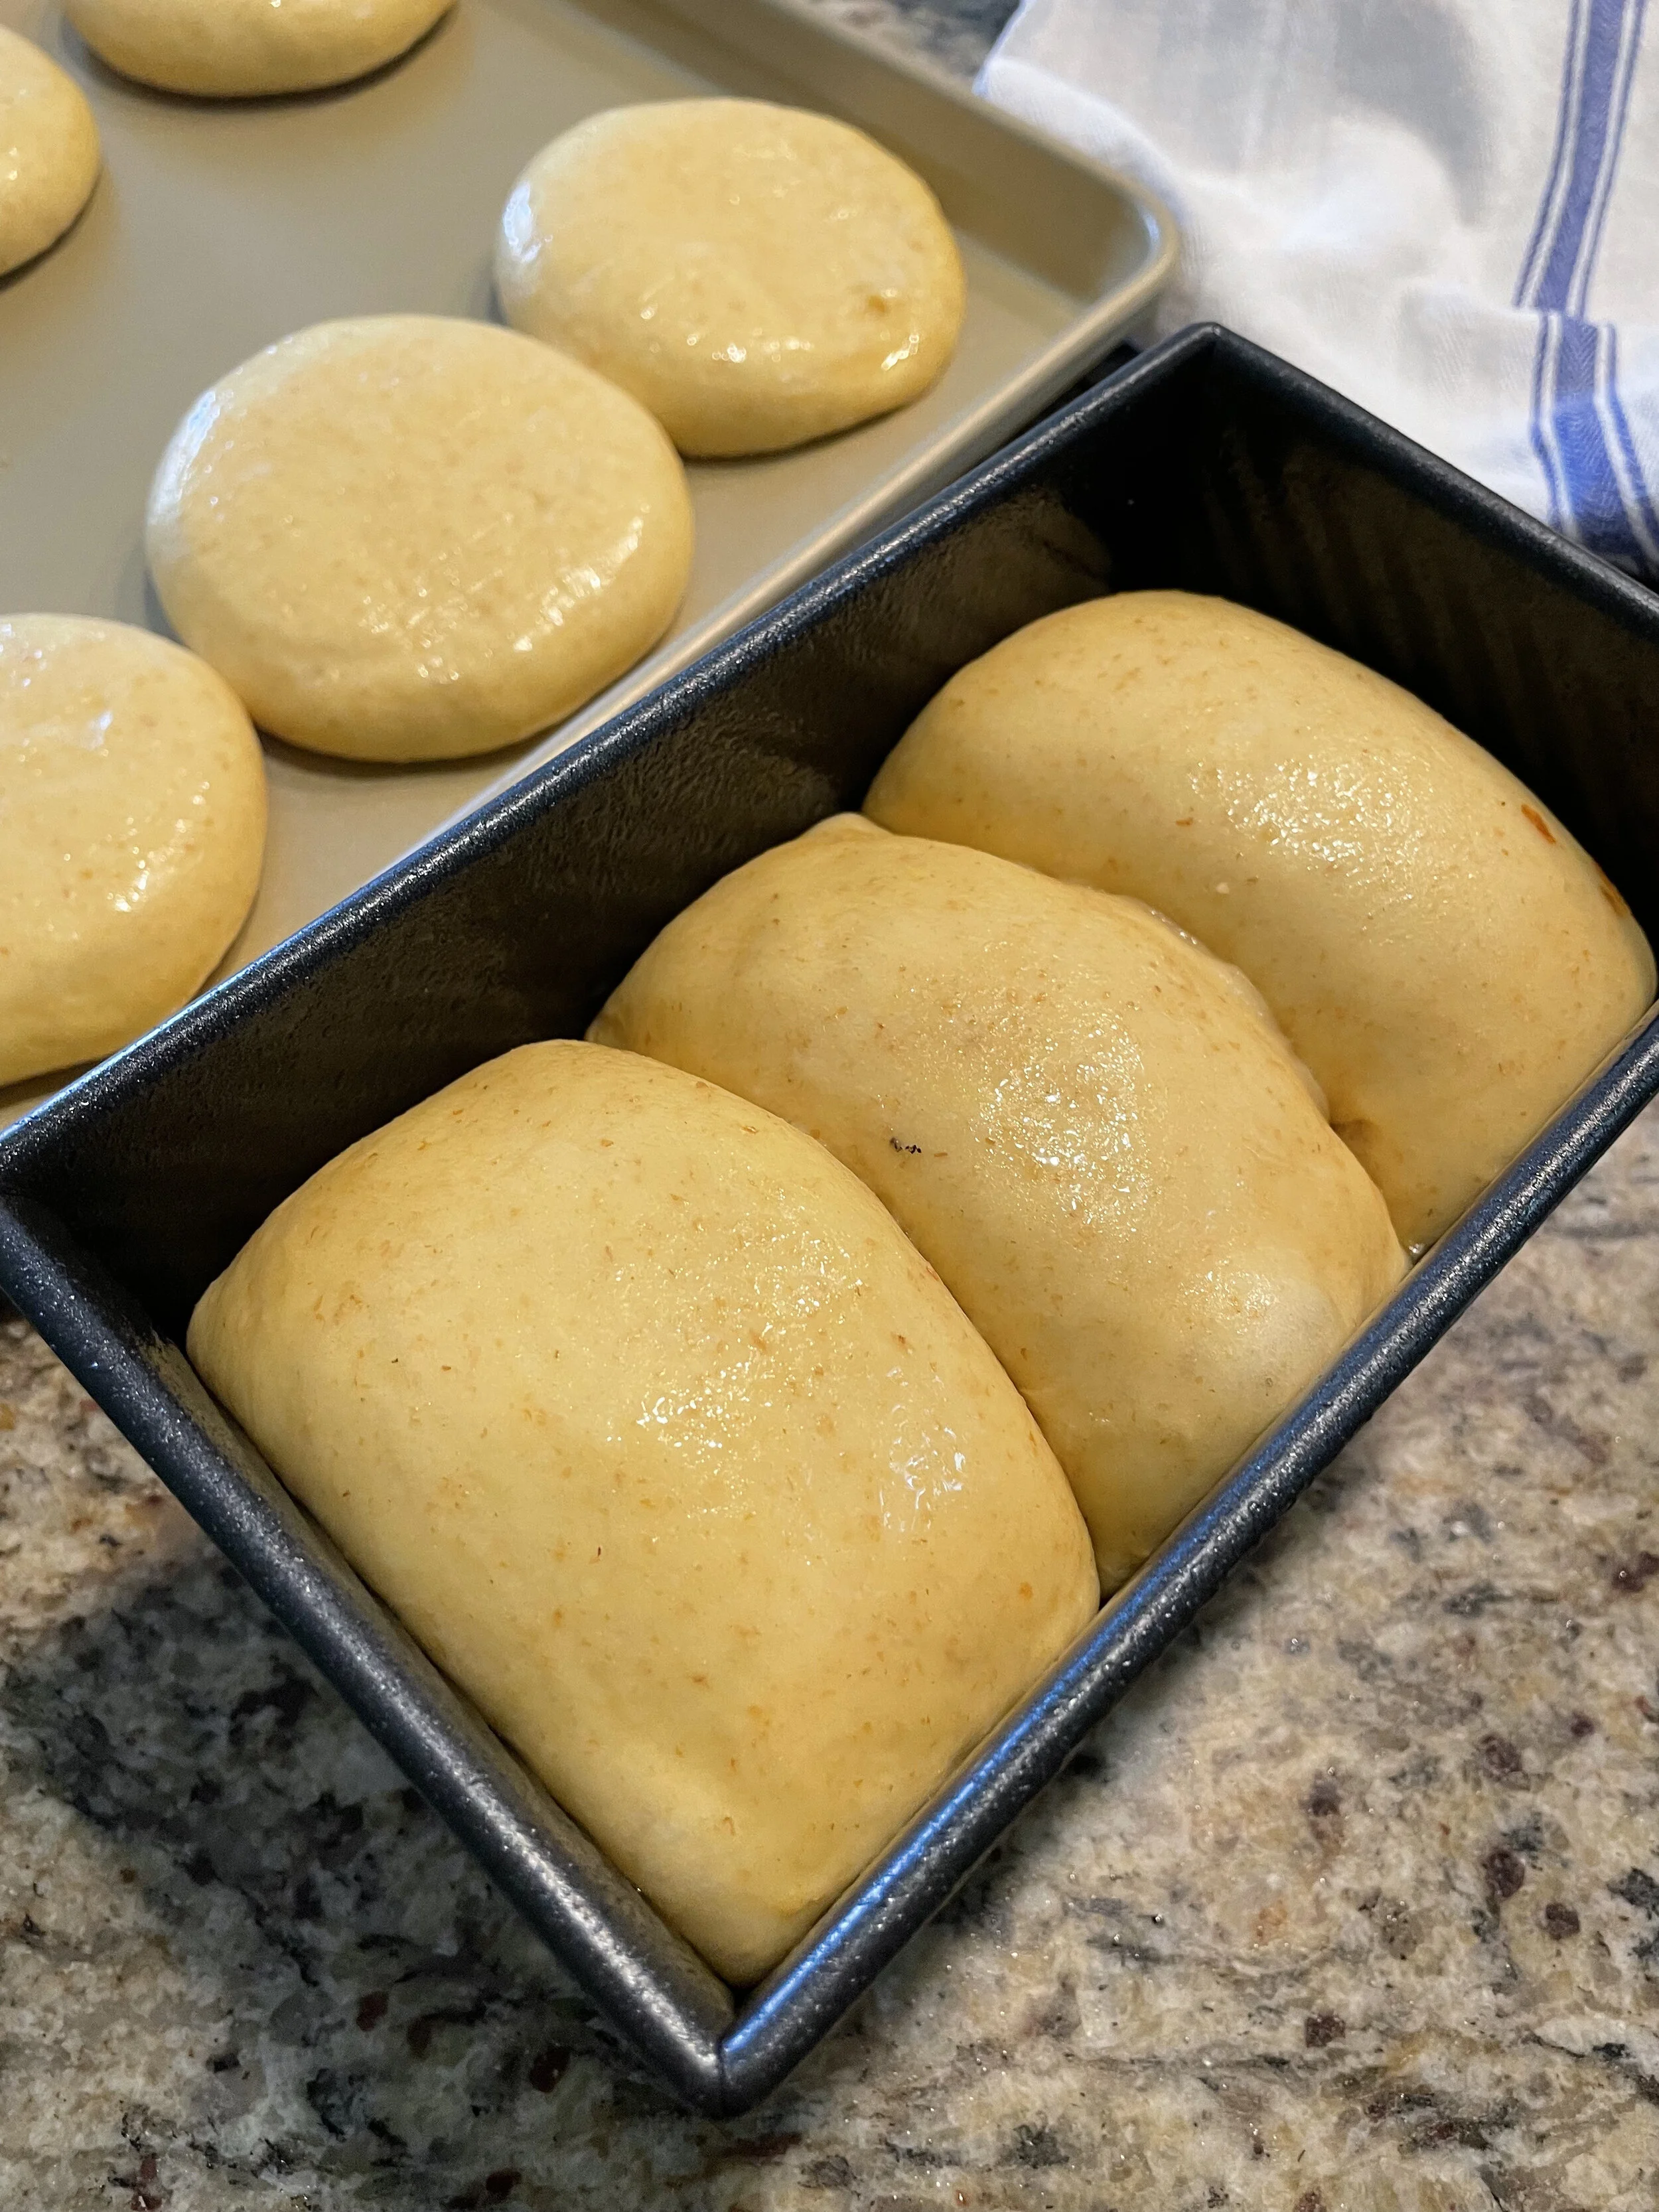
However you decide to cut it up, I would recommend to rough round the pieces and put them on a ½ sheet pan. Return that dough to the refrigerator. This will get the dough firm again. Then after about 20 minutes rest, you can finish rounding and shaping the dough pieces. I placed my three 200g balls in a sprayed pullman pan. It barely filled up the pan at all. After proofing, it was almost to the top. Don’t rush the proofing stage. For the hamburger buns I finished rounding the 65g pieces. I placed them on a ½ sheet pan with some space between them. I placed a piece of parchment over them and then another ½ sheet on top of the parchment. The dough will proof out rather than up giving the buns a perfect shape for a hamburger. Let the doughs proof until they double in volume. This might take a couple of hours. You can go longer if you have to. But please proof them long enough. Dense brioche is not very appetizing.
Prepare some egg wash and brush the brioche pieces with egg wash. Preheat the oven to 375°F. Just before going in the oven, give them another egg wash. This will make the crust dark and crispy. Bake them for about 20-25 minutes. You can check on them at 15 minutes. You may want to turn the pan around for even browning. Resist the temptation to take them out too early. They will stick to the pan if they are not completely browned. The color will add flavor. When you take them out, place them on a wire rack to cool. If you made a loaf pan, give it about 10 minutes to cool in the pan and then attempt to take it out. Be gentle as you take it out. The reason you are taking it out while it’s still warm is to help prevent condensation from forming on the crust.
Just as brioche can be made in such a variety of shapes, there are so many different ways to enjoy the baked bread. I like it toasted with some ganache or peanut butter (or both) on it. It makes an excellent grilled cheese sandwich or egg sandwich. Sandwiches in general are amazing on brioche. And of course my hamburger buns will fit my burgers perfectly. I toast them as well. They form right around the burger but don’t fall apart while you are eating it. I hope you enjoy your brioche.
Happy baking!
Chef Tom


