Let’s Make Challah
Let’s Make Challah
Challah has always been important in our family as we love bread, sure, but because it has cultural significance. Challah is a Jewish celebration bread used on the sabbath to give thanks. When I say my family, I mean my in-laws, Ed and Sherry. (we’ll have to talk about Ed Bread another time) They are the best in-laws a guy could have. They have welcomed me into their family and their traditions, challah being one of them. When I came into the family, I was not making bread, I was a flight attendant. But soon after I left the airlines, I went to culinary school and learned to make bread. Challah was one of my favorites right from the beginning.
Every day is a good day to make challah.
You don’t need a celebration to make it.
It’s an easy bread to make and one that is quite impressive when it is braided and egg washed. It has a deep dark brown crust with a beautiful yellow interior provided by eggs or yolks or a combination of the two. The key thing about this rich bread is that it cannot have any dairy elements in it. Two of the big three rich bread elements are milk and butter. But the bread solves that problem with lots of egg and oil. You wouldn’t think a bread enriched with oil would be that amazing but it is. Some describe it as buttery when it is surely not.
In the Jewish tradition, one cannot have meat and dairy at the same meal. It’s to keep the products of the animal separate from it’s meat. There are many other traditions surrounding challah and I’ll share a few at the end of this post.
What are the basic ingredients?
Chef Tom Challah
All purpose flour 100% 500g
Water 40% 200g
kosher salt 2% 10g
instant yeast 1.5% 7g
Sugar 10% 50g
Eggs 10% 50g
Neutral oil, canola 8% 40g
½ sheet pan
Bench scraper
Stainless steel bowl for mixing or stand mixer
Parchment paper
Straight dough method
I find that using a machine for this bread makes a silkier bread. You can certainly do it by hand though. For the stretch and fold method see my previous post on pain au lait.
Combine all the ingredients except for the egg wash in a mixing bowl and mix for 4 minutes on slow speed and 4 minutes on a slightly faster speed. Then you are done mixing. Place it in a covered container and let it rise for about 2 hours or until it doubles in volume. For a longer, more flavorful fermentation, place the dough in a ziplock bag in the refrigerator overnight. This will increase flavor and texture. But even the one-day challah is pretty amazing. I like both ways.
Once the dough has been fermented, degas the bread and divide into 100g pieces. This batch makes 800g so you can make breads with three strands and five strands. Round these 100g pieces and let them rest covered on the bench for 5 minutes.
Take one of the 100g balls and flatten it a bit. Start to roll it up into a cylinder. With open fingers on both hands, roll the cylinder to about 6 inches long. Set it aside. Repeat this with the remaining balls of dough. Go back to the first cylinder you rolled and continue to roll it to about 15-16 inches long. Repeat this stretching in order with the remaining cylinders of dough. Let them rest just a couple of minutes.
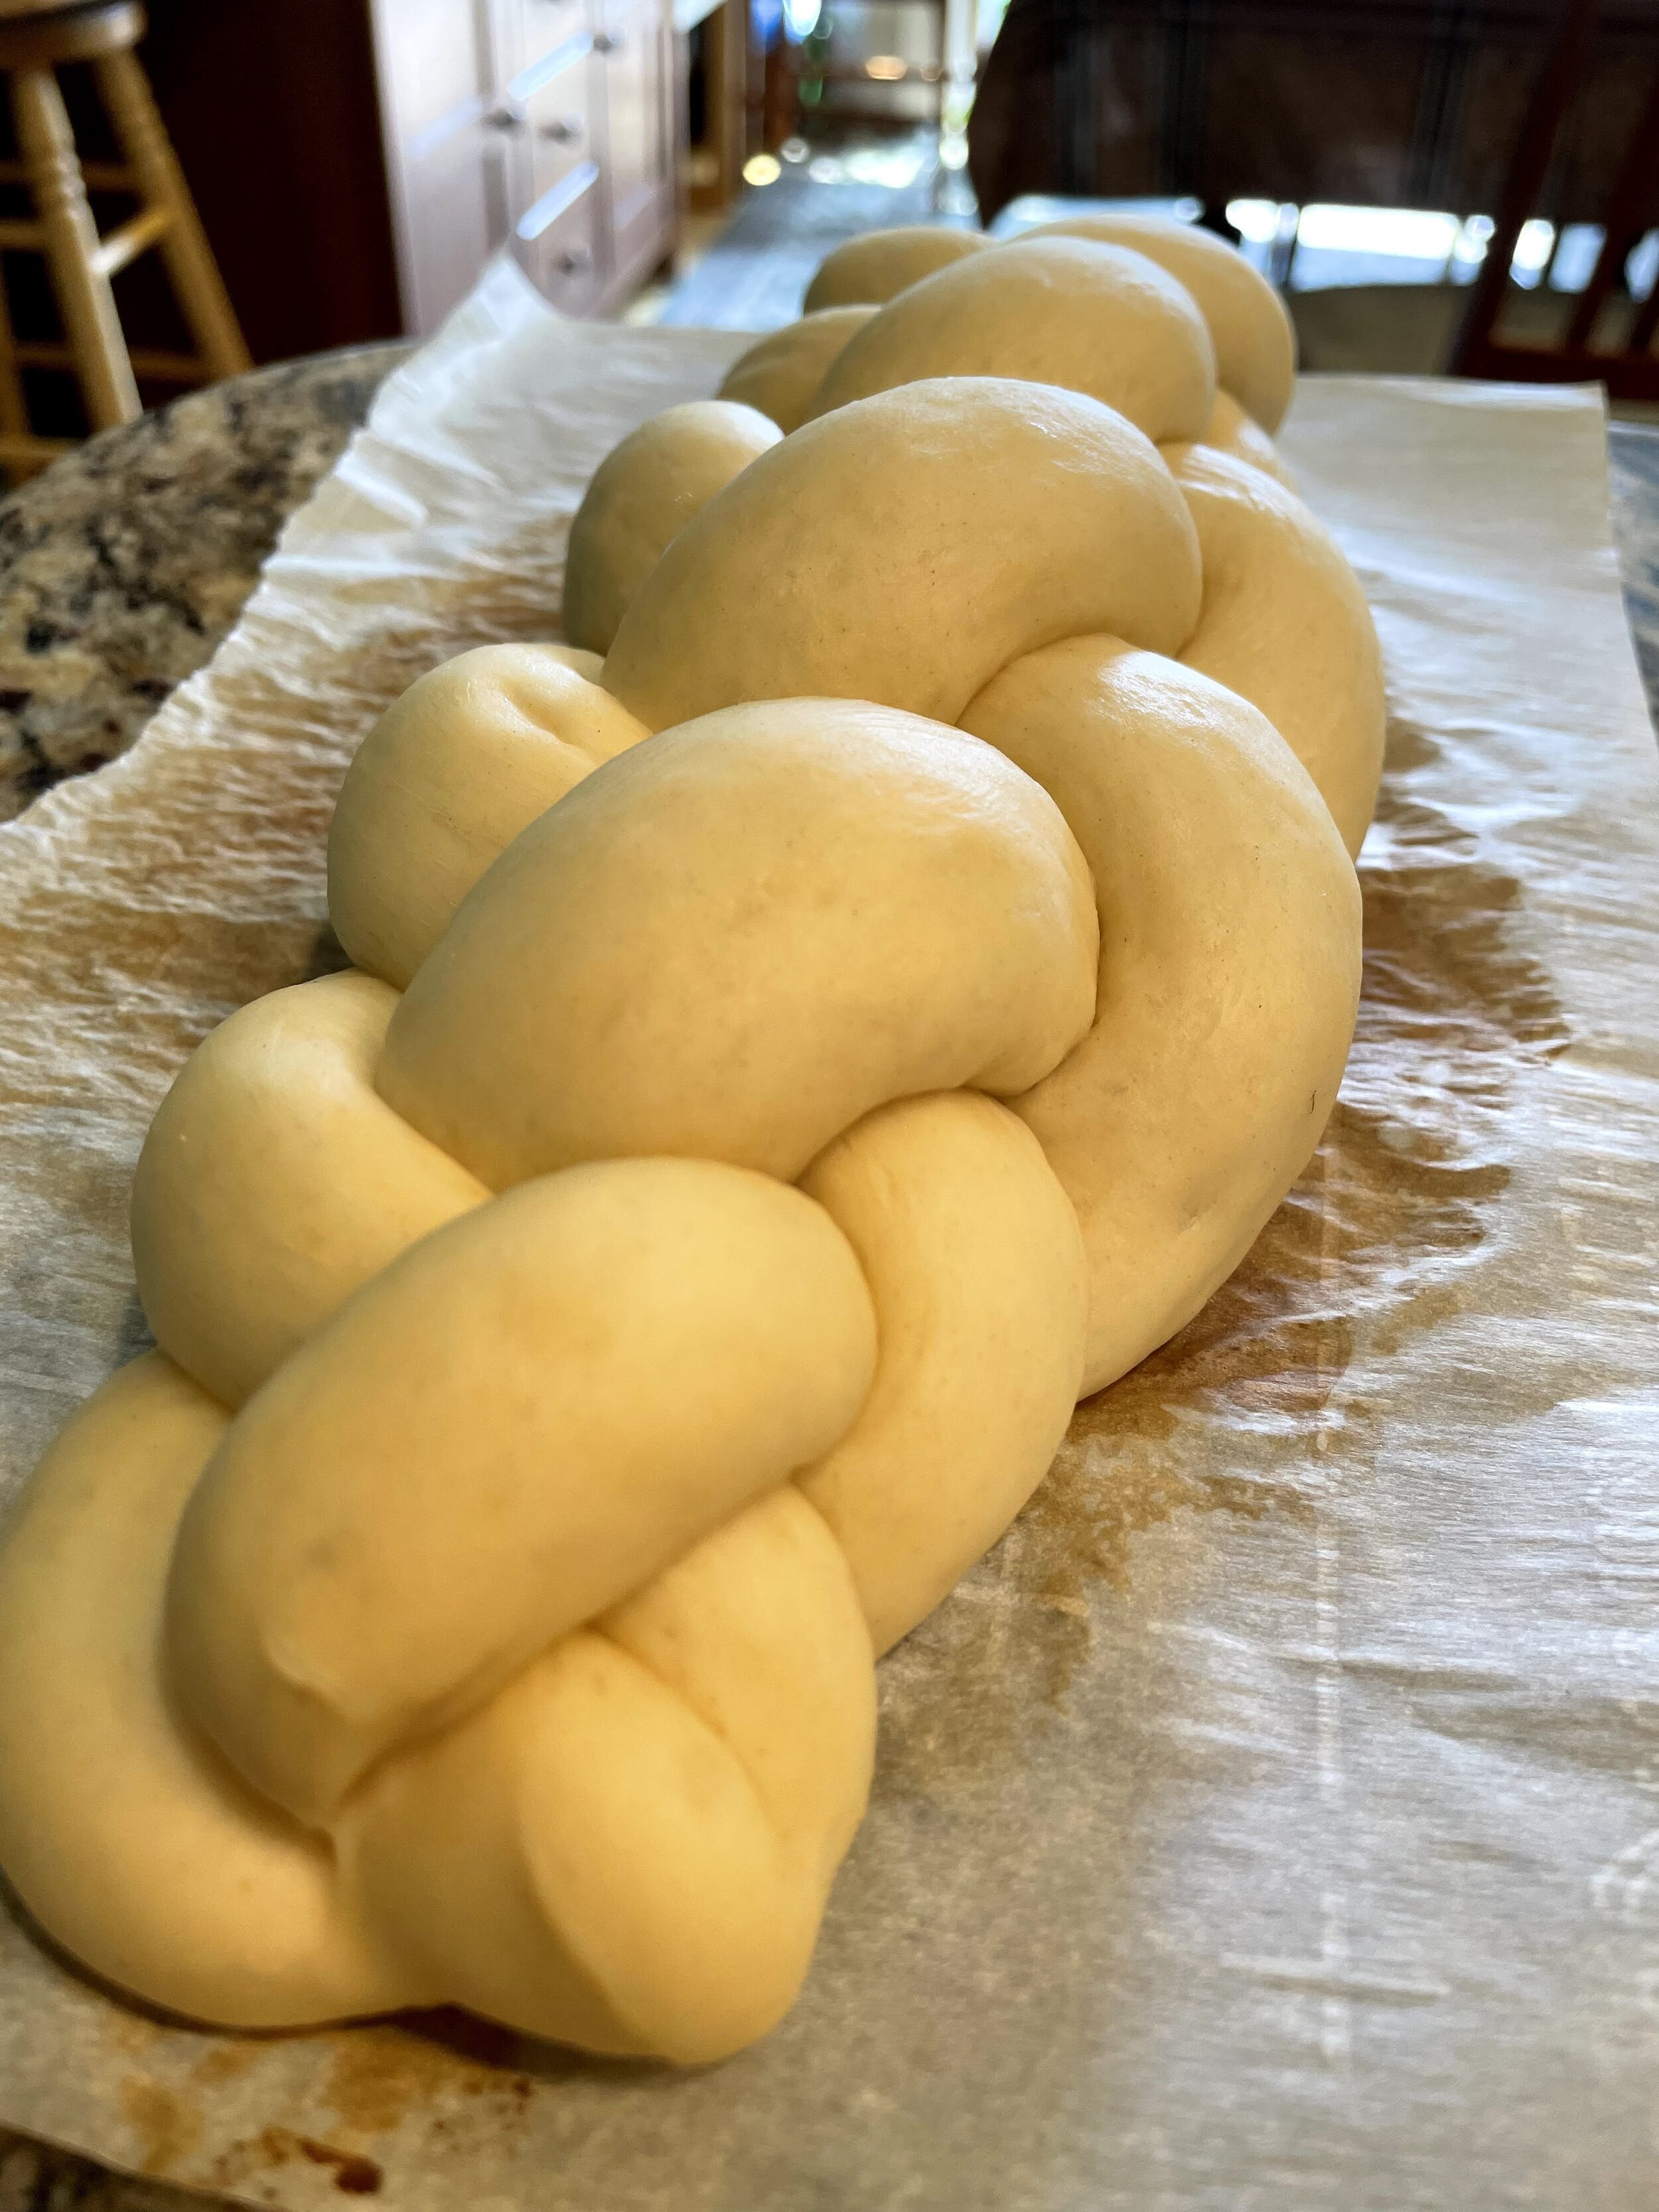
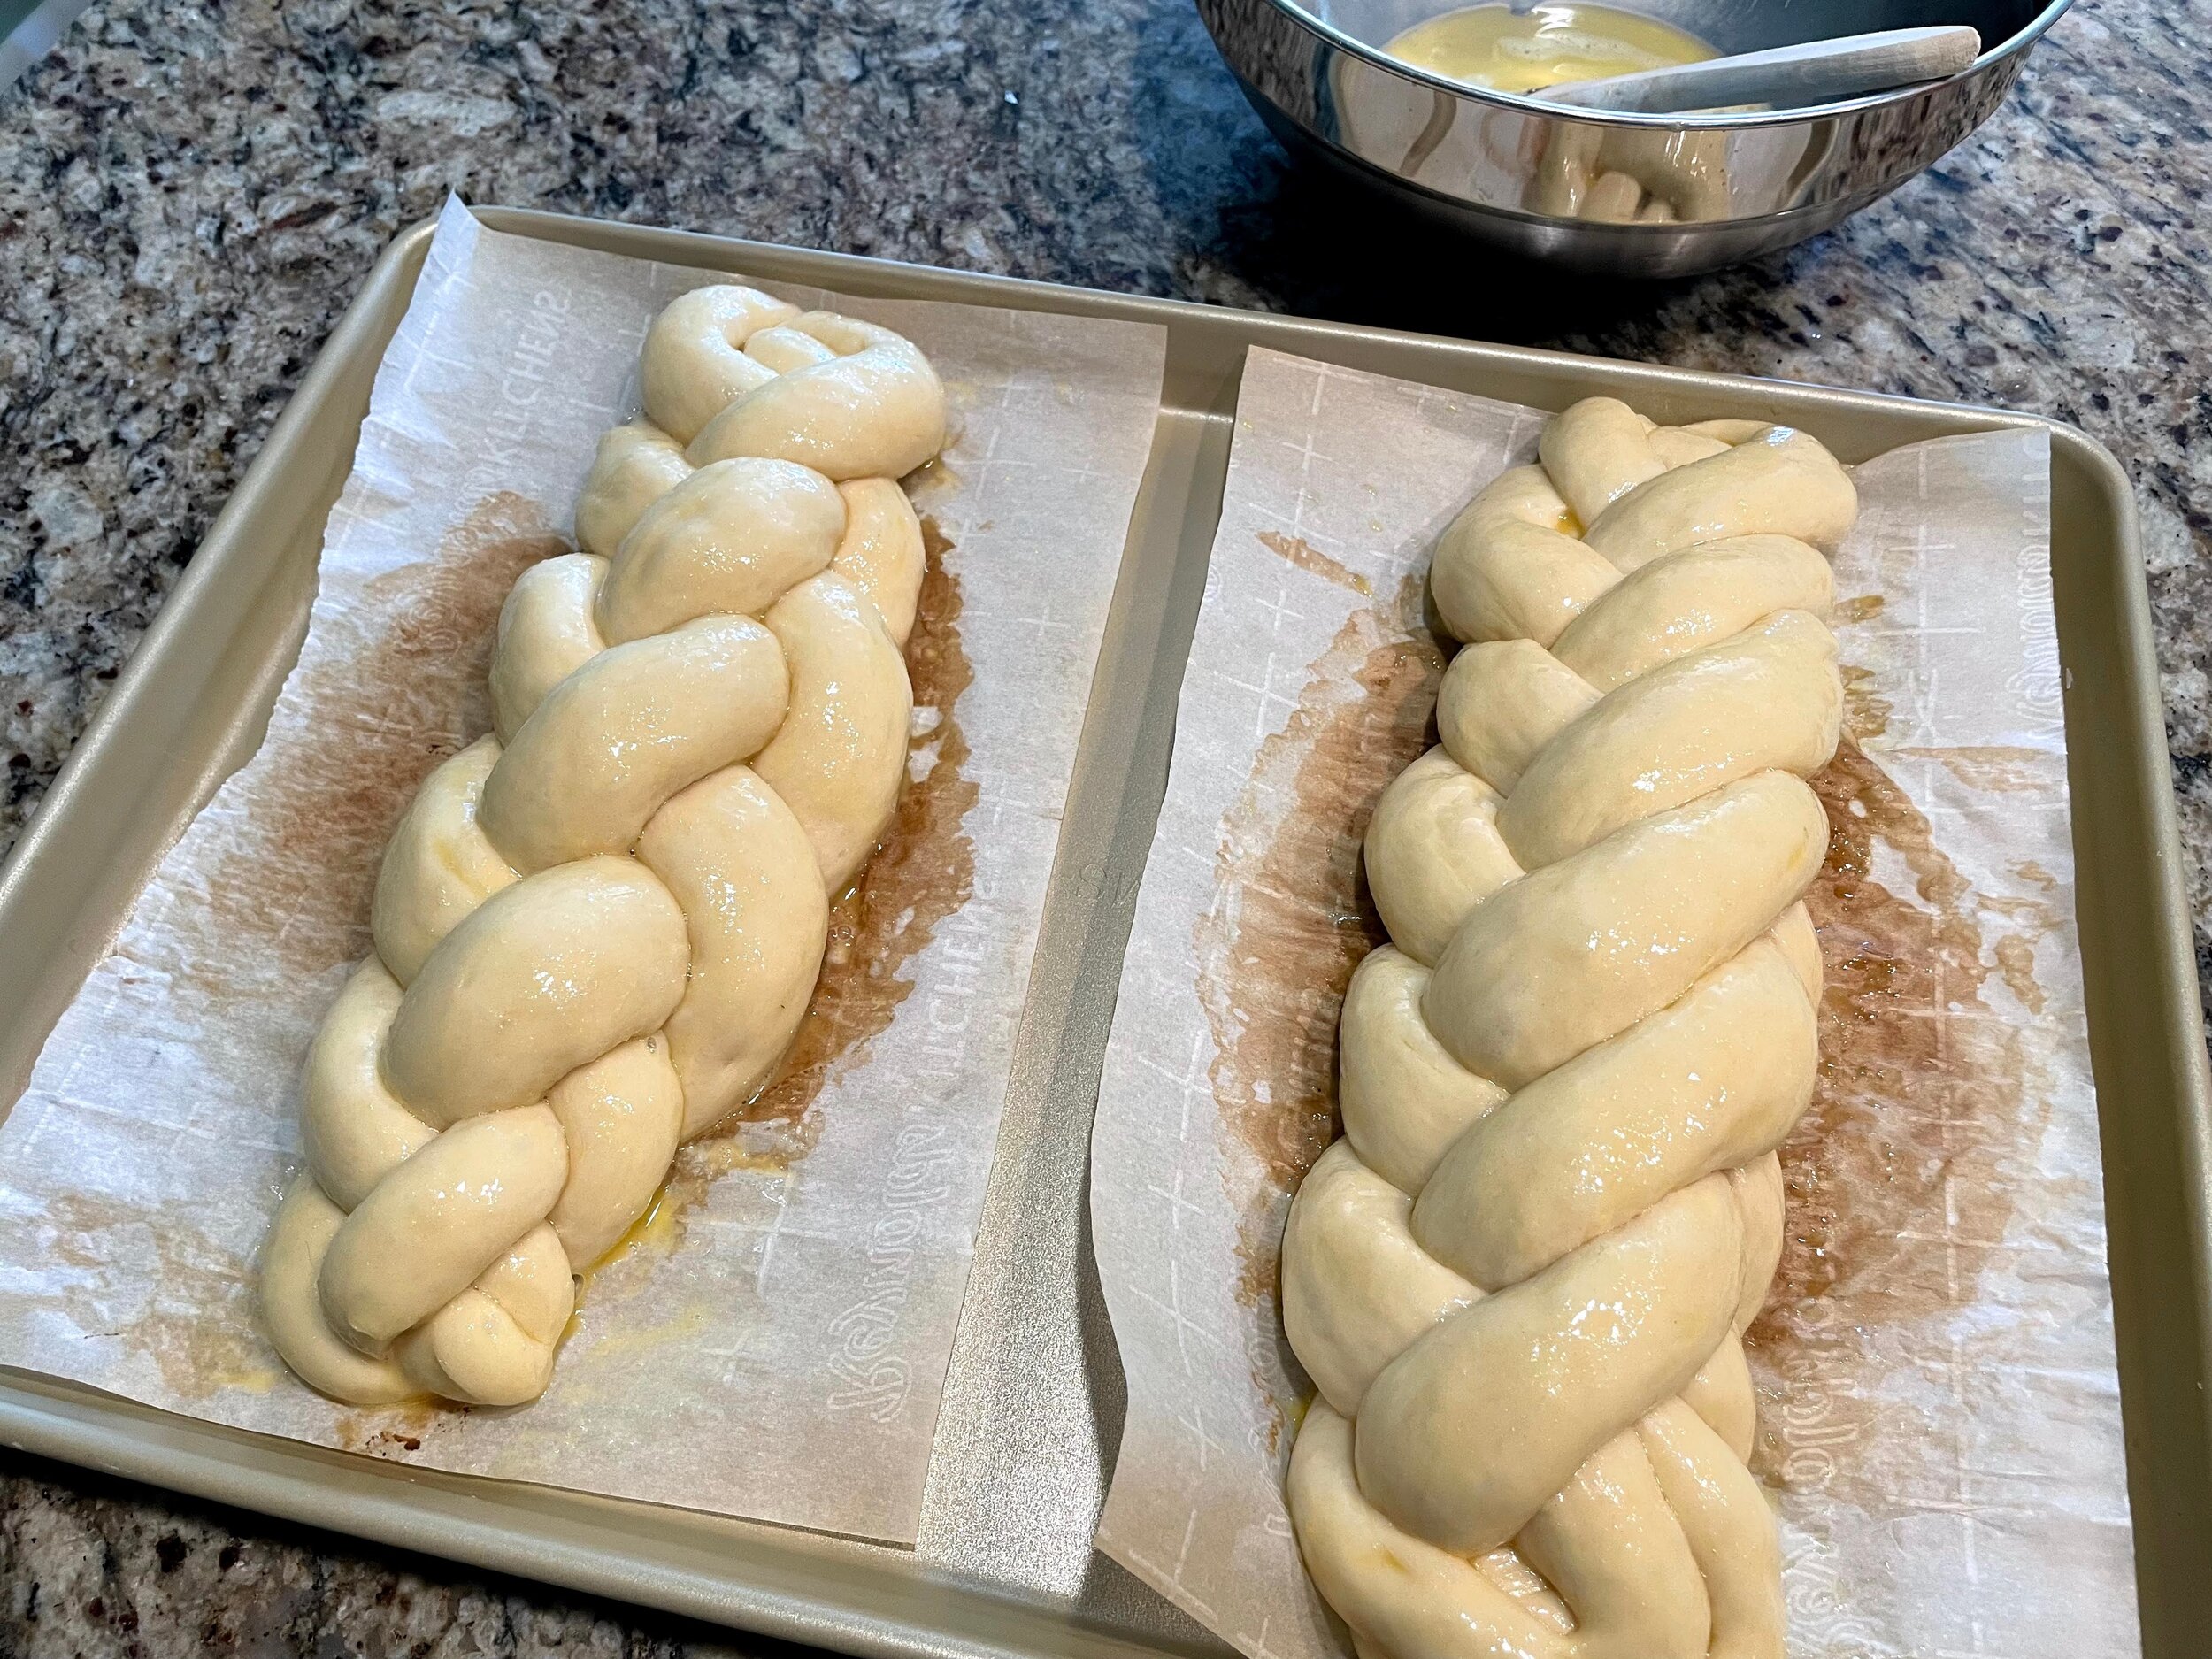
Lay out 3 strands on the bench and join them at the top of the strands. When you are braiding, the strands are numbered left to right, 1, 2 and 3. The sequence is 1 over 2, 3 over 2. You repeat this until you reach the end. Reposition the braided bread to make the bread straight. I like to flatten the ends with my palm and then tuck that bit under the loaf to make a clean end and insure the braid does not open during proofing or baking. Place the braided challah on a parchment lined baking pan leaving room for proofing. It will expand quite a bit. Proceed to the 5 strand braid.
The sequence for a 5 strand braid is 1 over 3, 2 over 3 and 5 over 2. Repeat this until you reach the end of the strands. I do the same thing to seal the ends on this braid as well.


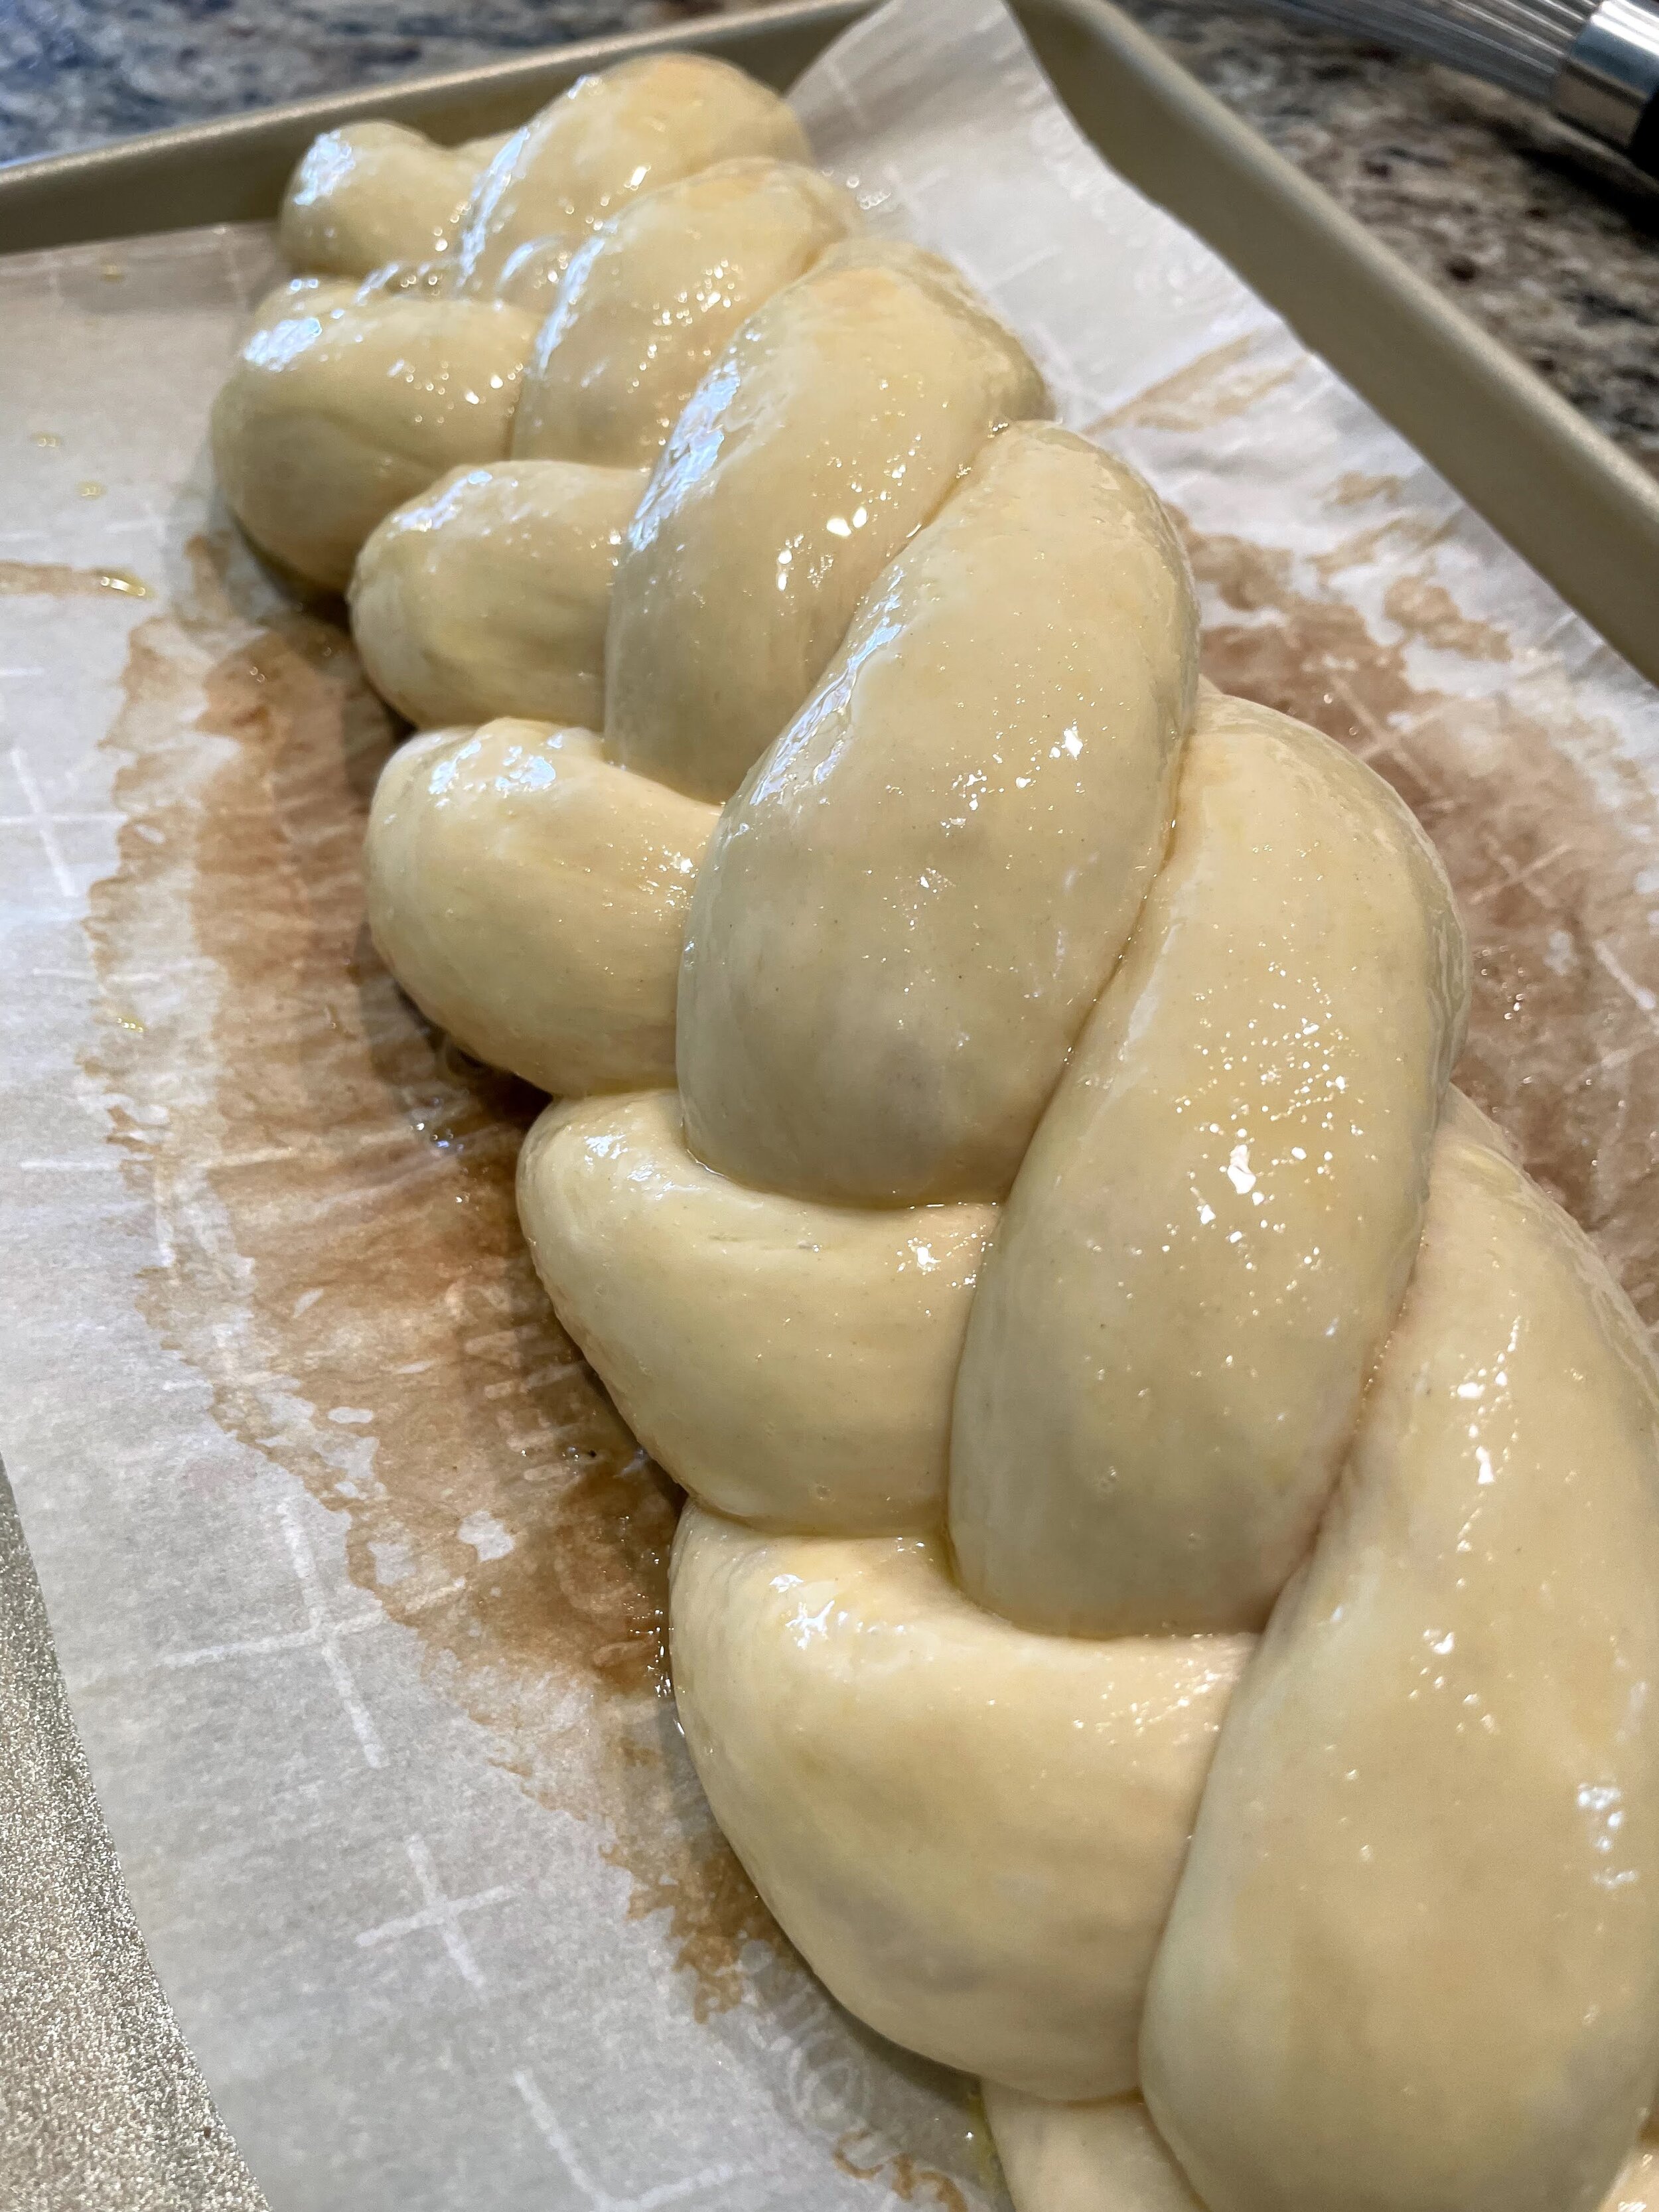
However you decide to braid the bread, place them on a pan that will accommodate the proofing of the bread and not let the breads touch. Let them double in volume over the next hour covered. It may take longer depending on your ambient temperature. Once they have doubled, egg wash them. I like just beaten egg for egg wash but use your favorite. It will give it that deep dark rich shine challah is famous for. A half hour before baking, preheat your oven to 375°F.
Bake the breads for about 25-30 minutes. Resist the temptation to pull the breads early. Sure, they might be a bit brown, but wait until they are darker brown and you will be rewarded with a more flavorful bread.
When you pull the breads out of the oven, place them on wire rack to cool. Give the about 20 minutes to cool. There’s a lot of residual moisture left in the breads. Some of this will be evaporated during the cooling process.
The tradition is to place the bread on the table in a cloth. The host of the dinner will pull, not slice a piece of bread and pass it on to the next guest. Pulling the bread strengthens the bond between family as we “break bread” together.
I have one more little story about the challah. When my nephew William was back in grade school, he made challah at school. I was excited to see his creation. As I mentioned, I was expecting a shiny brown braided challah like I had always made. I should have known better. I mean he was nine years old. He showed me a blob of bread without egg wash but with sprinkles like you would find on a cake! The baker in me didn’t think much of the bread. It was underproofed and underbaked. But the uncle in me was very proud of him. William had expressed himself through bread continuing our family tradition. He did well.
However you decide to make up your bread, you will love the richness of the crumb and the dark goodness of the crust. Happy baking!
Chef Tom


