Let’s Make Cinnamon Rolls
Cinnamon rolls are one of those treats that people have definite opinions about. It’s like pizza or chili or any number of other polarizing foods. I, of course, think mine are the best. But if you know me, I’ll probably eat whatever you put in front of me. These rolls are patterned after some rolls that I have been eating and studying for the past 35 years. In Chicago there is one roll that most people agree on. It’s at Ann Sather’s. It’s a breakfast place with multiple locations in the city. The best one is on Belmont and Clark. I say I have been studying them because we have been eating at Ann Sathers for years. Every breakfast comes with the cinnamon rolls and icing. One time, we even asked to see how they bake them. They showed us the whole process. I will let you in on the secret to Ann Sather’s cinnamon roll success. They underbake them. Most folks overbake their cinnamon rolls. This makes them dry and the texture suffers.
So I will tell you to slightly overproof these rolls and slightly underbake them. You will have flavorful, ooey, gooey rolls. I’ll give you a tip on how to make the rolls even more tender and moist. The other key to success is the cream cheese icing. It’s way simple to make but it really makes the rolls. Only put it on when you are ready to eat. Get the roll hot and slather (not Sather, ha) the icing on. It melts into the folds and crevices of the roll.
Let’s get started on the dough first. It can be made straight dough method, all the ingredients go in the bowl and you mix it to a smooth, uniform dough. Or you can try out the brioche method. We’ll be getting to the brioche method in a few weeks, but you can use it here. That means that you will mix the dough but leave the butter out. Once the dough is smooth, add the butter and mix it until it’s smooth again. It takes a bit longer but yields a silky dough. It’s still pretty awesome even when you mix it straight dough though.
What are the basic ingredients?
Chef Tom Cinnamon Rolls (with apologies to Ann Sather’s)
Dough
AP flour 500g 100%
Whole milk 250g 50%
Instant yeast. 10g 2%
Whole eggs 90g 18%
Sugar 75g 15%
Kosher salt 10g 2%
Butter 75g 18%
Filling
Brown sugar 150g 100%
Butter 113g 75%
Cinnamon .66g 1%
Icing
Butter 113g 50%
Cream cheese 226g 100%
Powdered sugar 113g 50%
Vanilla extract 1g .44%
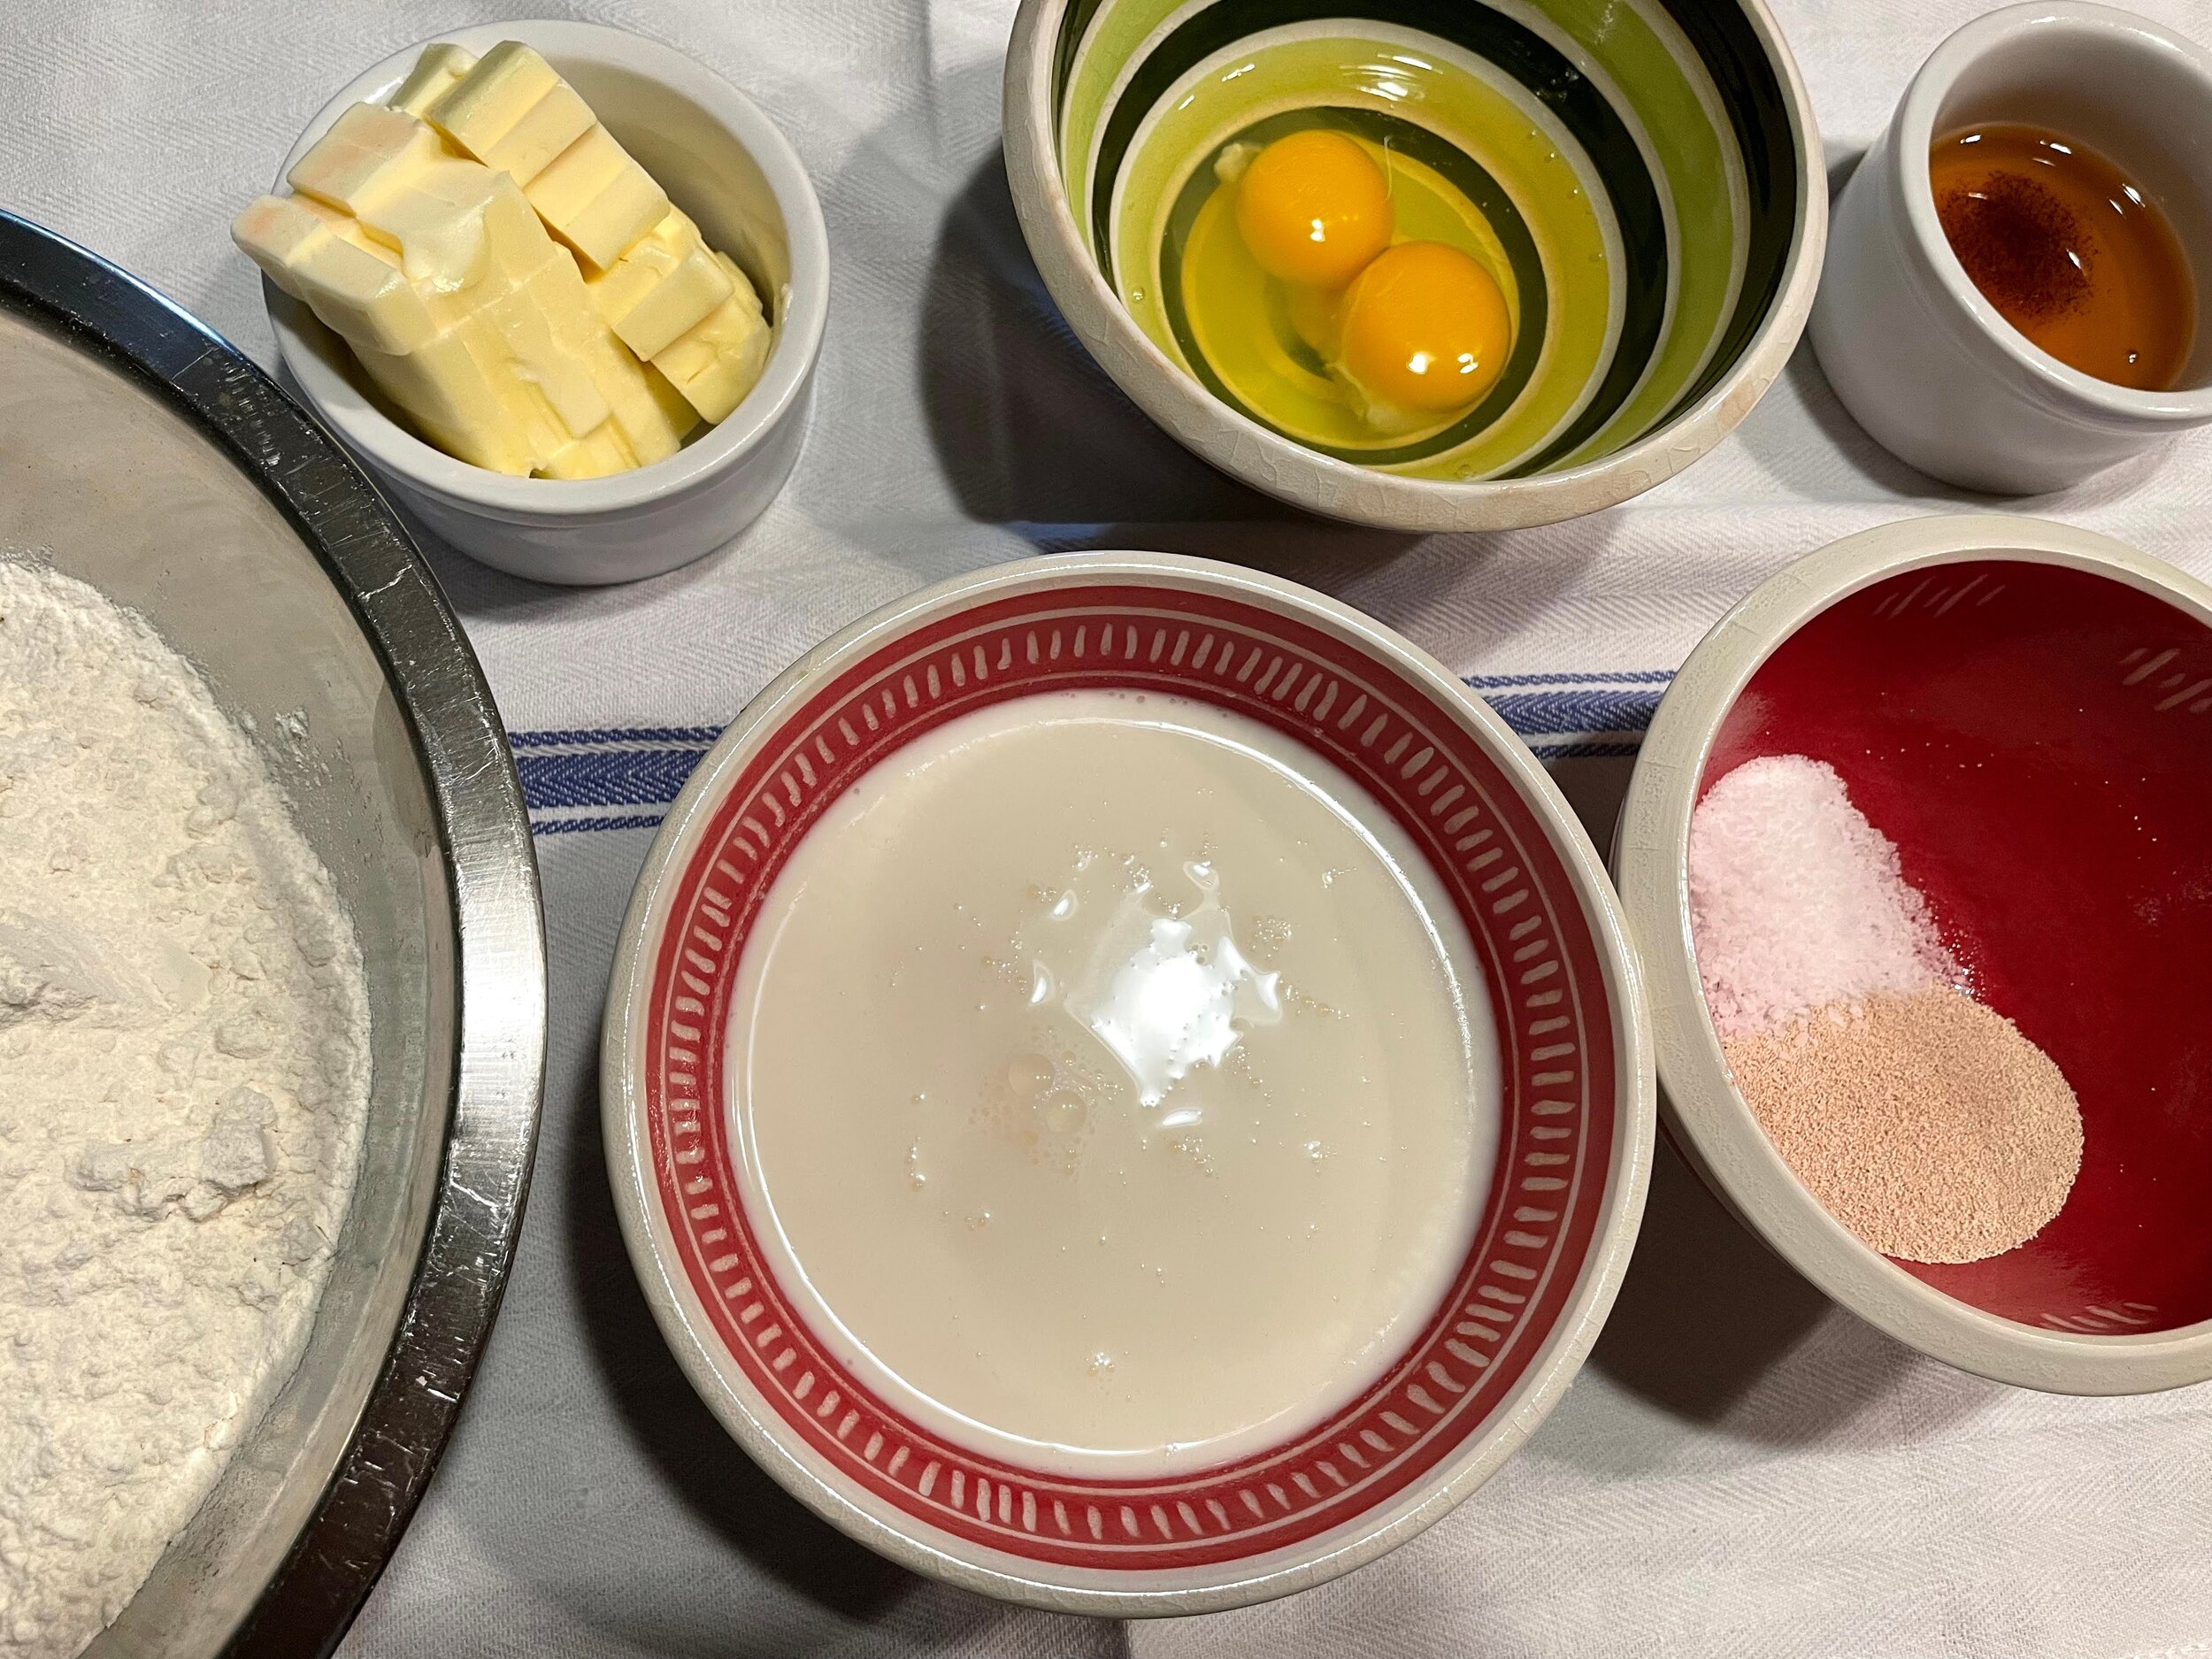


½ sheet pan
Bench scraper
Stainless steel bowl for mixing
Parchment paper or Silpat
Serrated knife for cutting rolls
Straight dough method (or Brioche method)
Combine all the ingredients for the dough in a mixing bowl and mix for 4 minutes at speed 1. Then mix another 4 minutes at speed 2. This will give you a very good dough. But if you want to go to the next level and I know you do, try the brioche method. Leave the butter out while you mix the first 4 minutes. Then add the butter all at once. Turn the speed up to 3 or 4. This will help incorporate the butter better. You’ll mix the dough until it is silky, about 8 minutes. I learned this technique from Jeffrey Hamelman from King Arthur Flour. I had learned to make brioche by putting the butter in a little at a time. He just dumped it all in at once. I was amazed. I didn’t know you could do that. He showed me that it worked well. After fully mixing the dough, you will notice that it’s pretty much cleaned up the bowl and the gluten is really well developed. You can stretch it quite easily. If you have ever pulled a window pane to check gluten, you can pull one here much farther. You should be able to see through the dough.
Put the dough in a bowl to rise for about 1 hour. Then give it a stretch and fold after that hour. The dough should be very soft but strong now. Give it some time in the refrigerator to firm up. It should only take 20-30 minutes. But if your dough was quite warm, it might take longer.
Prepare the filling while the dough is firming in the refrigerator. Combine the sugar, butter and cinnamon in a bowl and just squeeze it through your hands until it becomes smooth. Set it aside for assembly.
While you are waiting, you can prepare the cream cheese icing as well. Cream the butter and sugar until smooth. Add the cream cheese and vanilla and bring it back to being smooth. Use the paddle and bring the speed up pretty high. You can’t overmix the cream cheese filling. If it’s too thick, you can thin it out with some cream or milk. Set it aside for when the rolls come out of the oven.

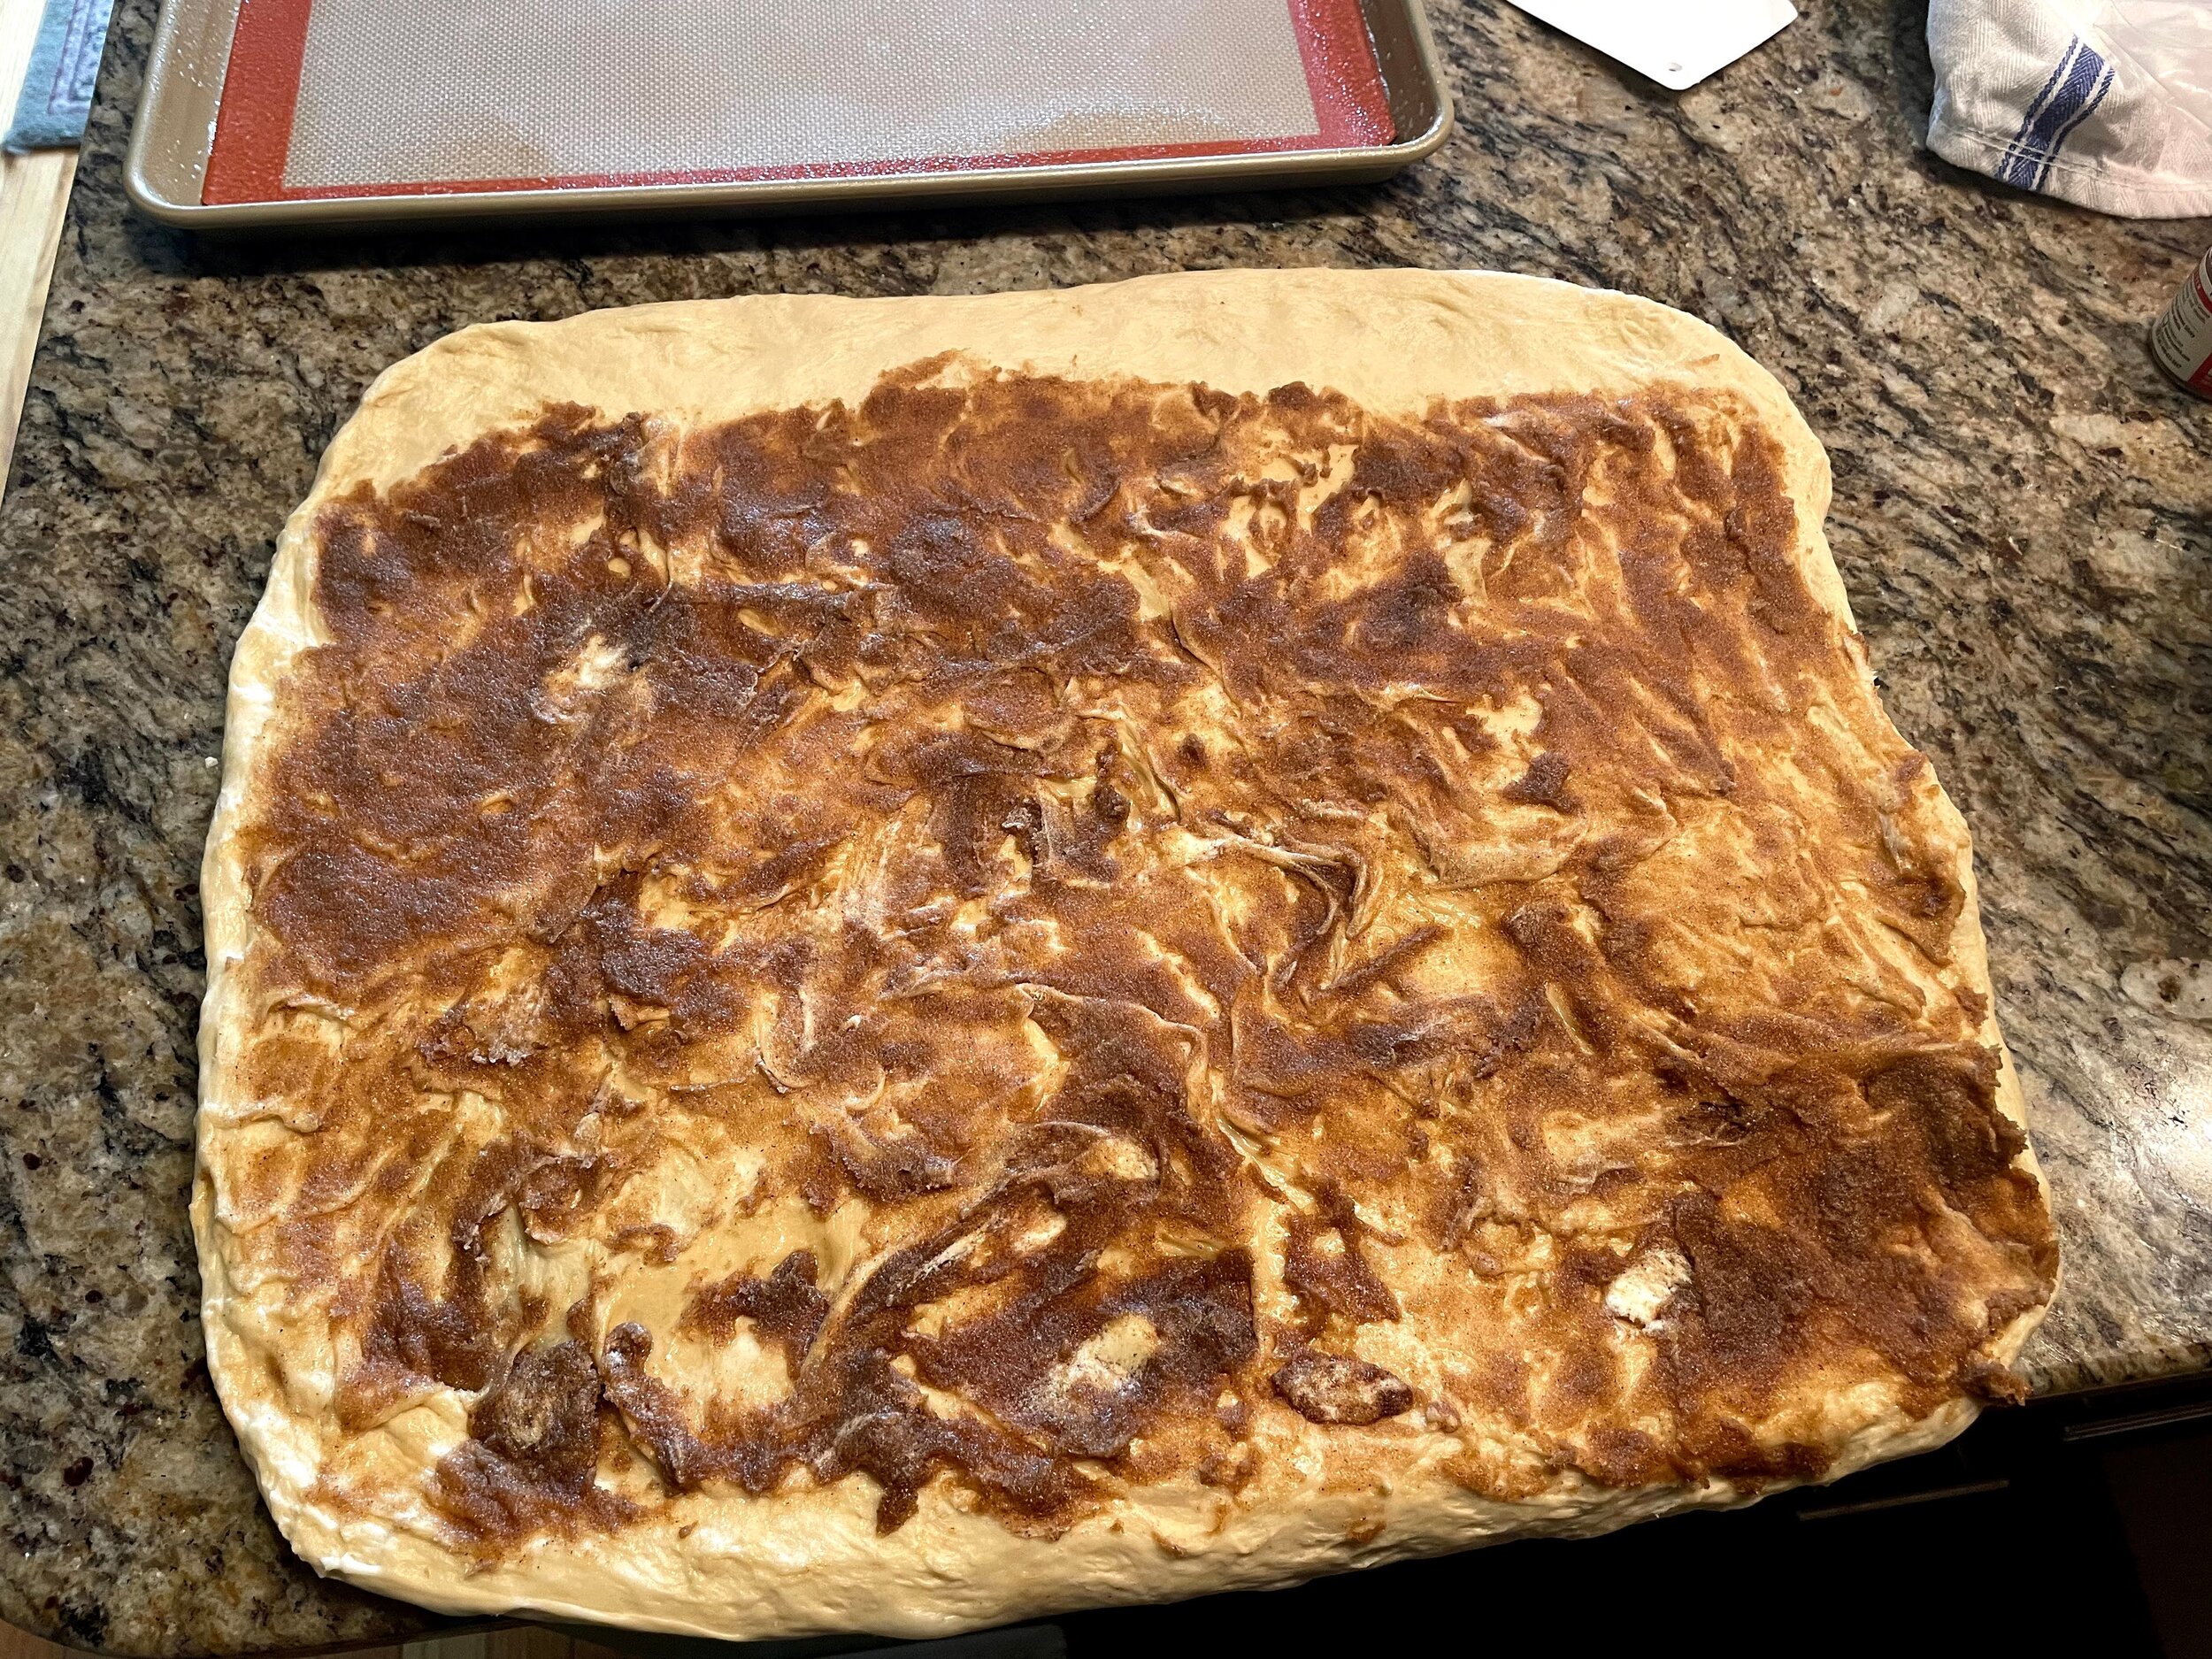



After the dough is rested and firmed up from the refrigerator, stretch it out on a large clean surface. Stretch it to a rectangle about 28 inches by 20 inches. If you want to use a rolling pin you can, but I like to stretch and flatten. This means getting up under the dough to stretch from the center out. Try to keep the corners square and keep the dough an even thickness. It does take some practice so if it’s not perfect on the first try, don’t worry, it will come with time. Once you have the dough stretched out, let it rest stretched out. It’s ok if it warms up a bit. It’s going back in the refrigerator after we put the filling in. Smooth out the filling over the surface of the dough. Leave a 2 inch space at the top of the rectangle with no filling. This is how the dough will be sealed up. Even though it seems there’s not enough filling, spread it thinly over the surface of the dough. You can increase the amount of filling if you want but not too much or it will leak out of the rolls as you bake them.
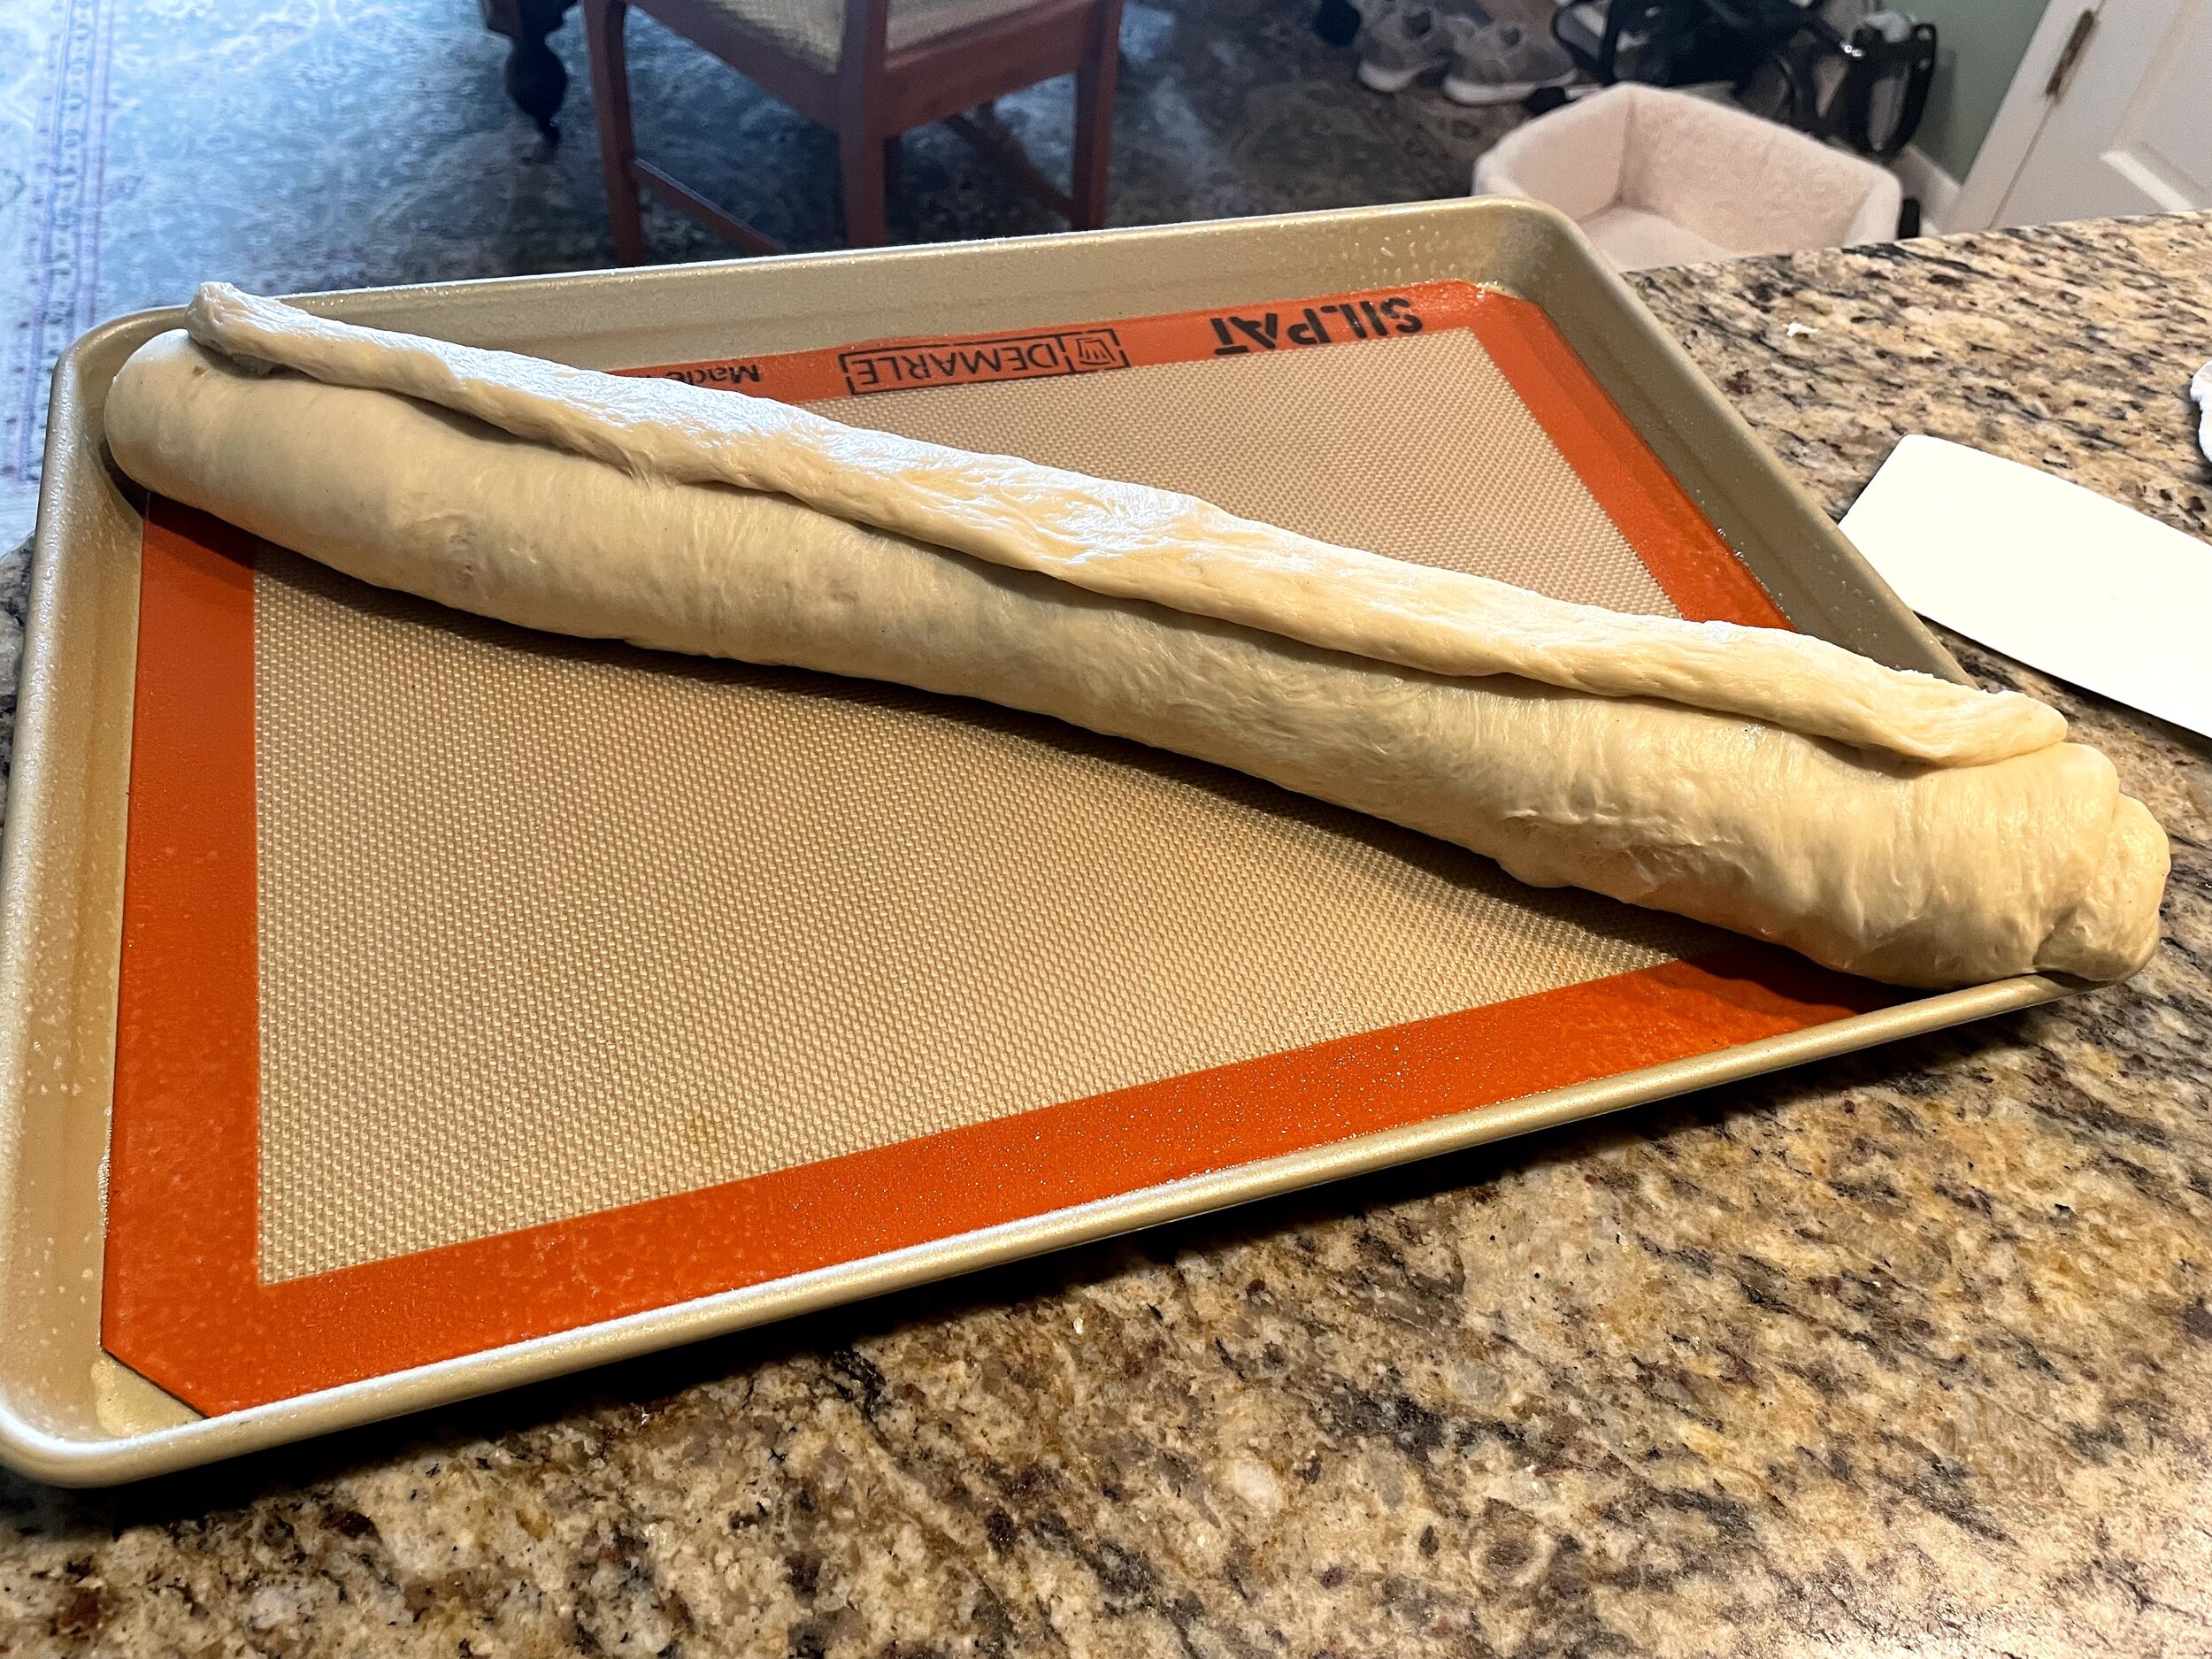
Start rolling up the cylinder at the bottom by stretching the dough out and rolling it up on itself. Keep the dough taut as you roll it up. When you reach the top, brush some water on the exposed dough. Don’t roll the dough up, but pull the exposed dough over the top of the cylinder. Give the cylinder a roll on the bench to seal it up and place it on a ½ sheet pan at a diagonal. Cover the cylinder and place the ½ sheet in the refrigerator to firm up for about 30-45 minutes. This step is important to insure the clean cuts of each roll. If you don’t chill the cylinder, you will have misshapen rolls with filling leaking from them.


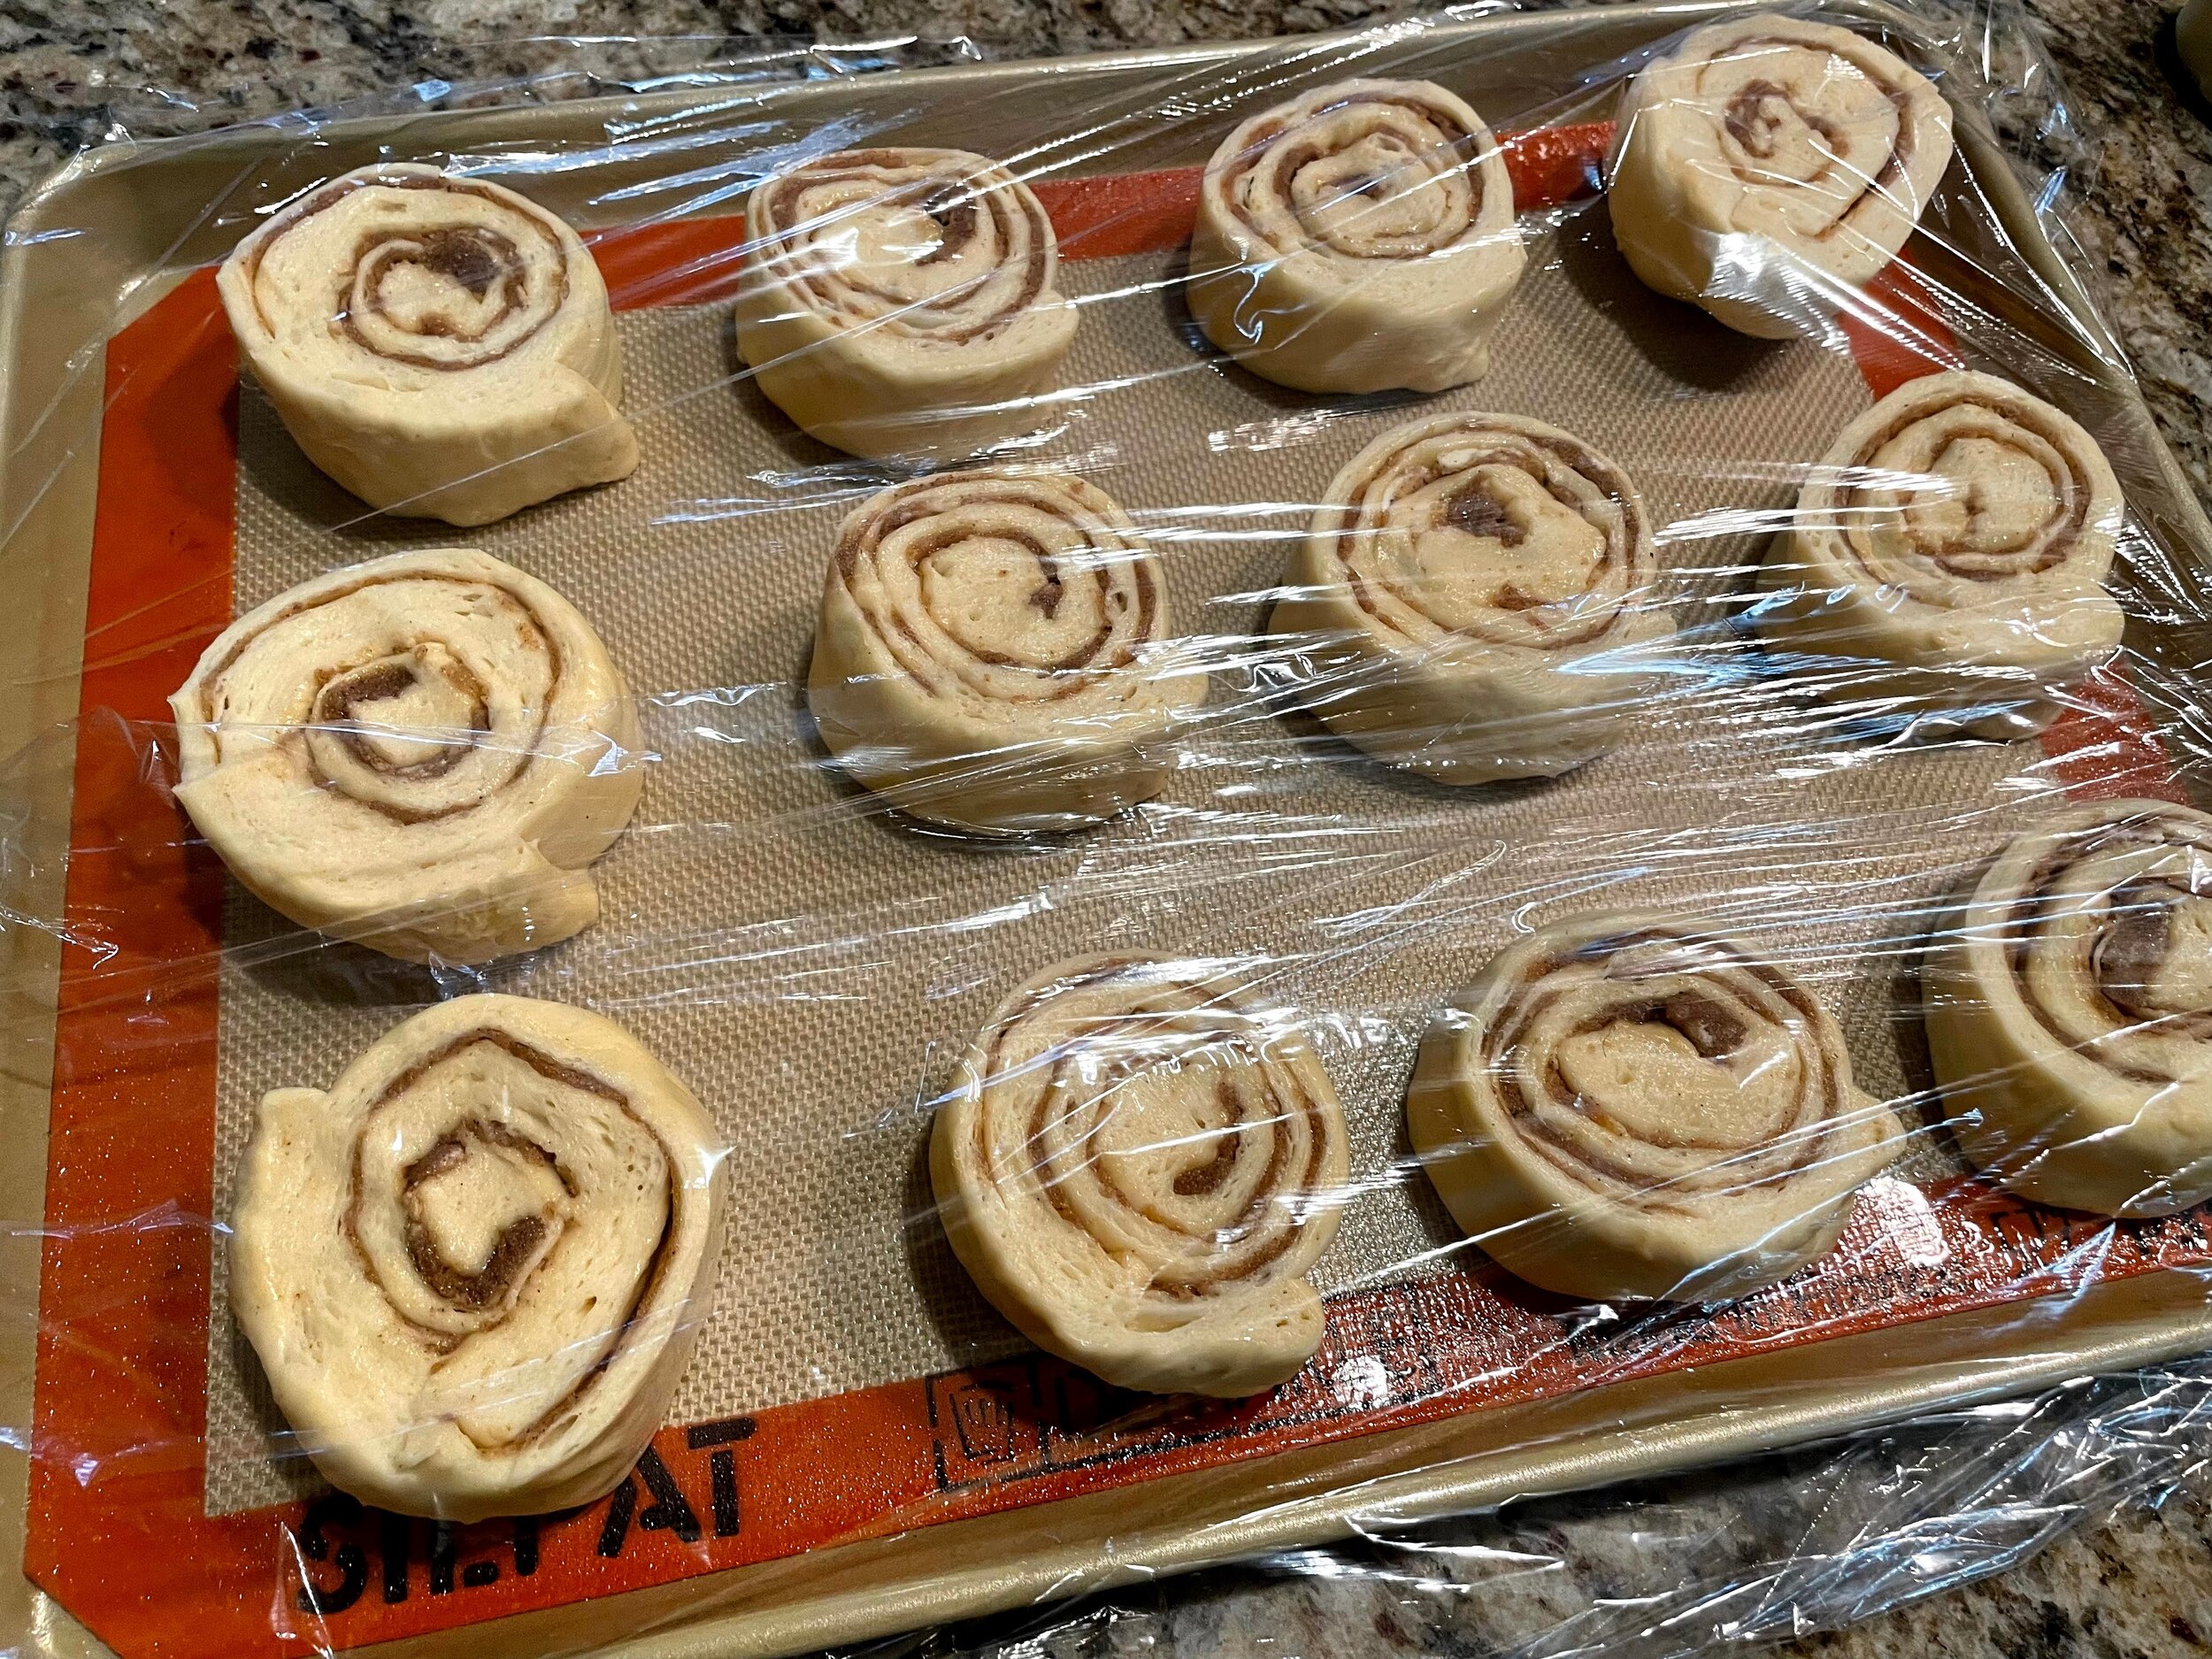
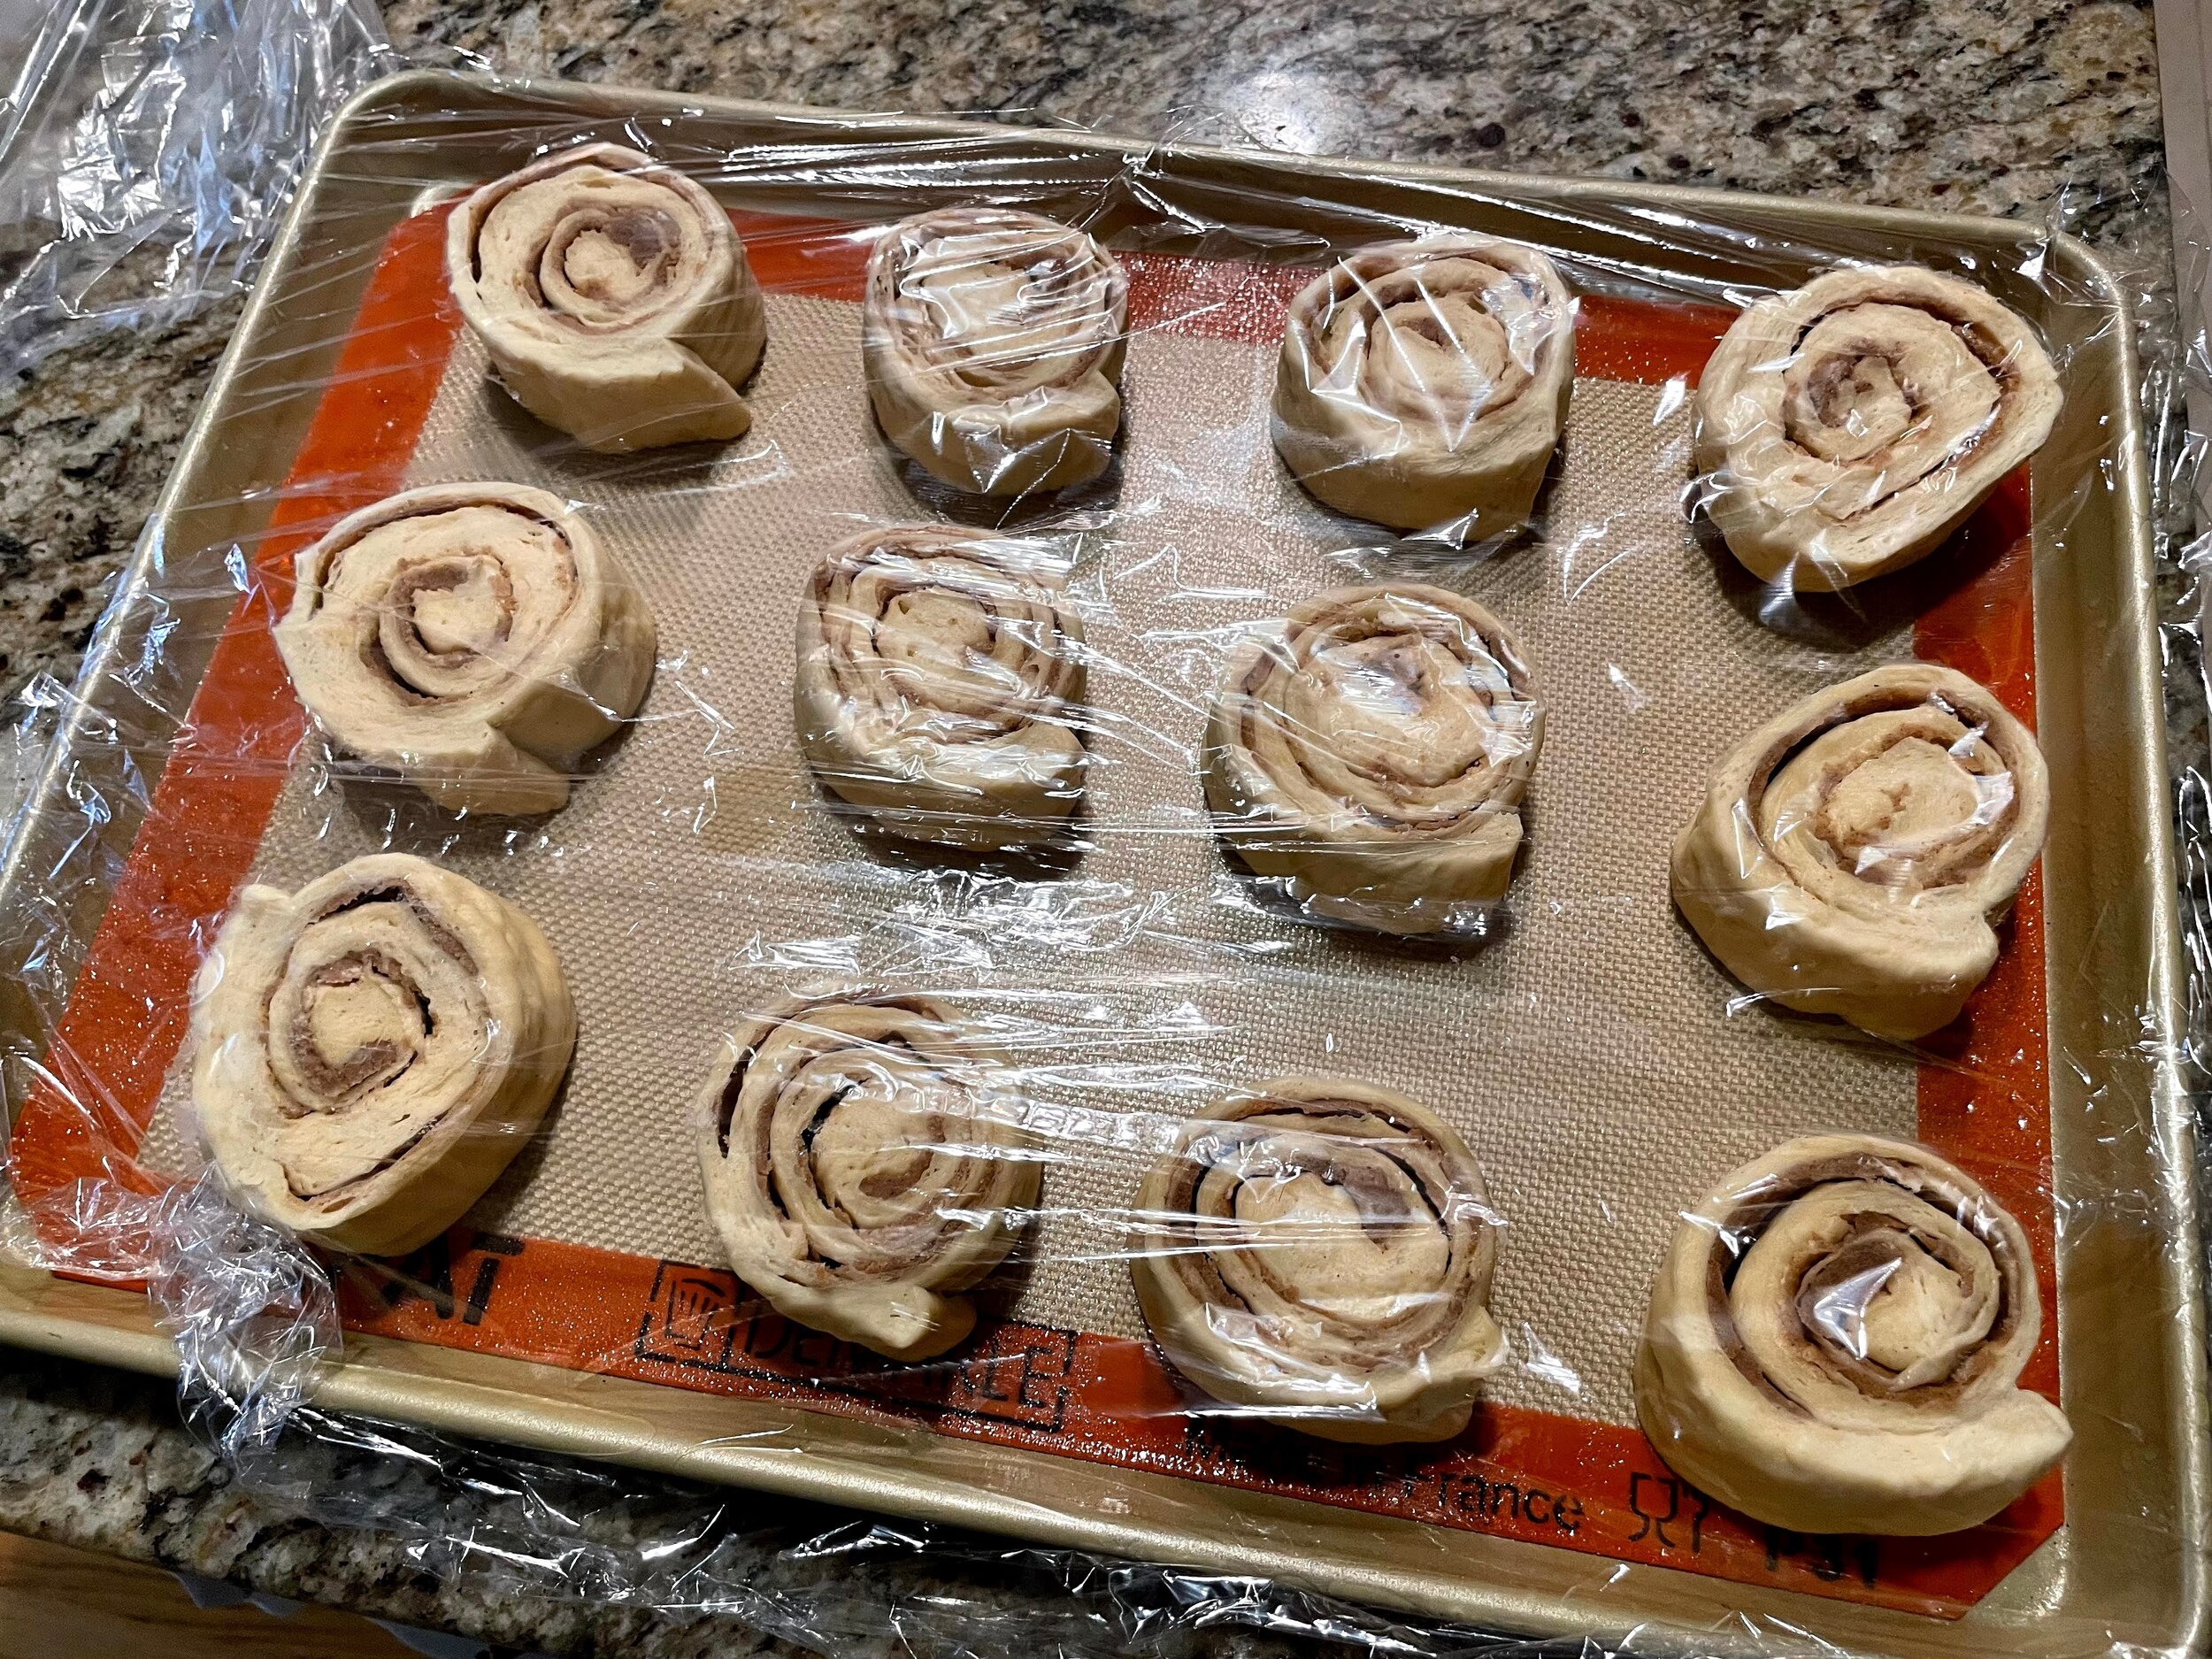

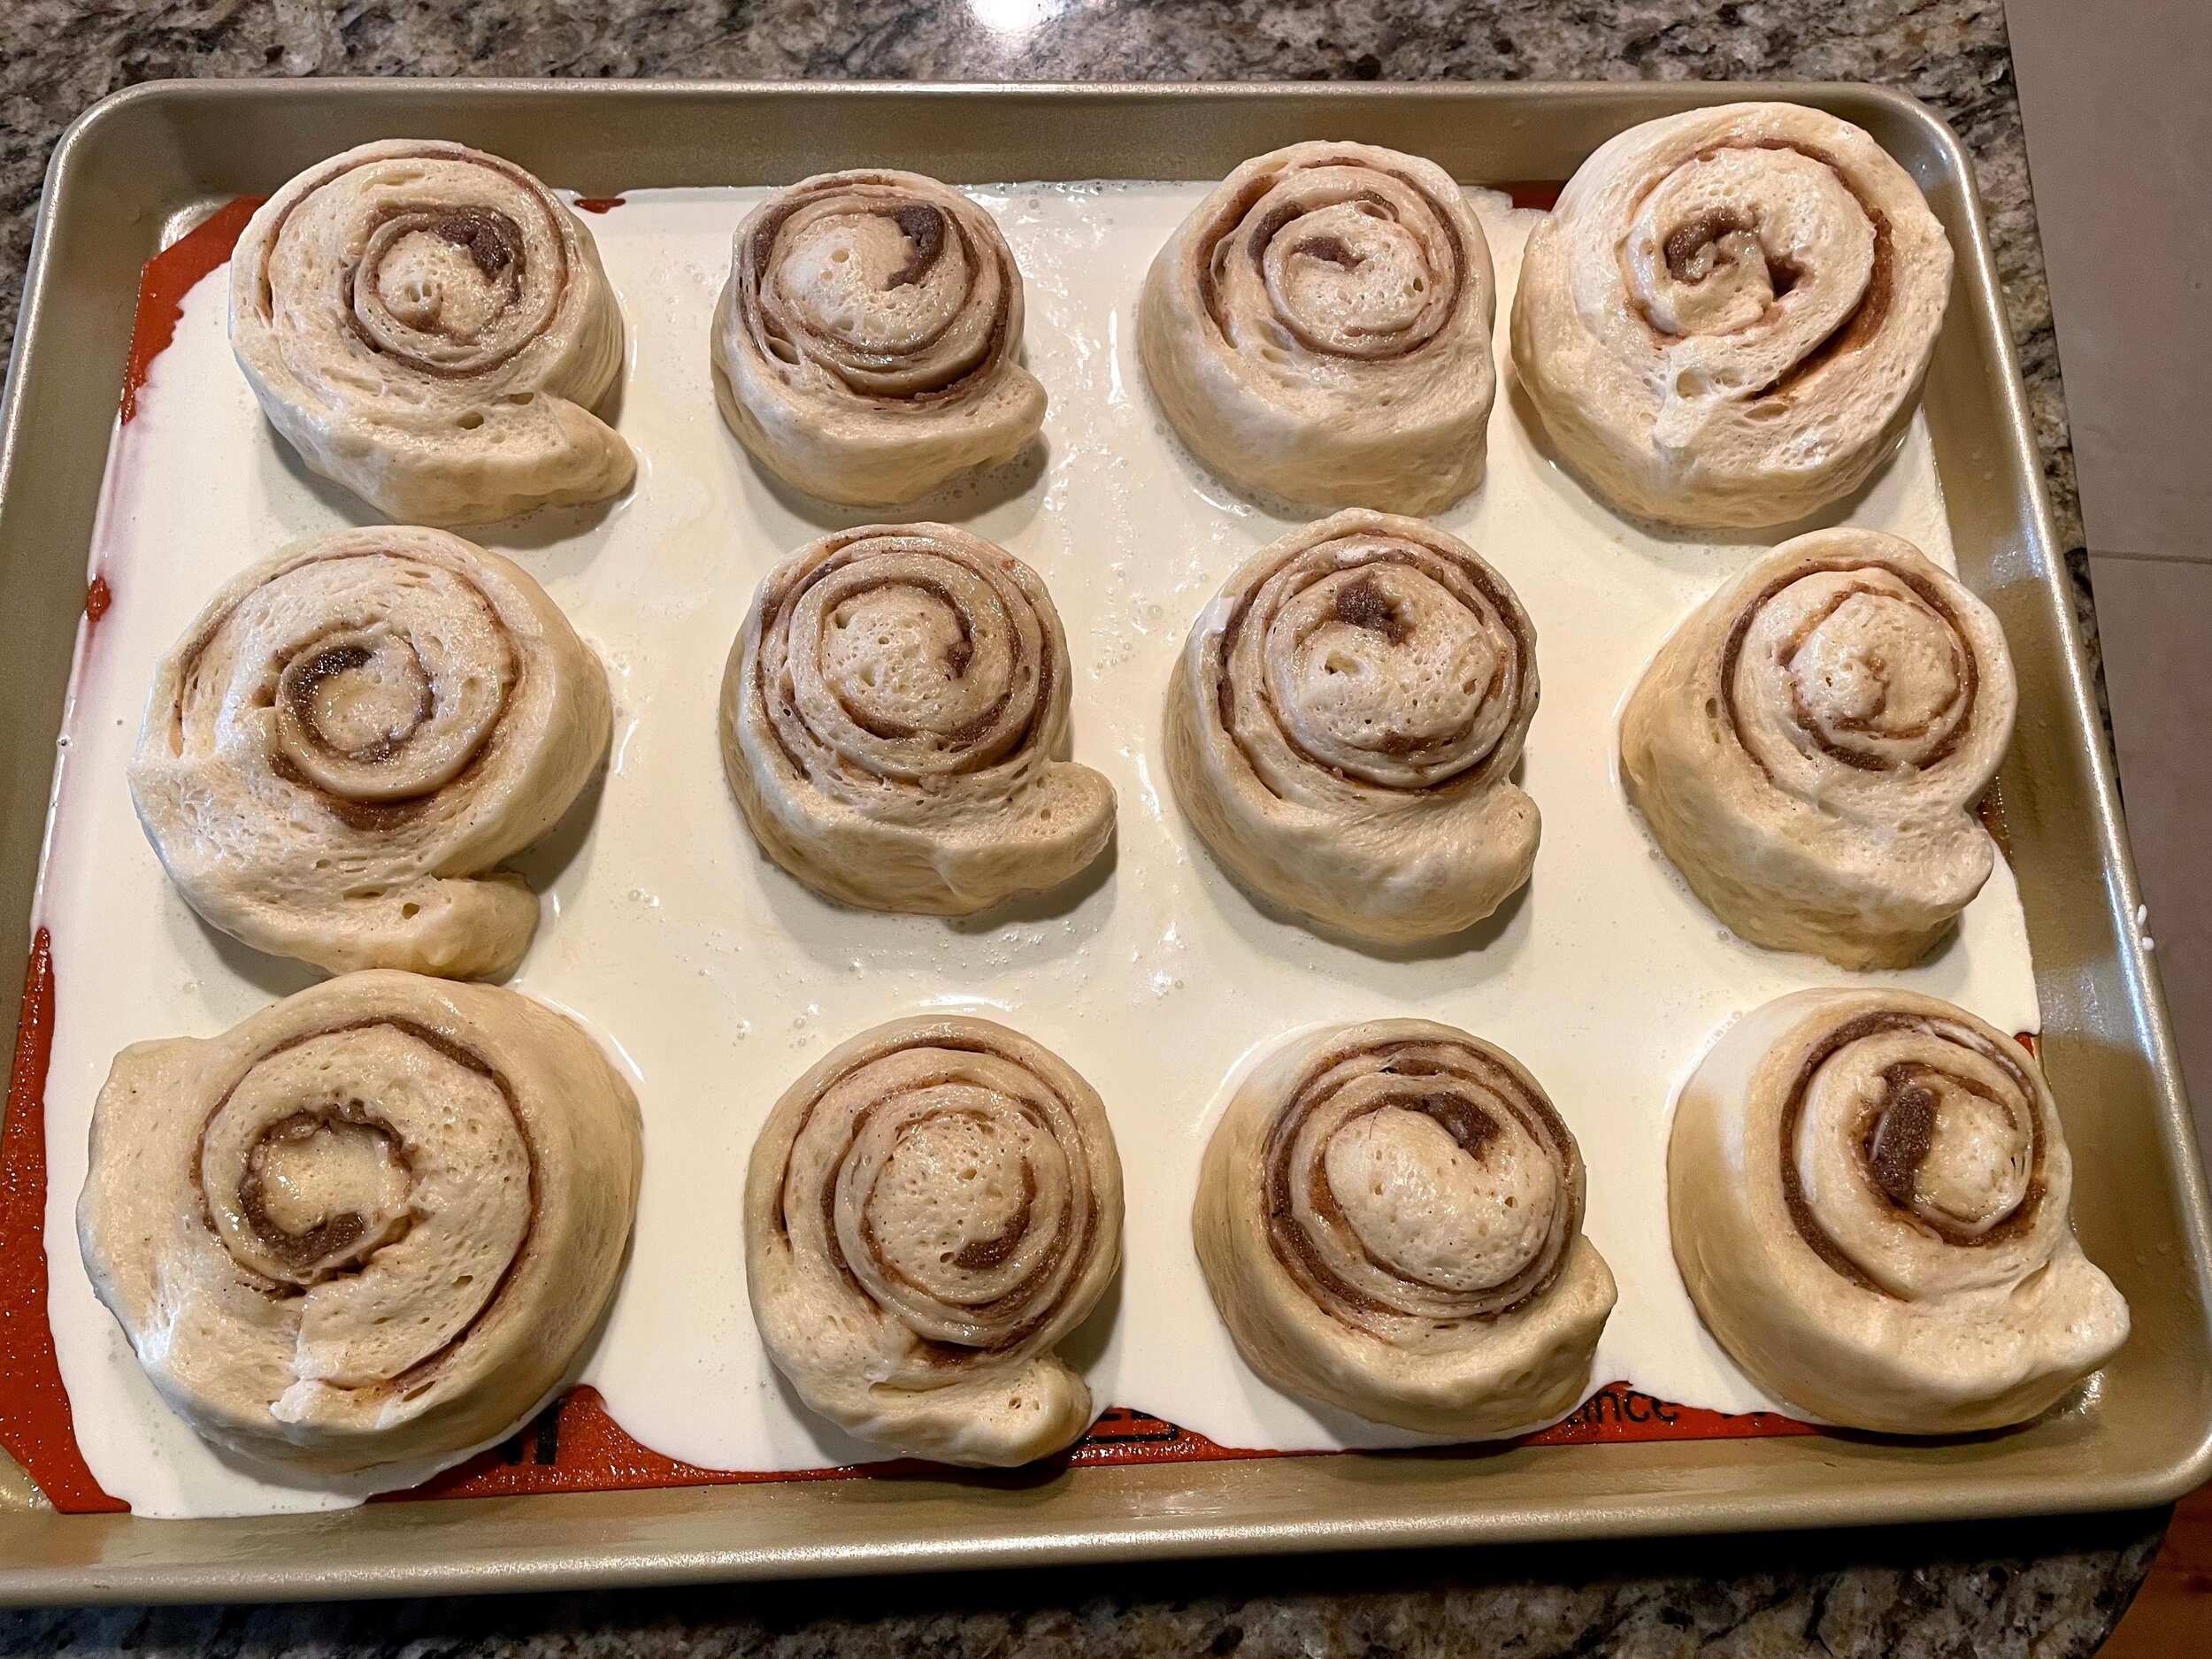
Take the cylinder from the refrigerator and place it on a cutting board. Cut the rolls with a serrated knife about 1.5 inches thick. Take your time and slice each roll cleanly. Place the cut rolls 3 X 5 on a ½ sheet pan lined with either parchment or a silpat. You can let them proof covered at room temperature until they almost fill the pan. Or you can cover them and proof them overnight in the refrigerator. I recommend the overnight option. You’ll gain in flavor and texture with the longer proof. If you do proof them in the refrigerator overnight, they may not grow very much. Don’t worry about this. They will grow at room temperature when you take them out. Don’t bake them right out of the refrigerator. Give them some time to fill the pan and return to room temperature.
Preheat the oven to 375°F. Bake the cinnamon rolls for about 20-25 minutes. One last option is to pour about 4 ounces of cream in the bottom of the pan right before baking. This cream will keep the baked rolls moist on the bottom but also give the added bonus of caramelizing. I know it sounds weird but it’s a great flavor and texture. However you decide to bake them, they should be lightly browned. Remember we want to underbake and overproof. Let them cool on a wire rack.
While they are still warm, ice a couple of them up with the cream cheese mixture. I used to be all fancy and pipe the icing on the rolls. Today, I just spread it on with a spatula. I’m not as fancy as I used to be. But I think you’ll agree that these are some of the best cinnamon rolls you have ever had.
Happy baking!
Chef Tom


